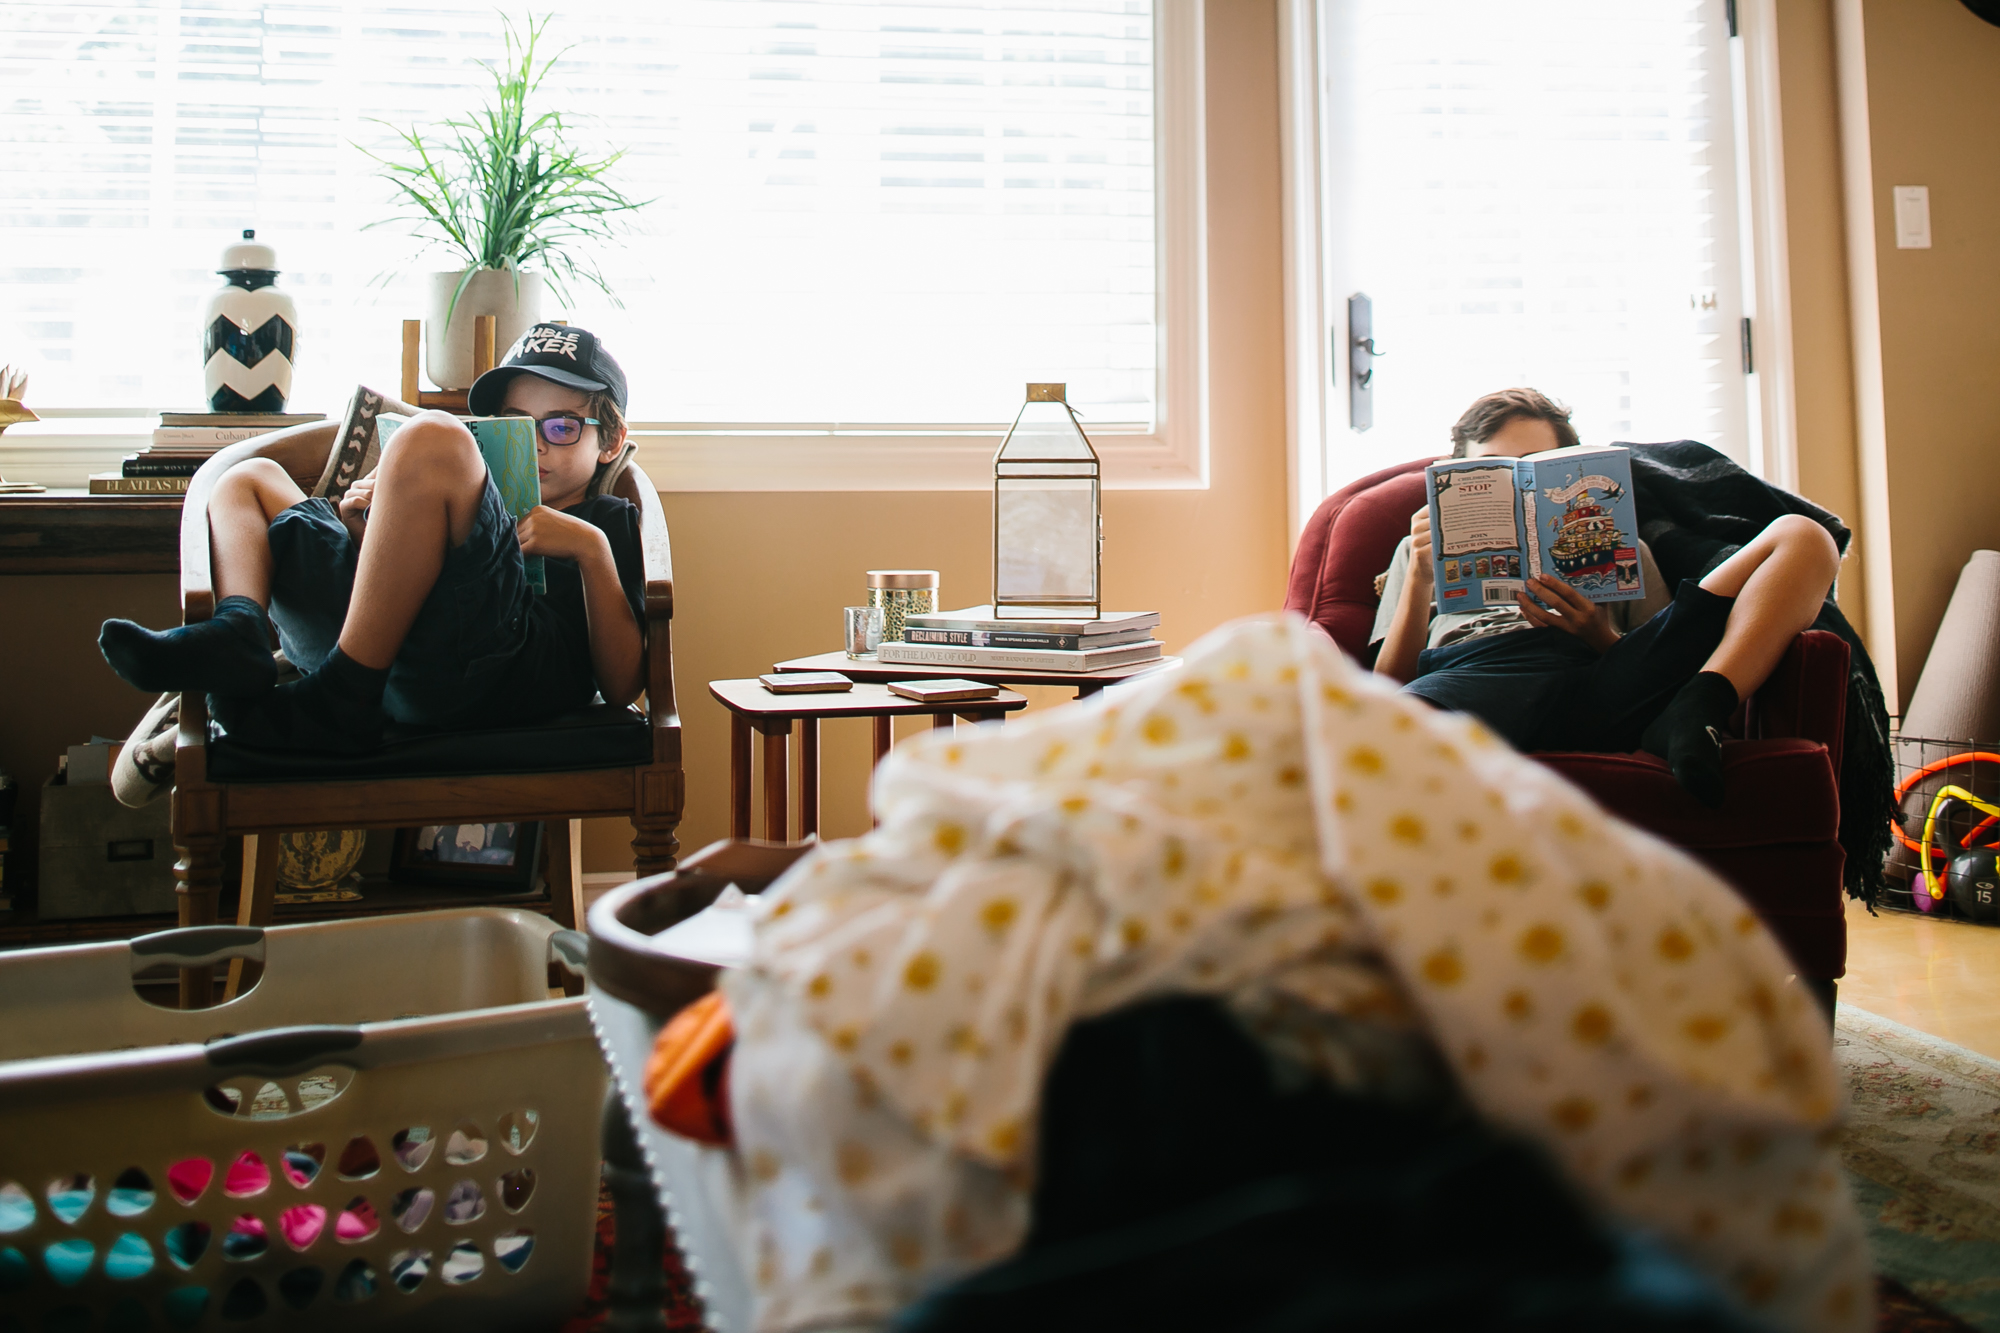
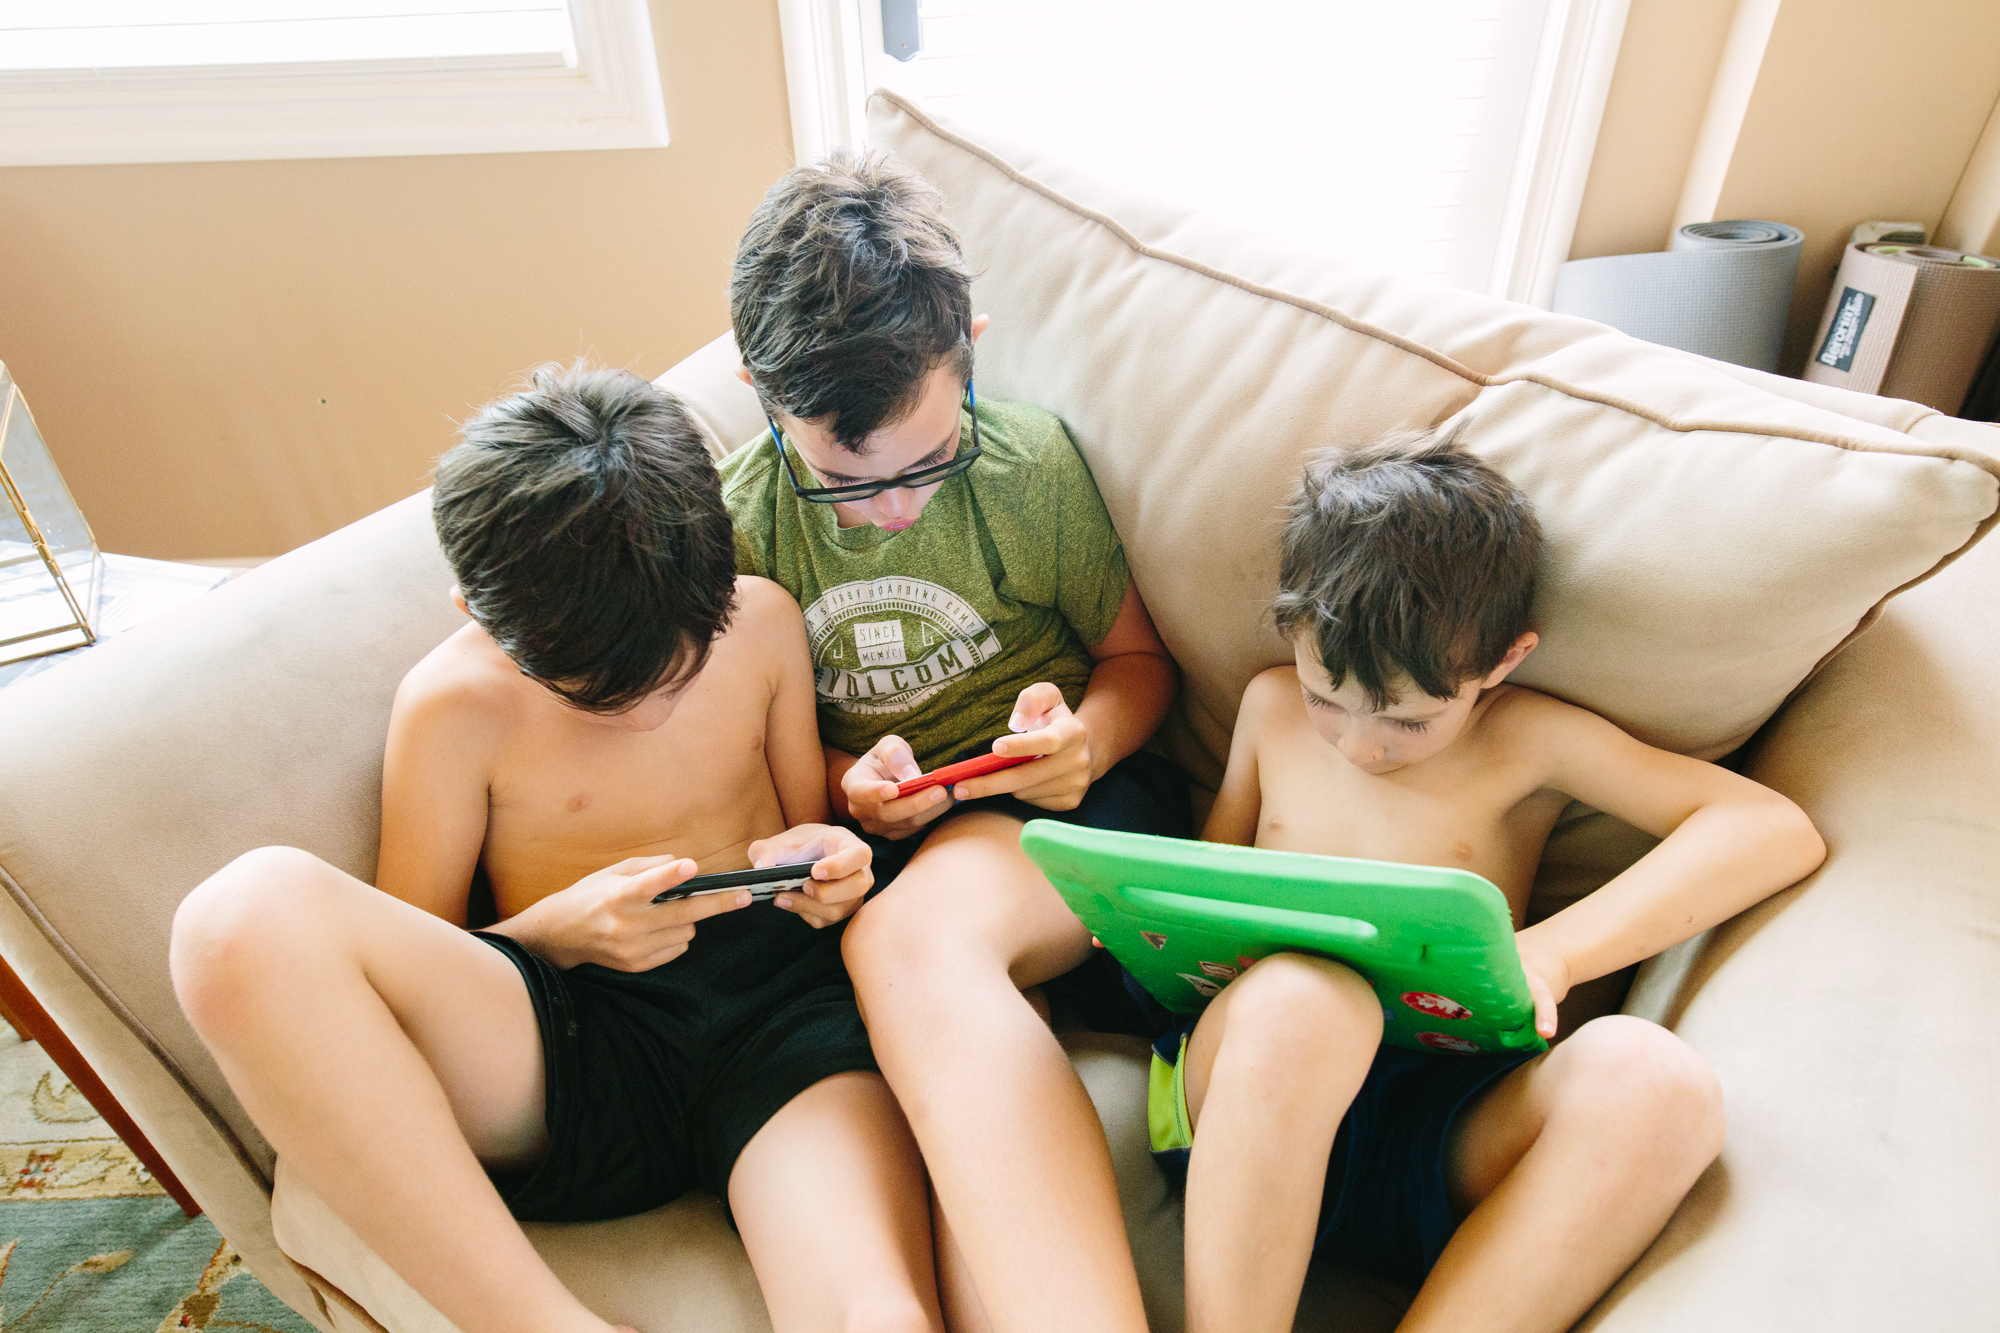
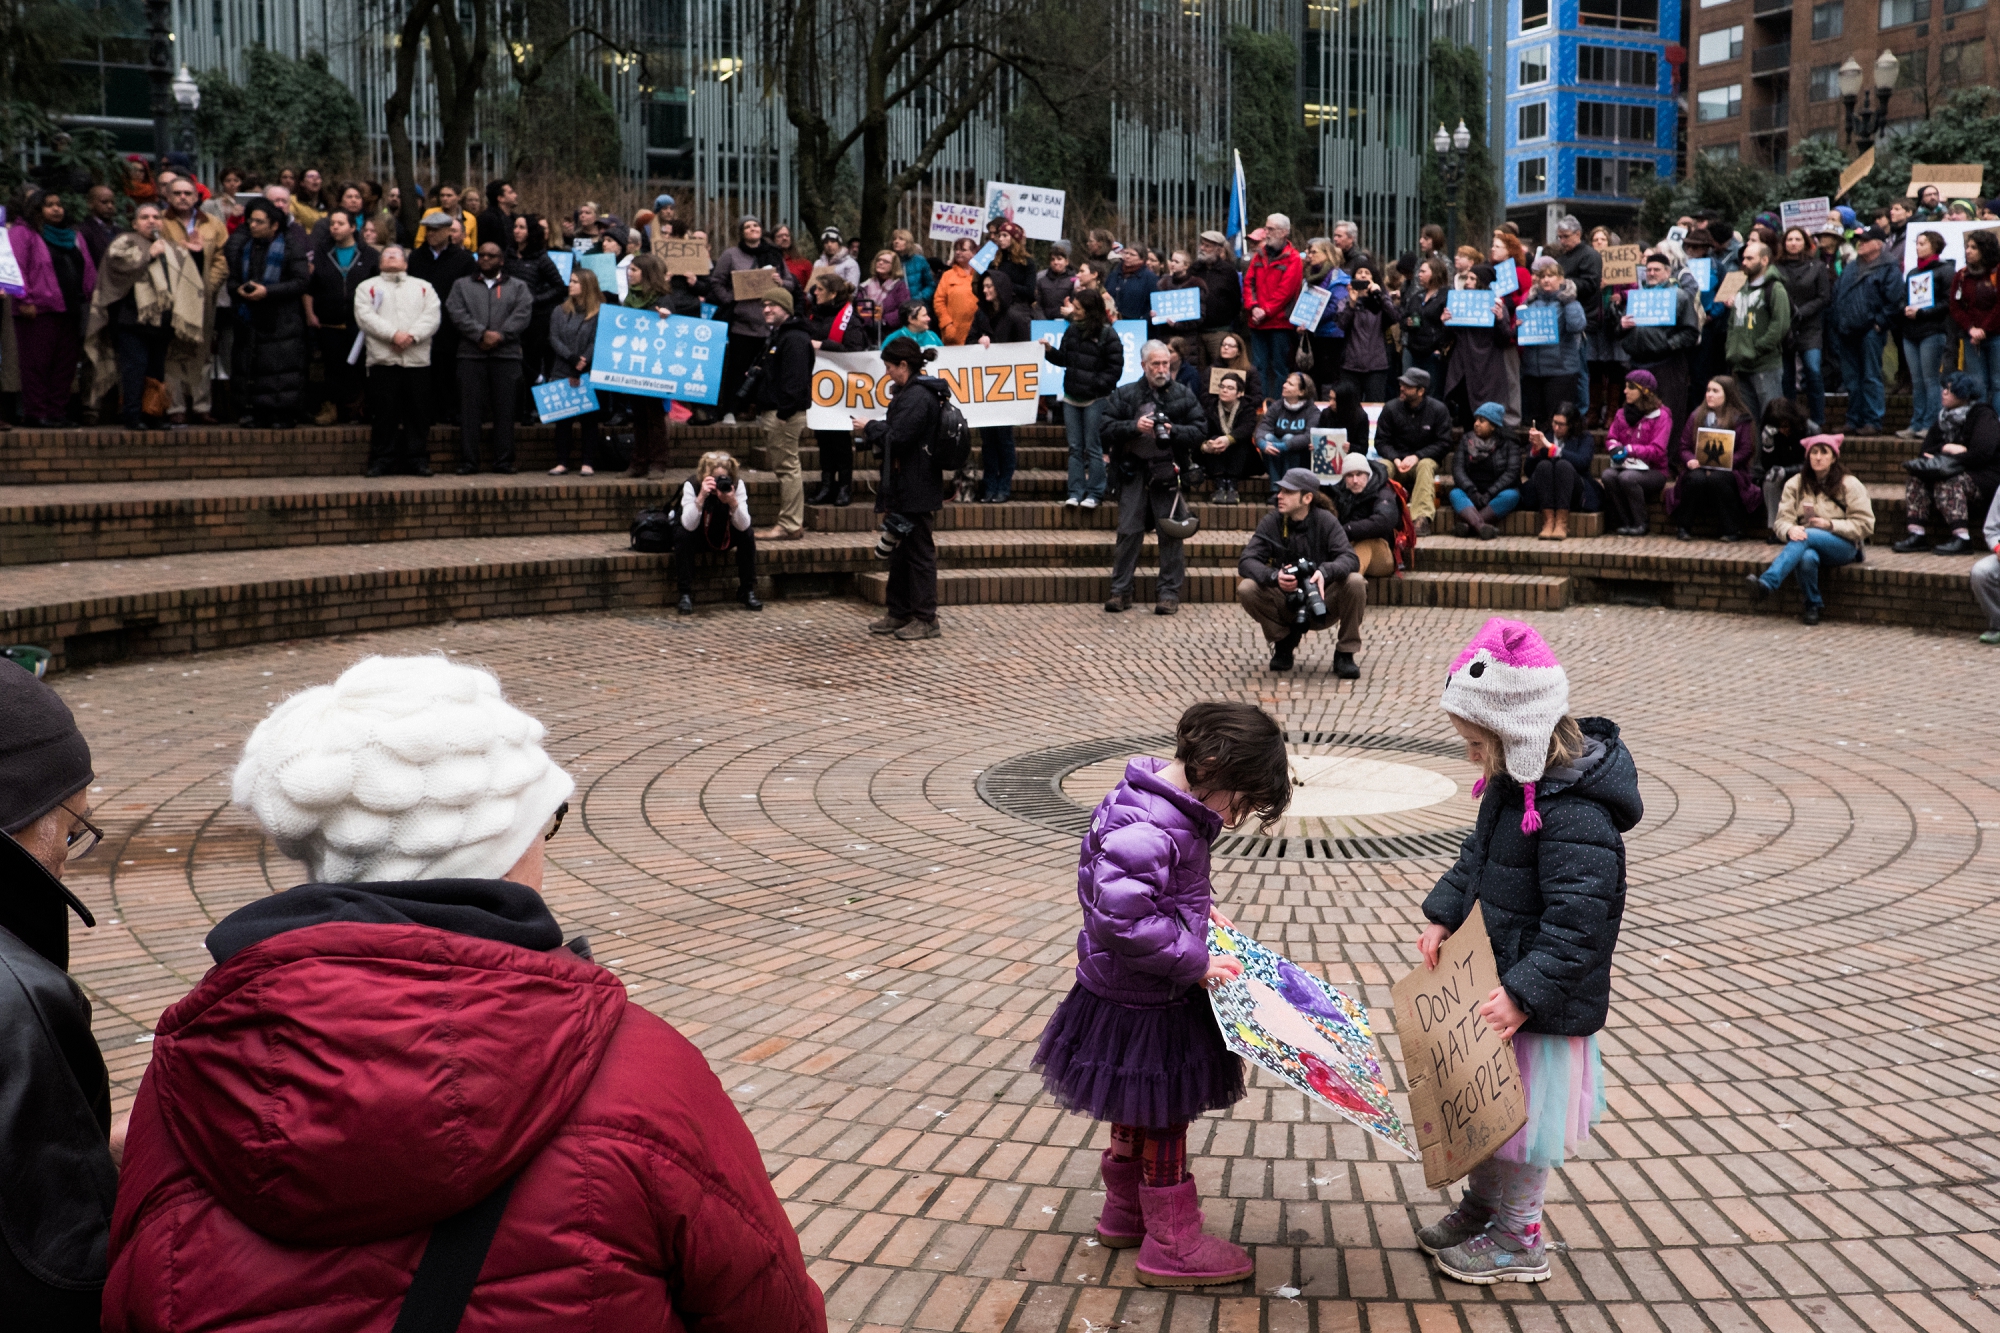
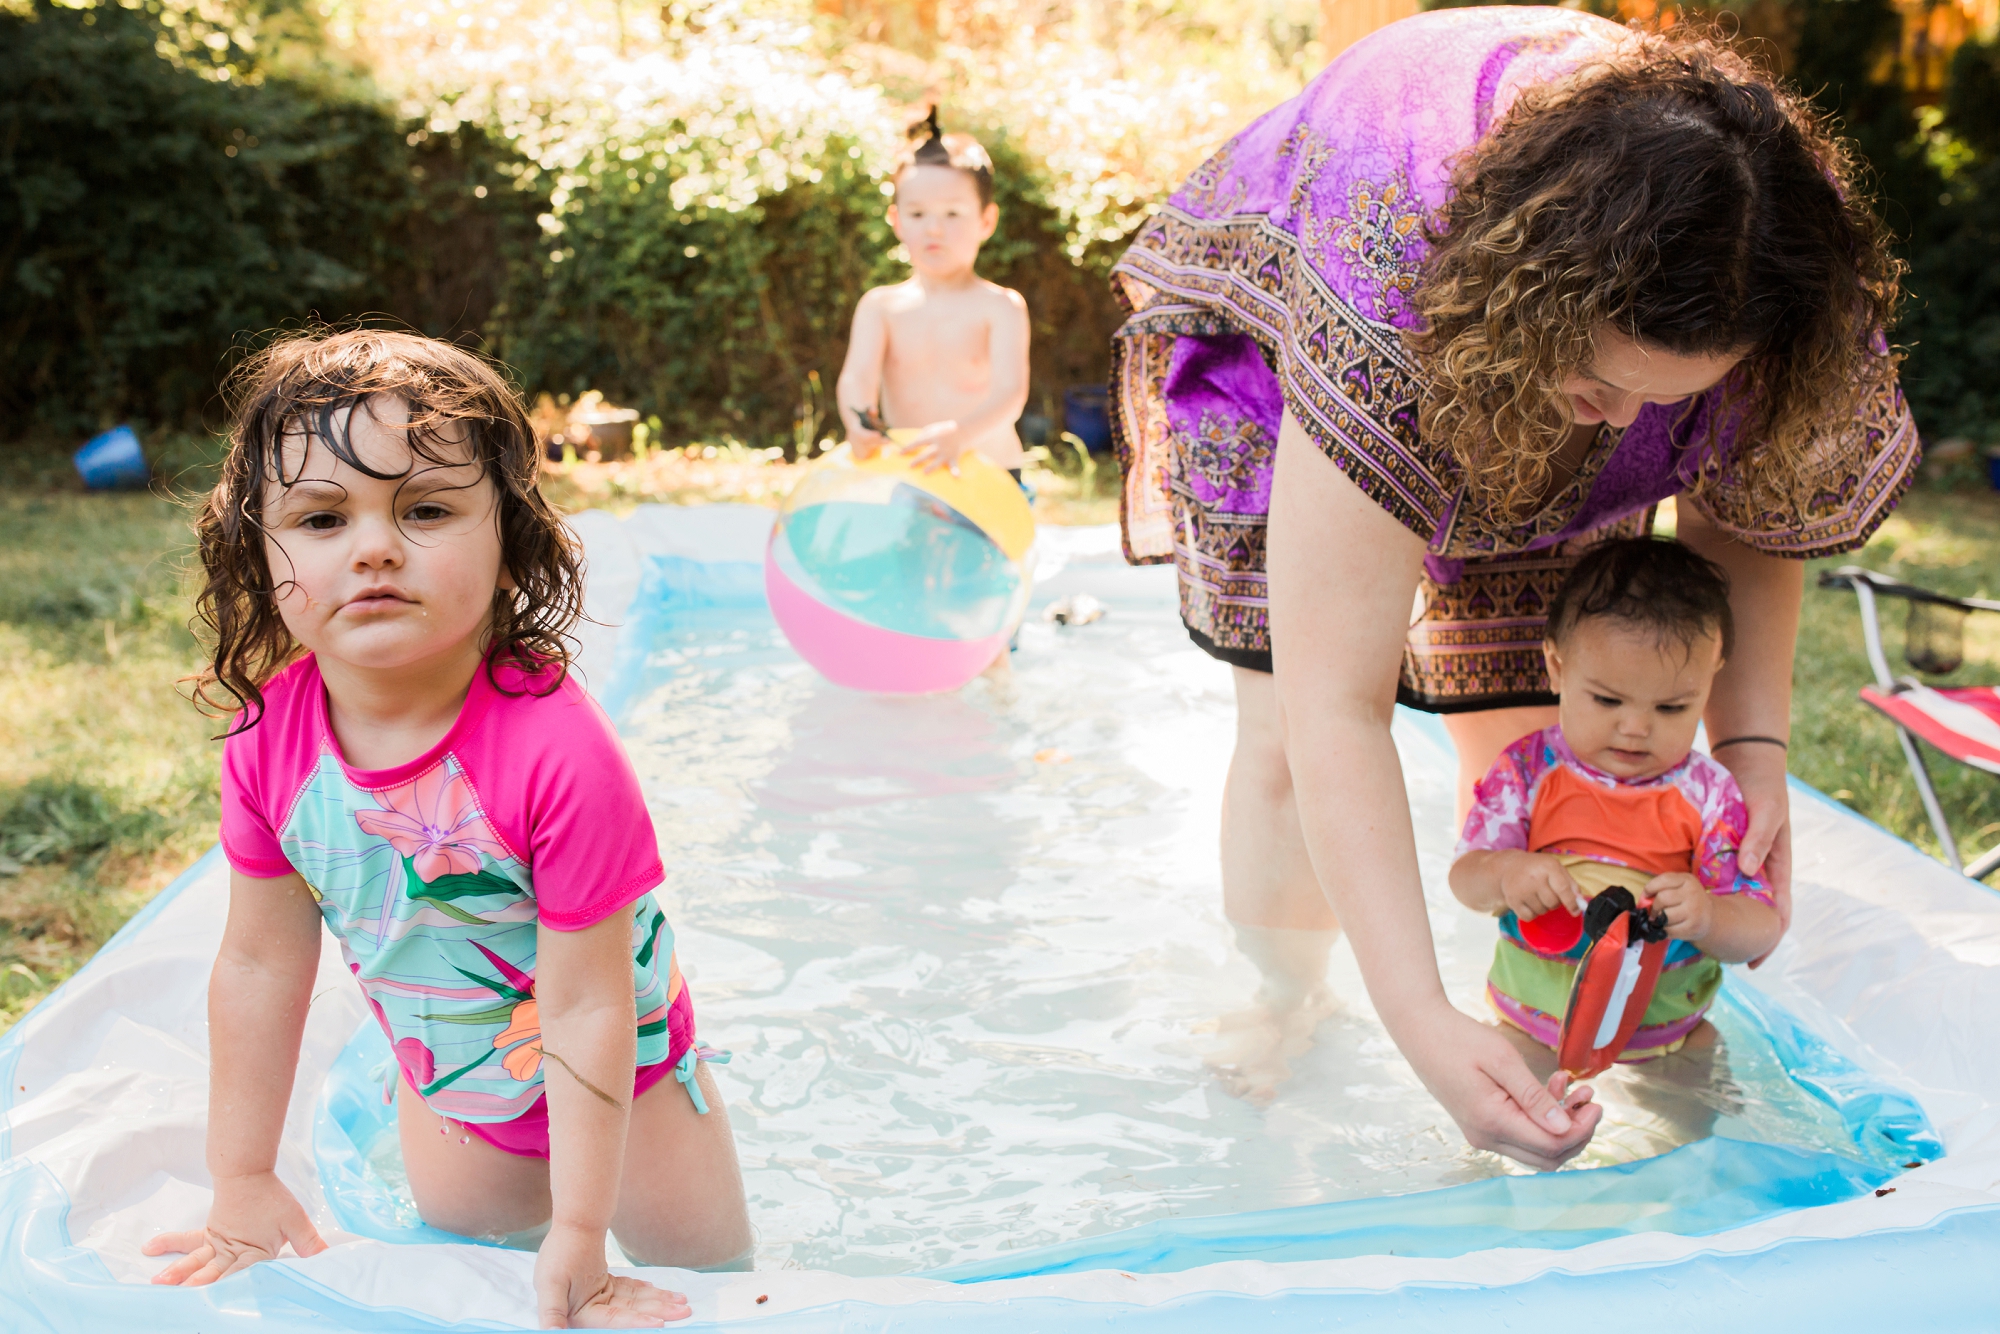
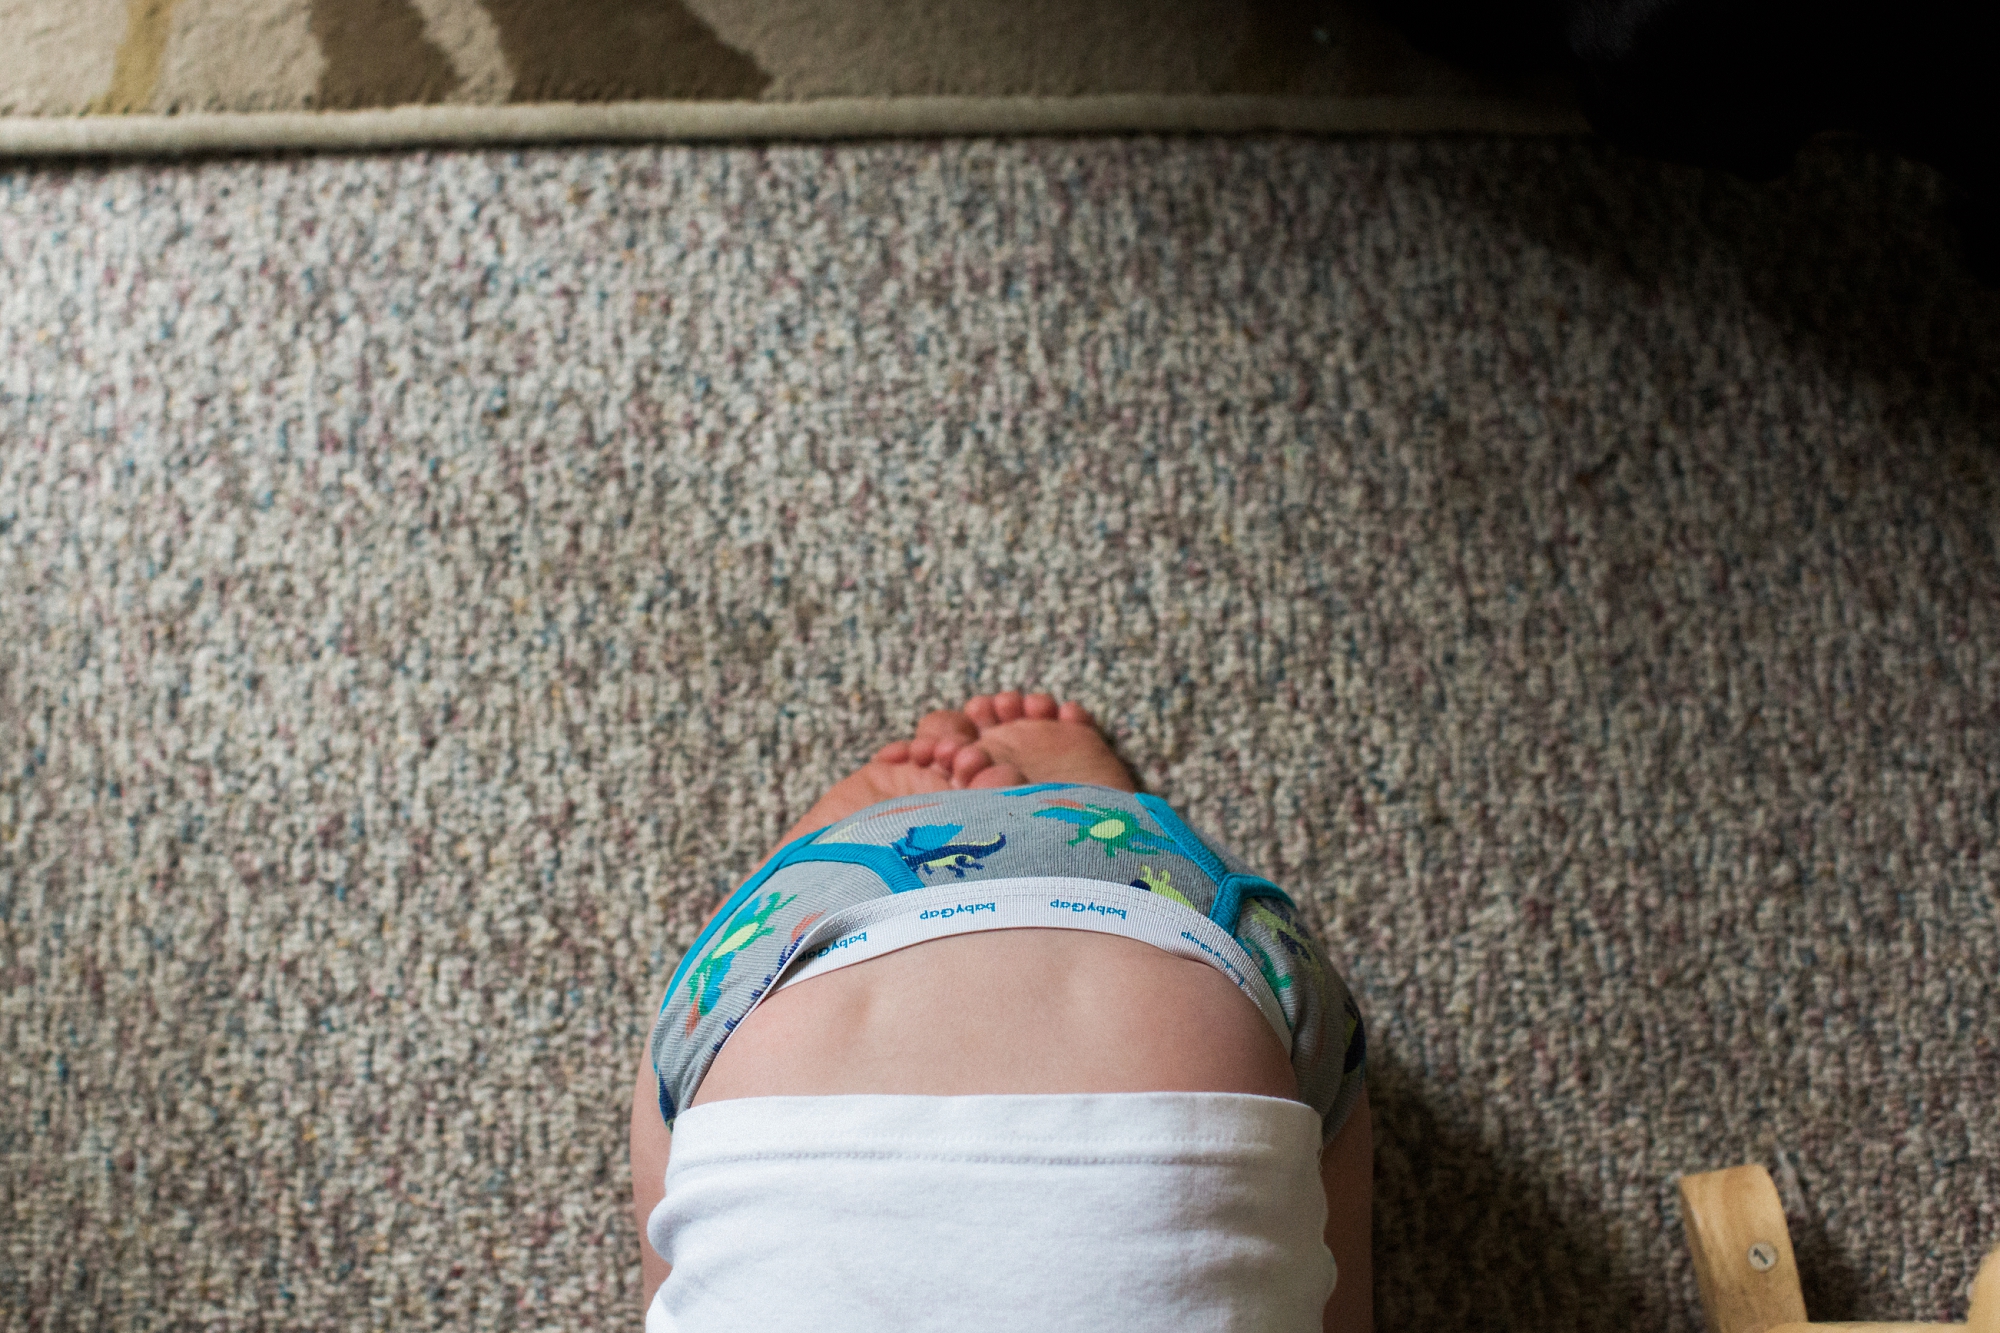
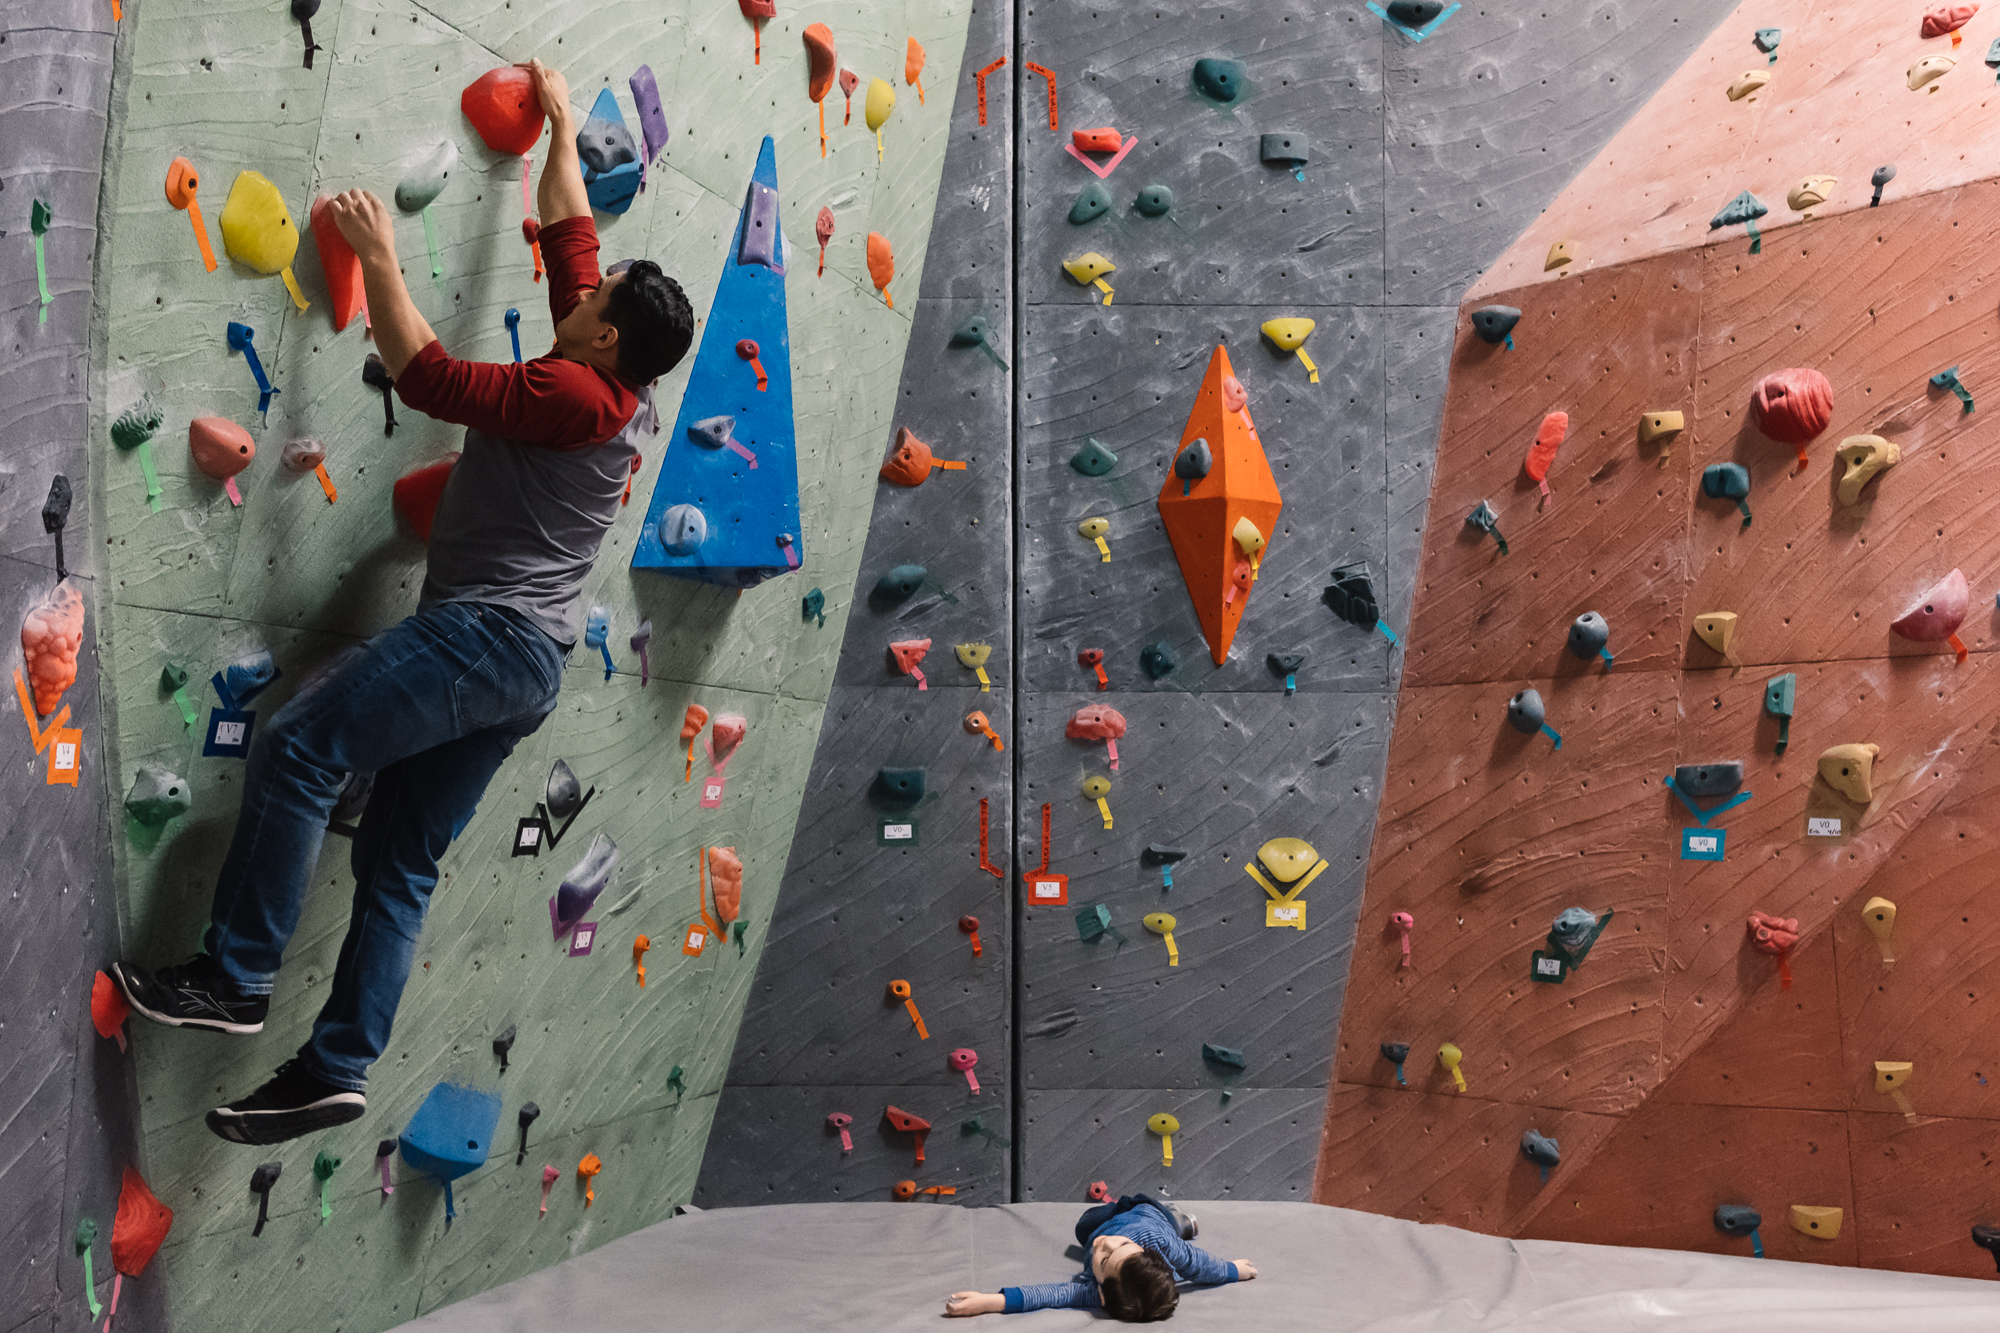
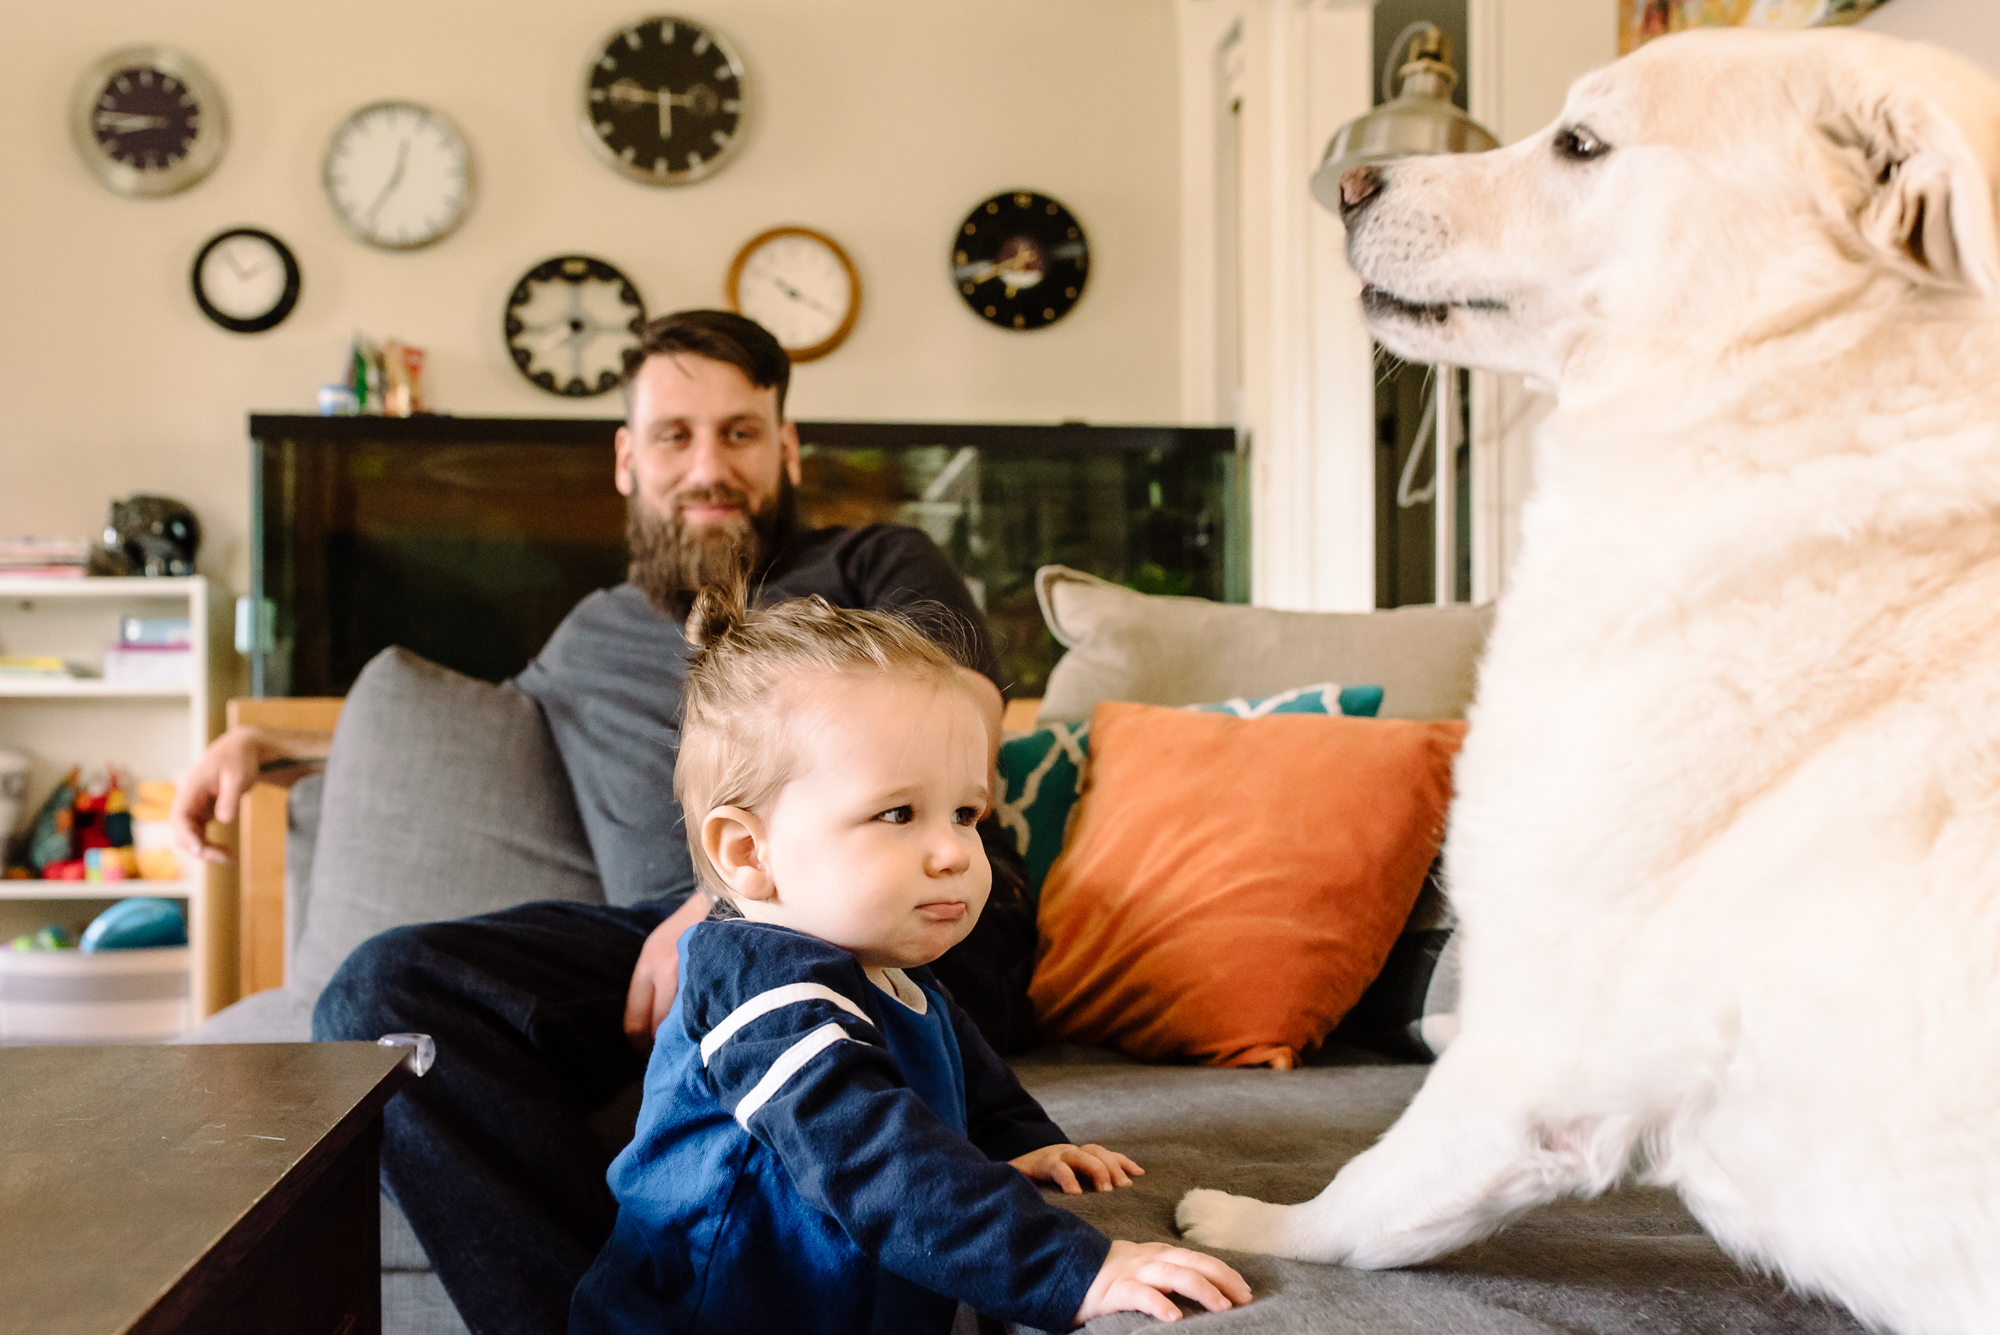
 Sweet sibling cuddles. The chaos of the morning routine as you try to hustle three kids out the door in various states of dress. The rich layering of your children playing together in the front yard, your girls tugging on a doll in the background and their brother passing through the front of the frame on his tricycle. Family documentary images are deep with meaning, connection, and activity, the beautiful mess that we love to capture and share here at Sham of the Perfect.
But what happens if you have just one child? Where does the frame that you see life through everyday fit into that hive of activity? How do you show beautiful messes when your life is, by nature, just a bit more orderly, a tad quieter, or the main interactions are between you – behind the camera – and the solo child in front of you?
That’s a question that we – Robin and Michelle, two of contributing photographers here at Sham, and mothers of only children – have often found ourselves struggling with, each in different ways.
When so much of the aesthetic behind family documentary is based on pulling back the curtain of orderly perfection presented in other styles of photography in order to reveal the chaos and mess beneath, how do your photos fit in when the curtain reveals a much less bananas reality?
Here’s our perspective…
Michelle
Before submitting my images to Sham every week for the past two years, I have often found myself questioning: does this image look documentary? It’s a telling question.

Of course, having taken the photo, I knew whether the photo was actually taken with a documentary approach or not but my question was about whether other people would believe that. Being authentic and looking authentic are not the same thing sometimes.
I remember when we first started our IG account for Sham, we would feature these awesome family moments with incredible lighting and technique, and our followers would sometimes ask: “Where’s the mess?” The insinuation was that the photo wasn’t “documentary” or true to the concept of “the sham of perfection” if it was too clean both in terms of composition and the scene itself. While there’s a legitimate concern there, it did raise the question of what is documentary? One of our founding members, Lacey Monroe, answered that so well in a recent article published on this blog.
“…documentary photography refers to the approach of photographing something exactly as it is without any interference or direction from the photographer.”
You can’t always tell as a viewer whether an image was actually taken without interference or direction.
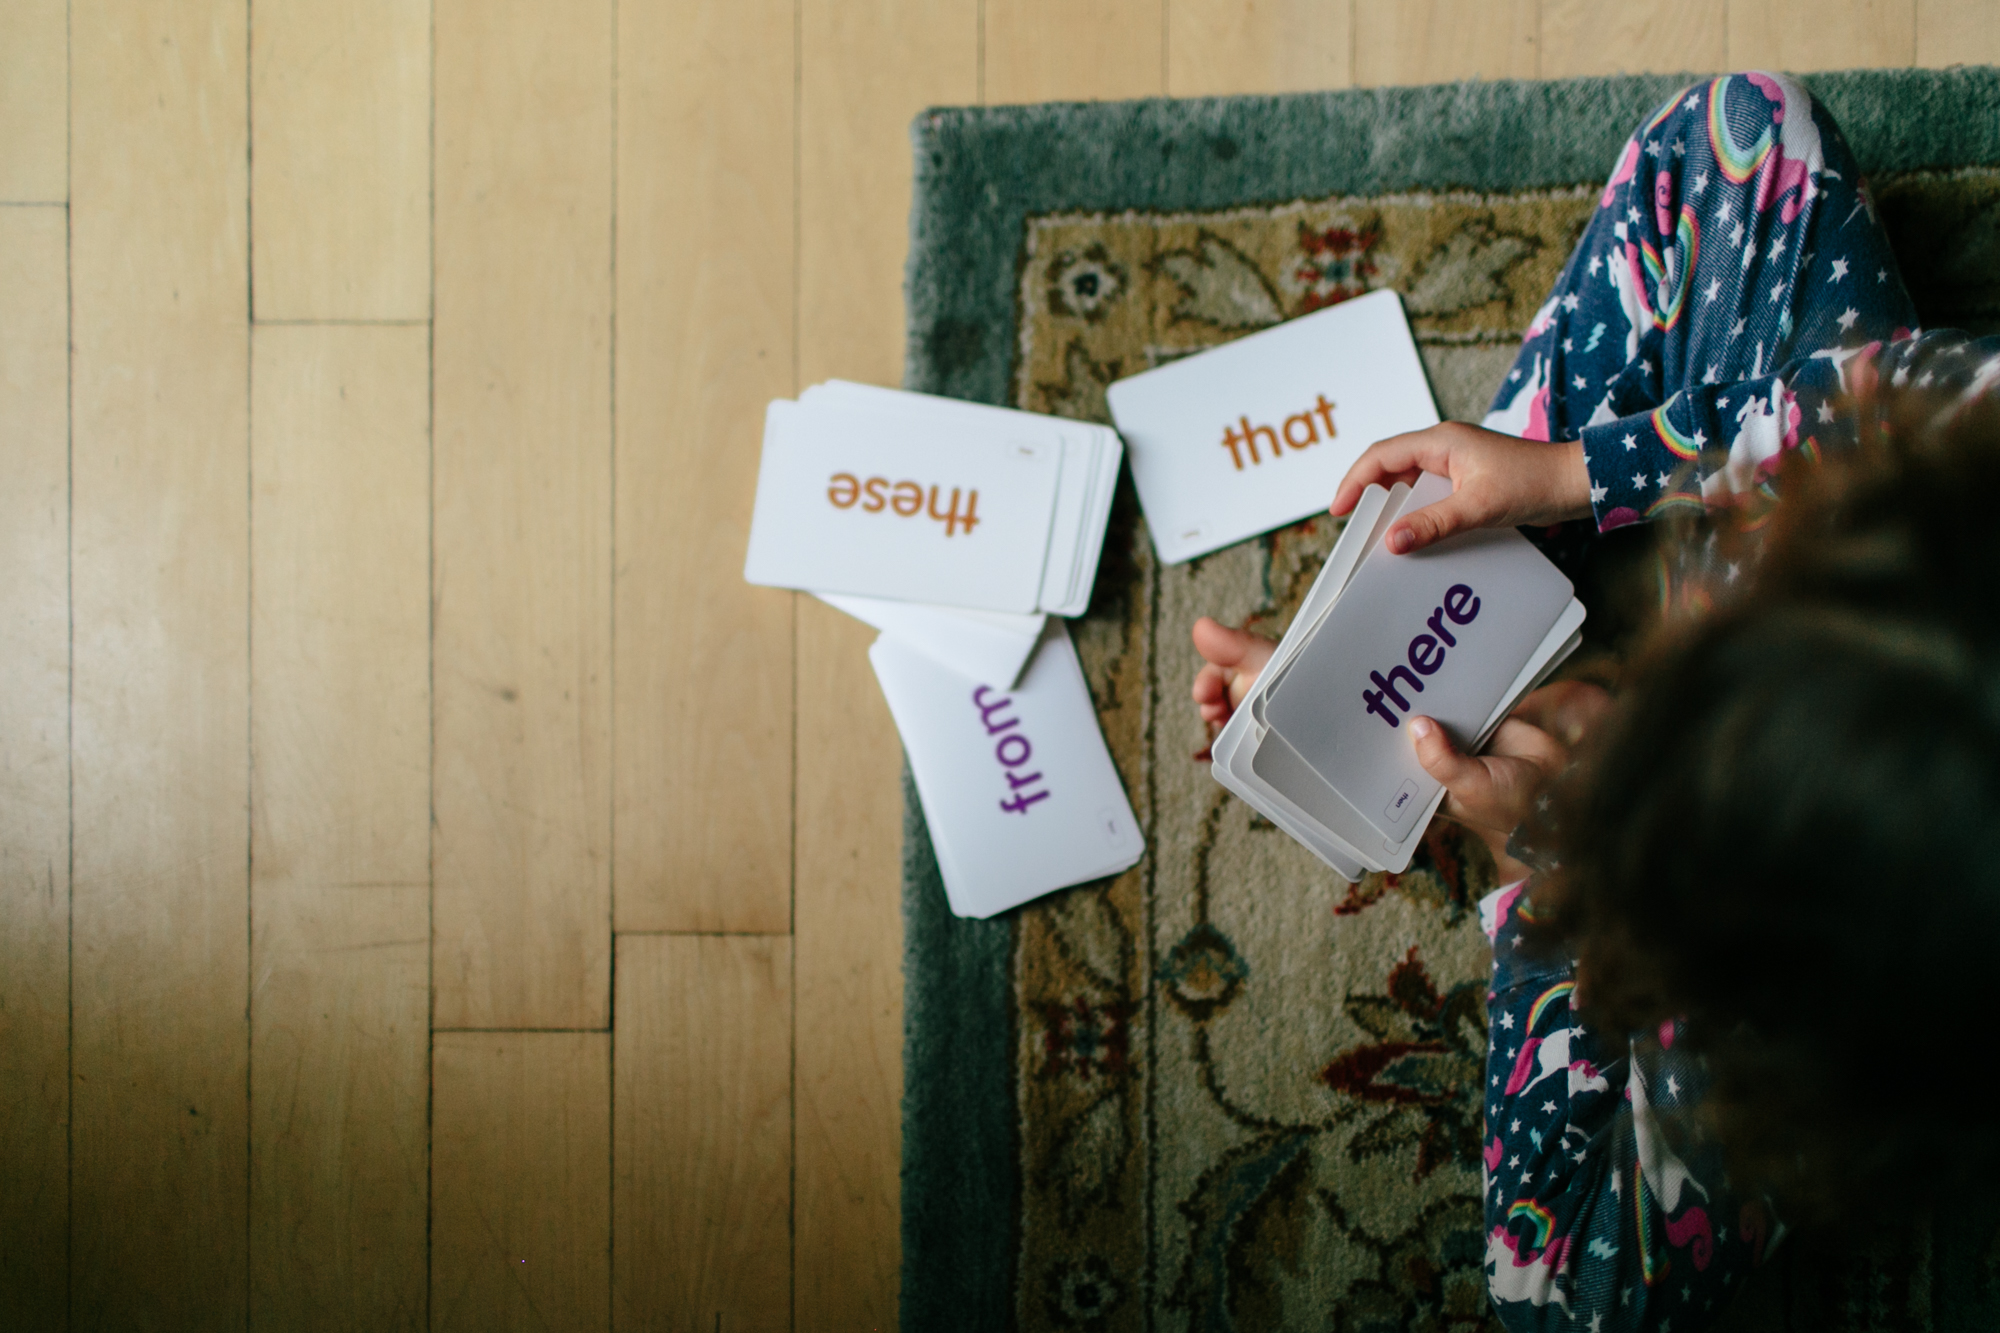
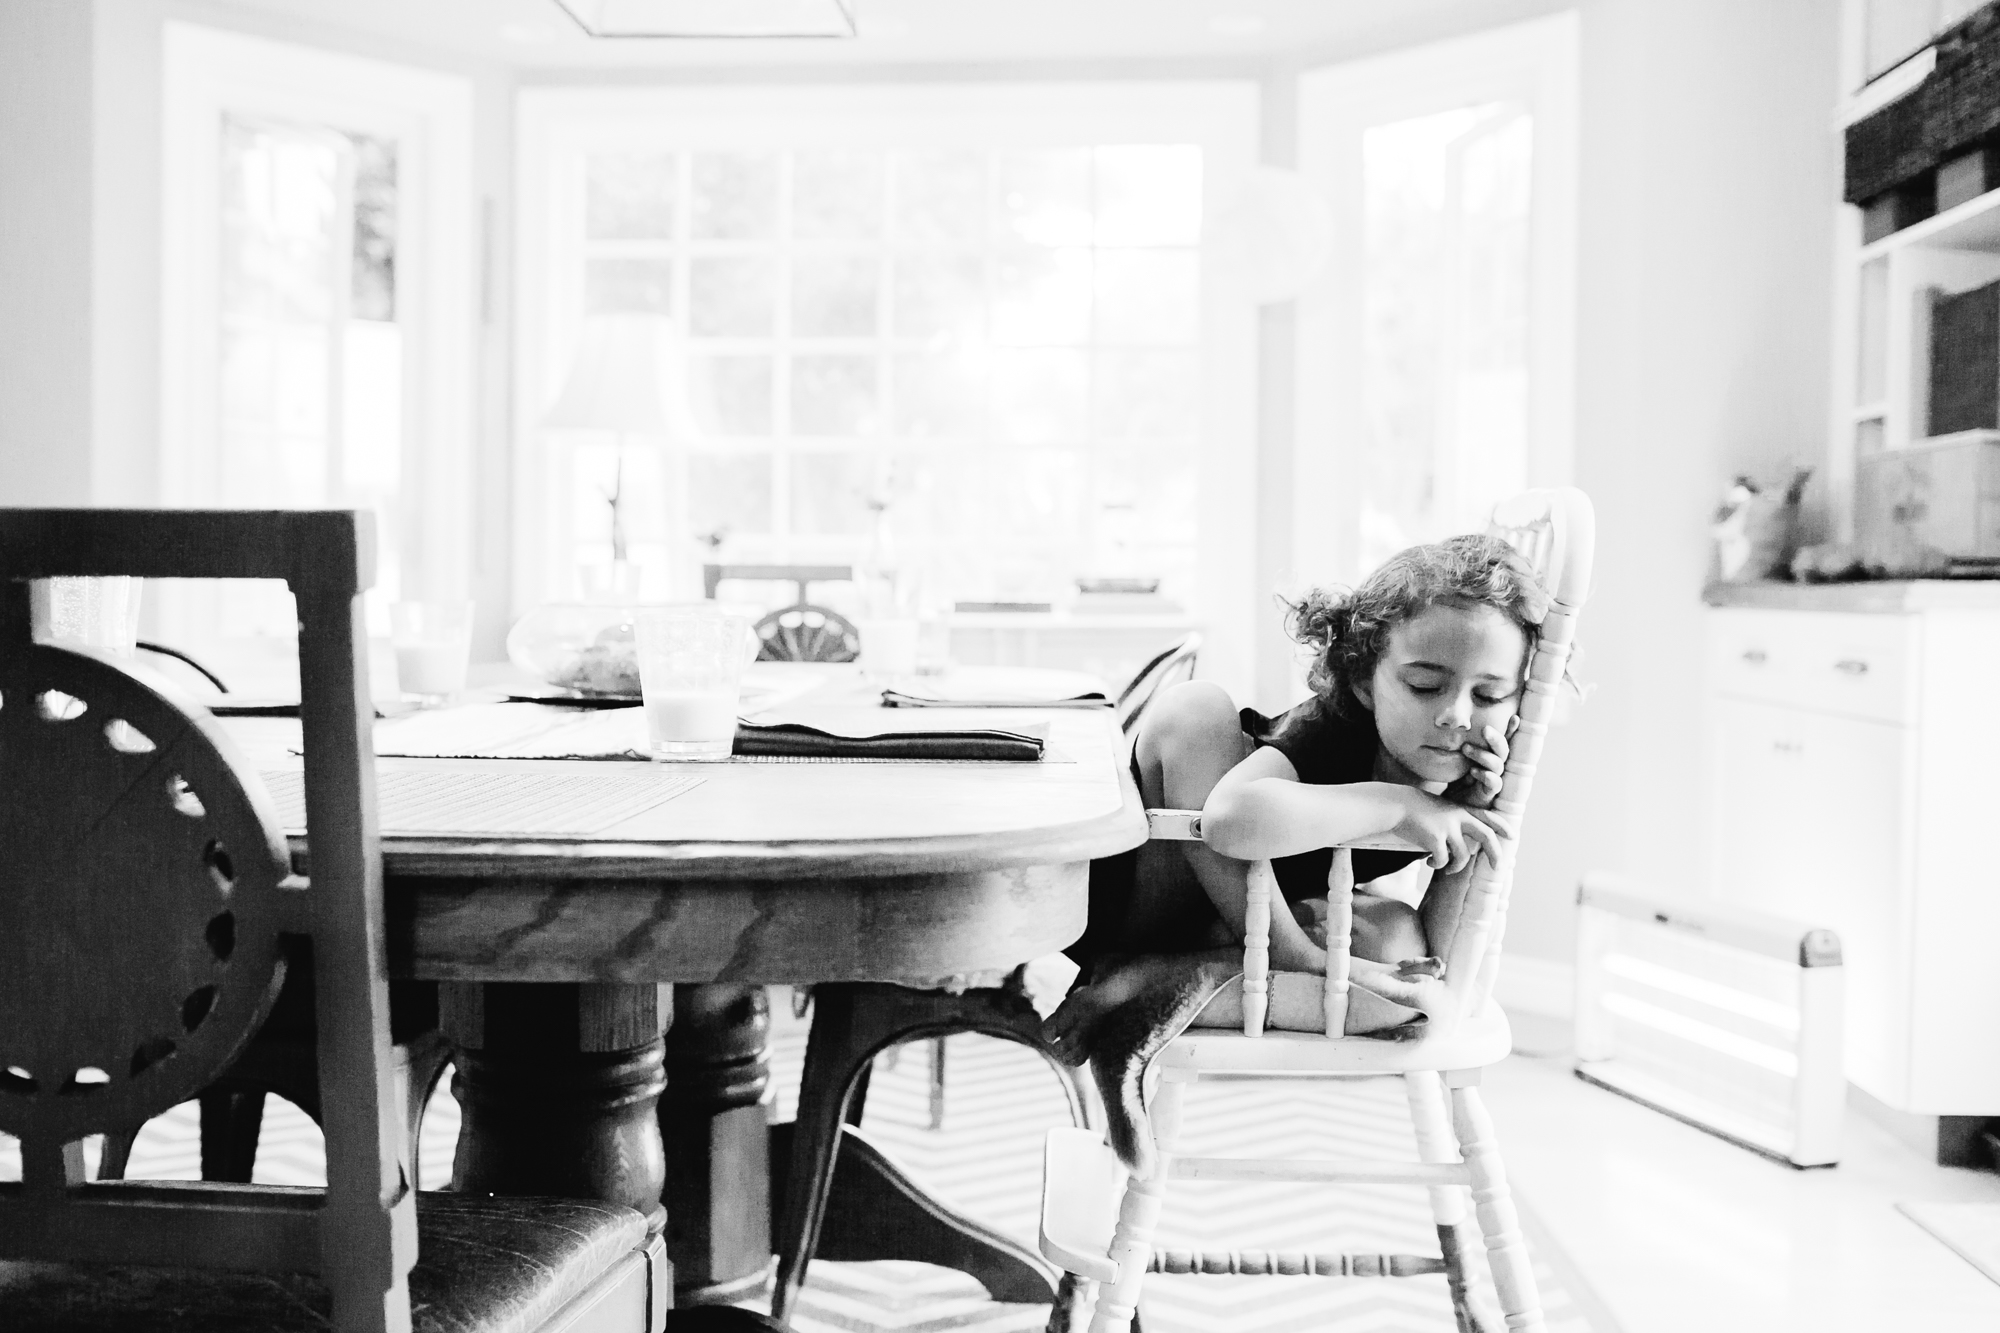
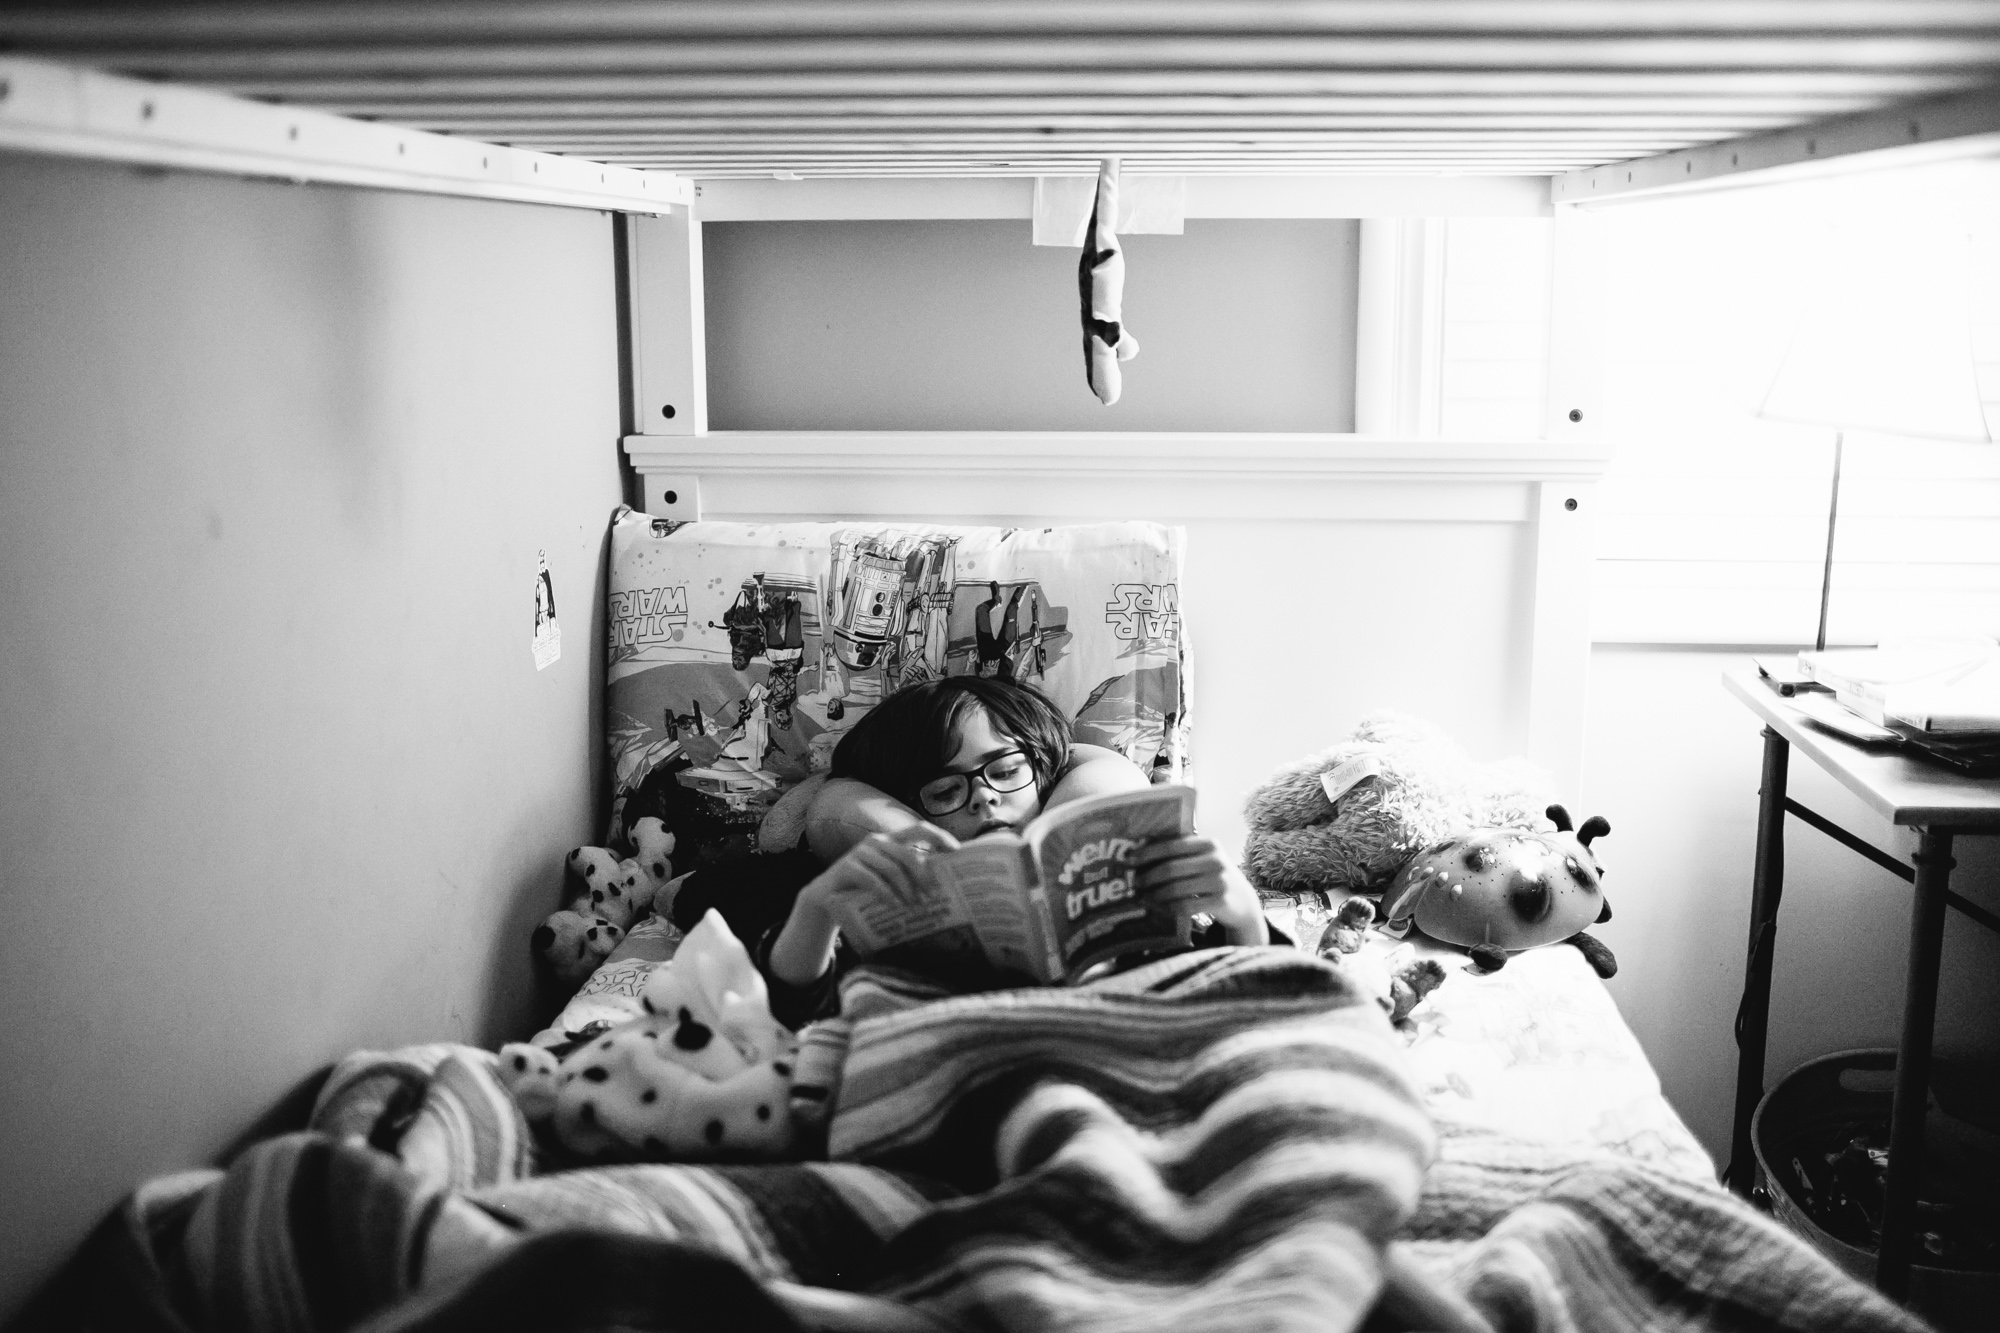
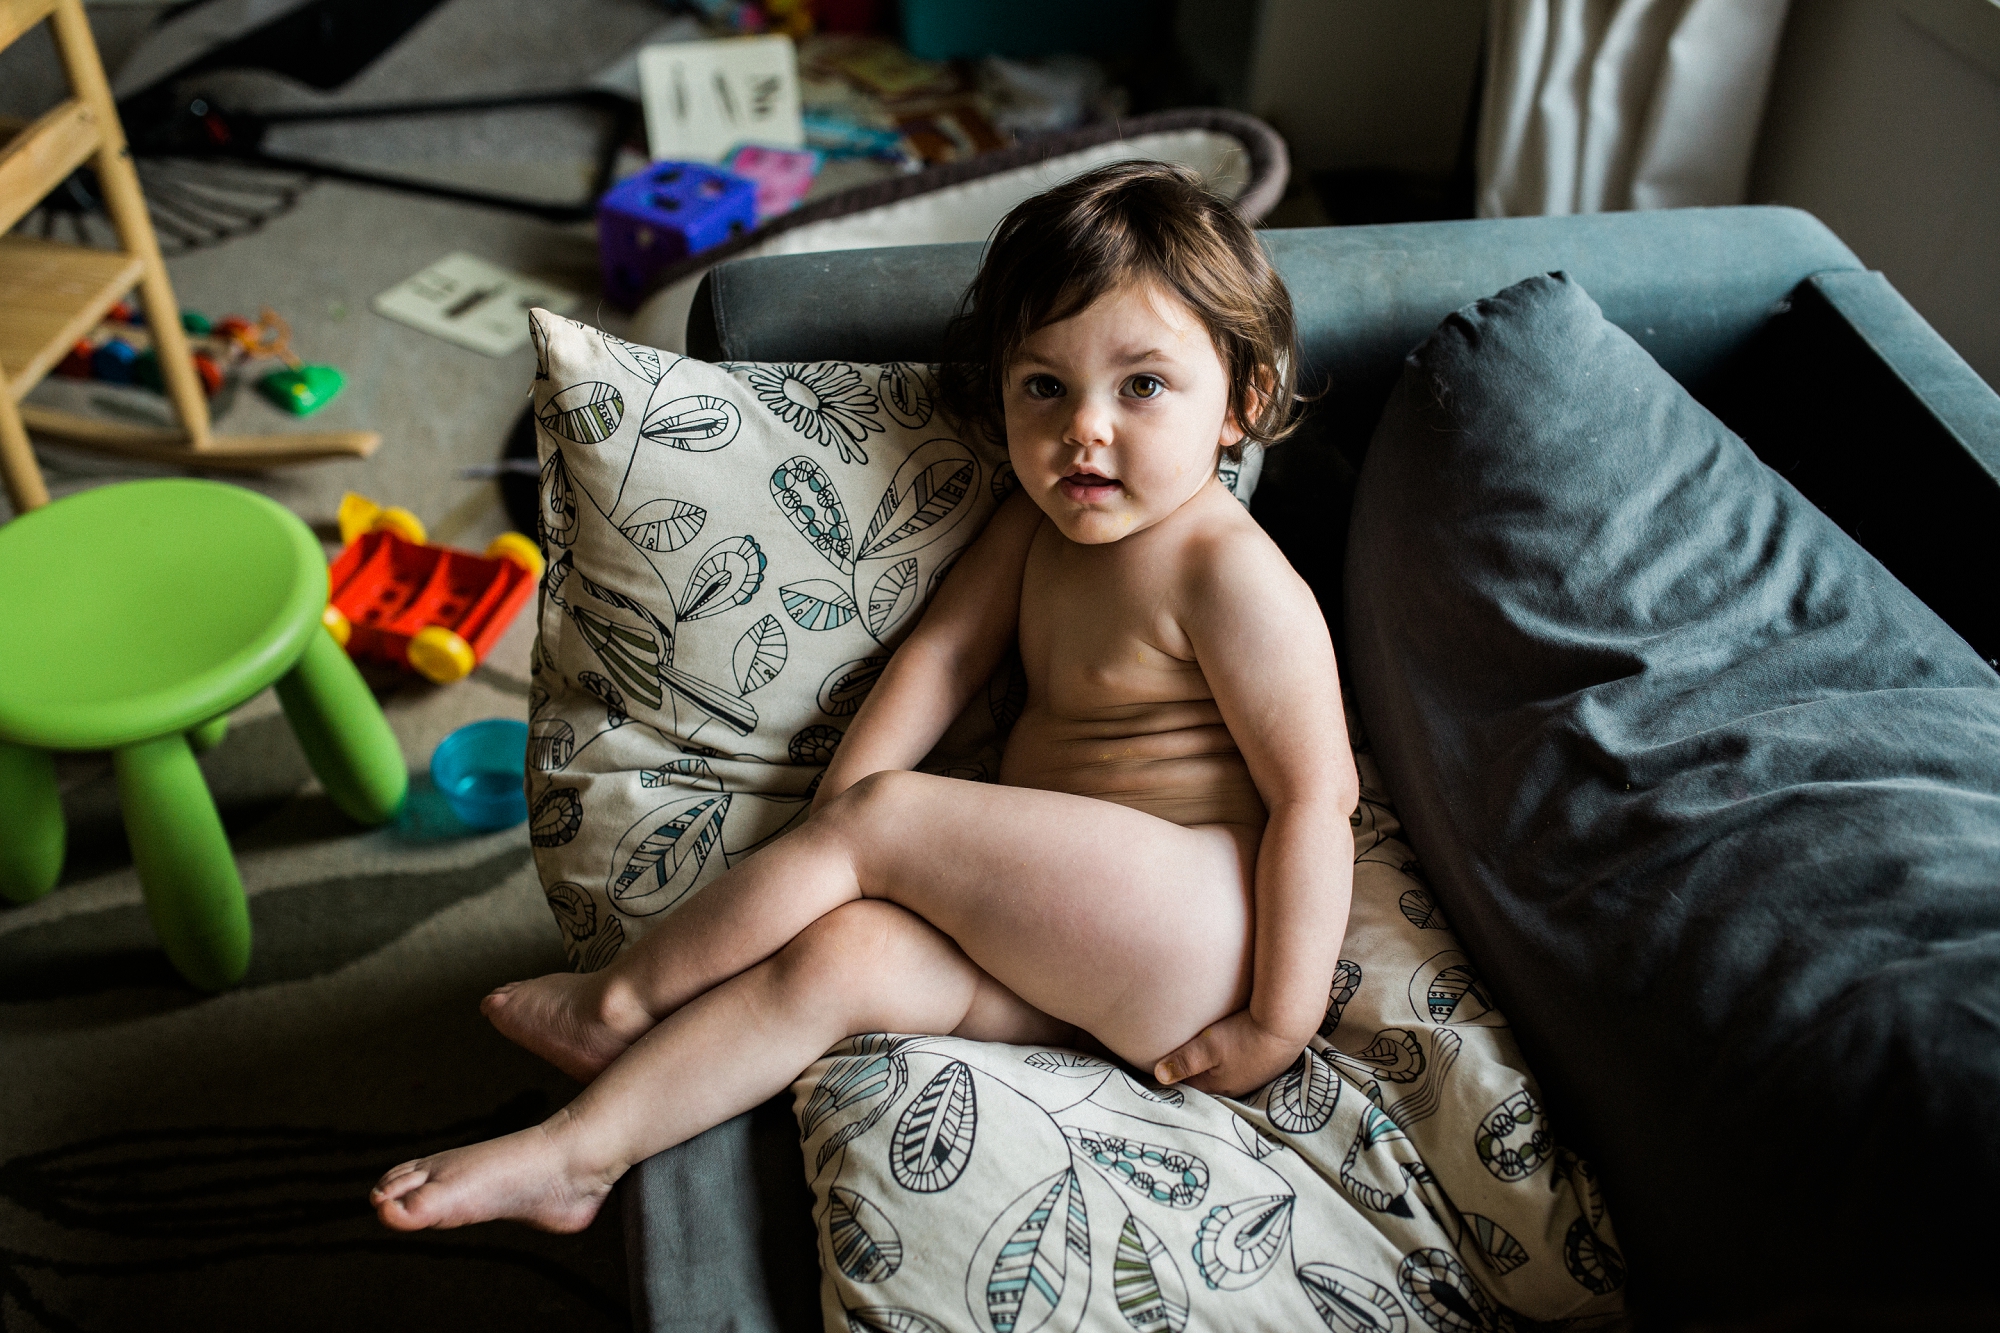
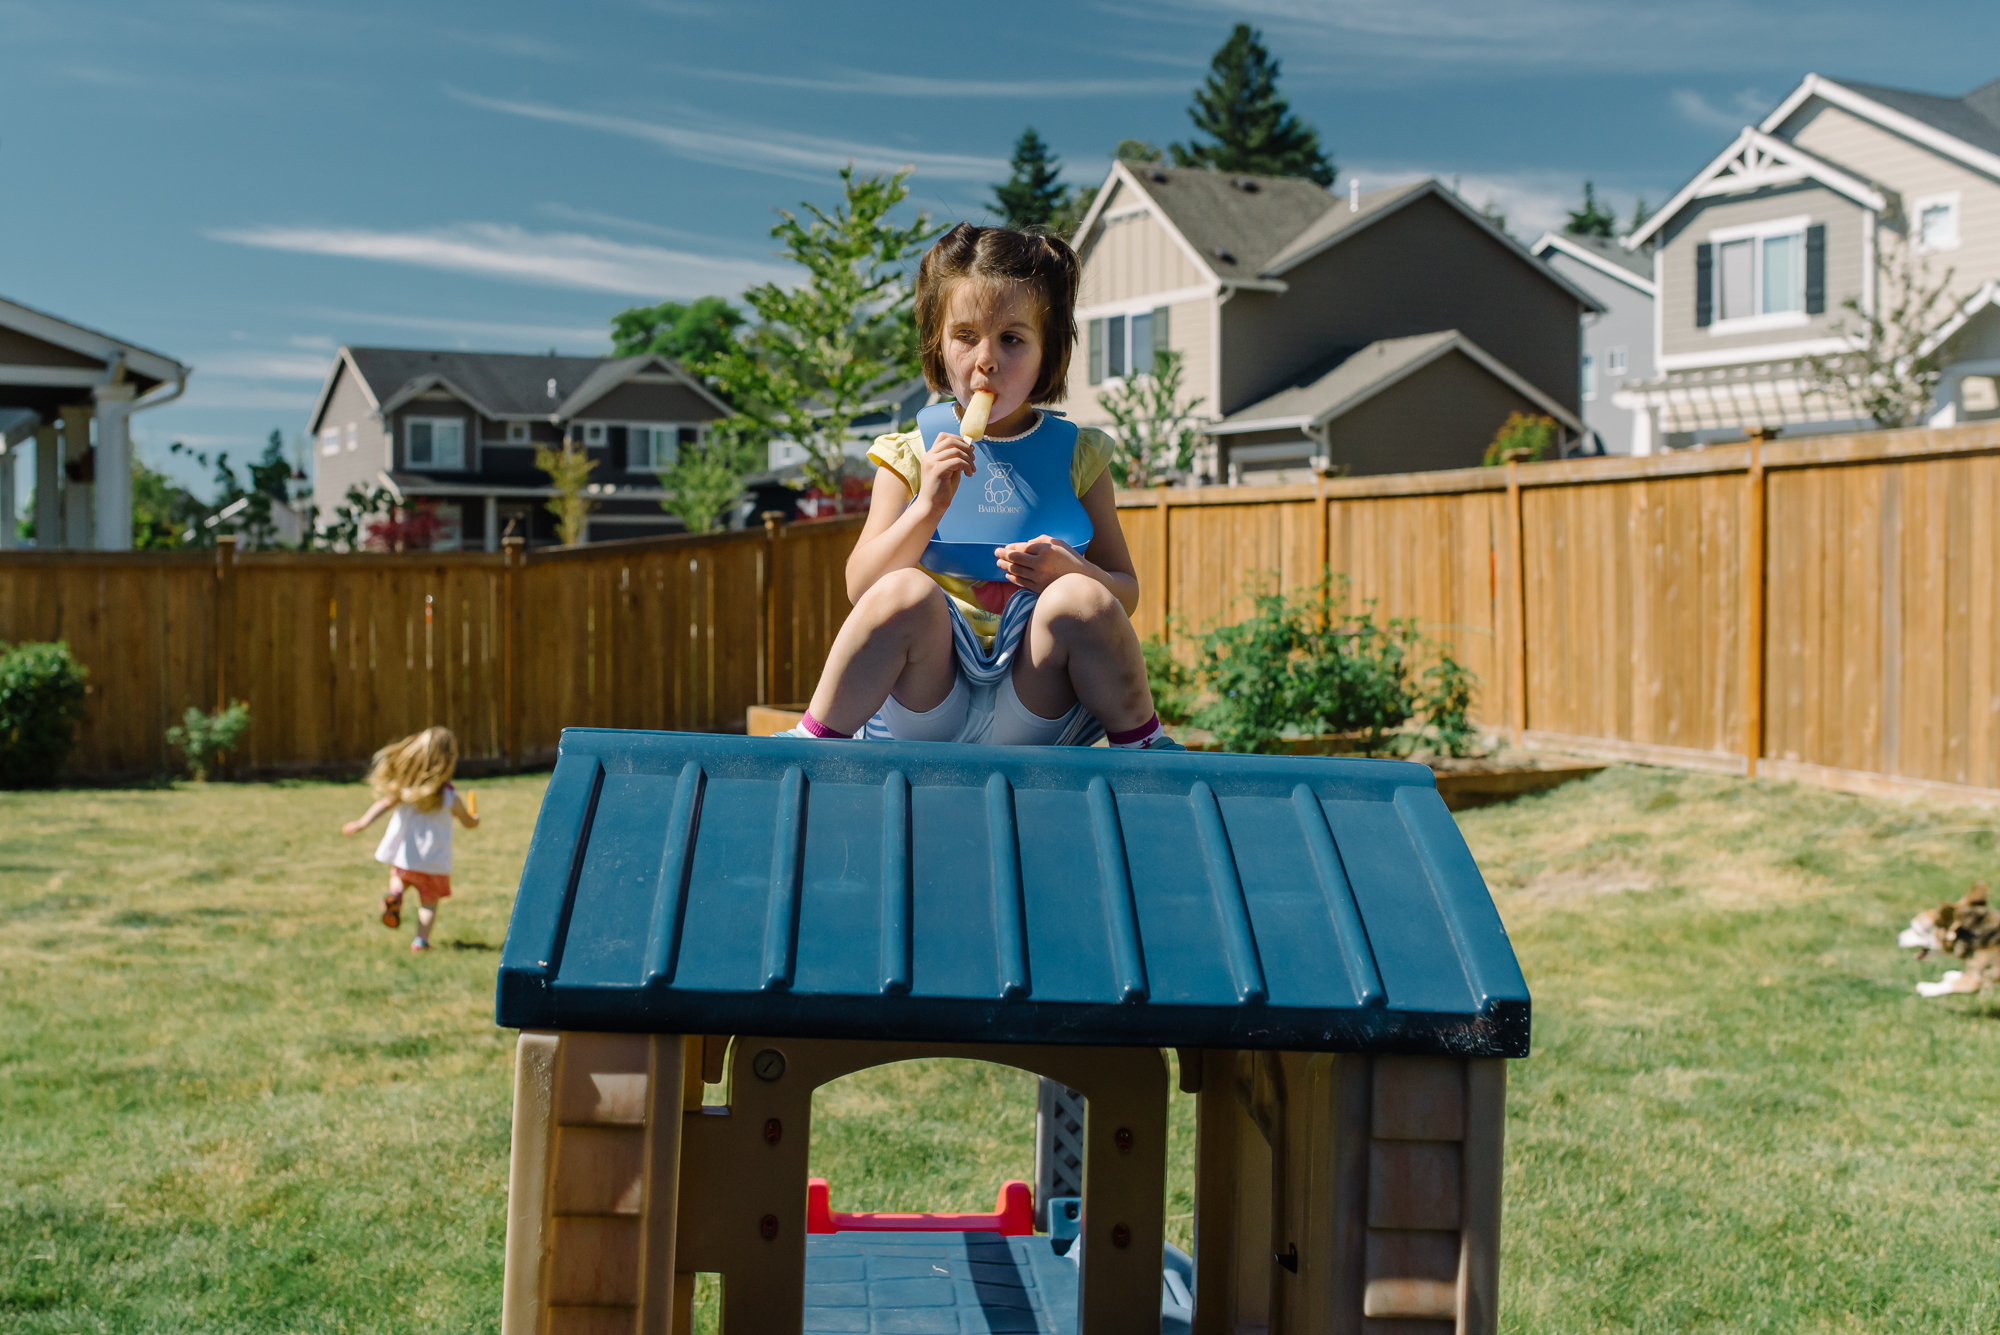
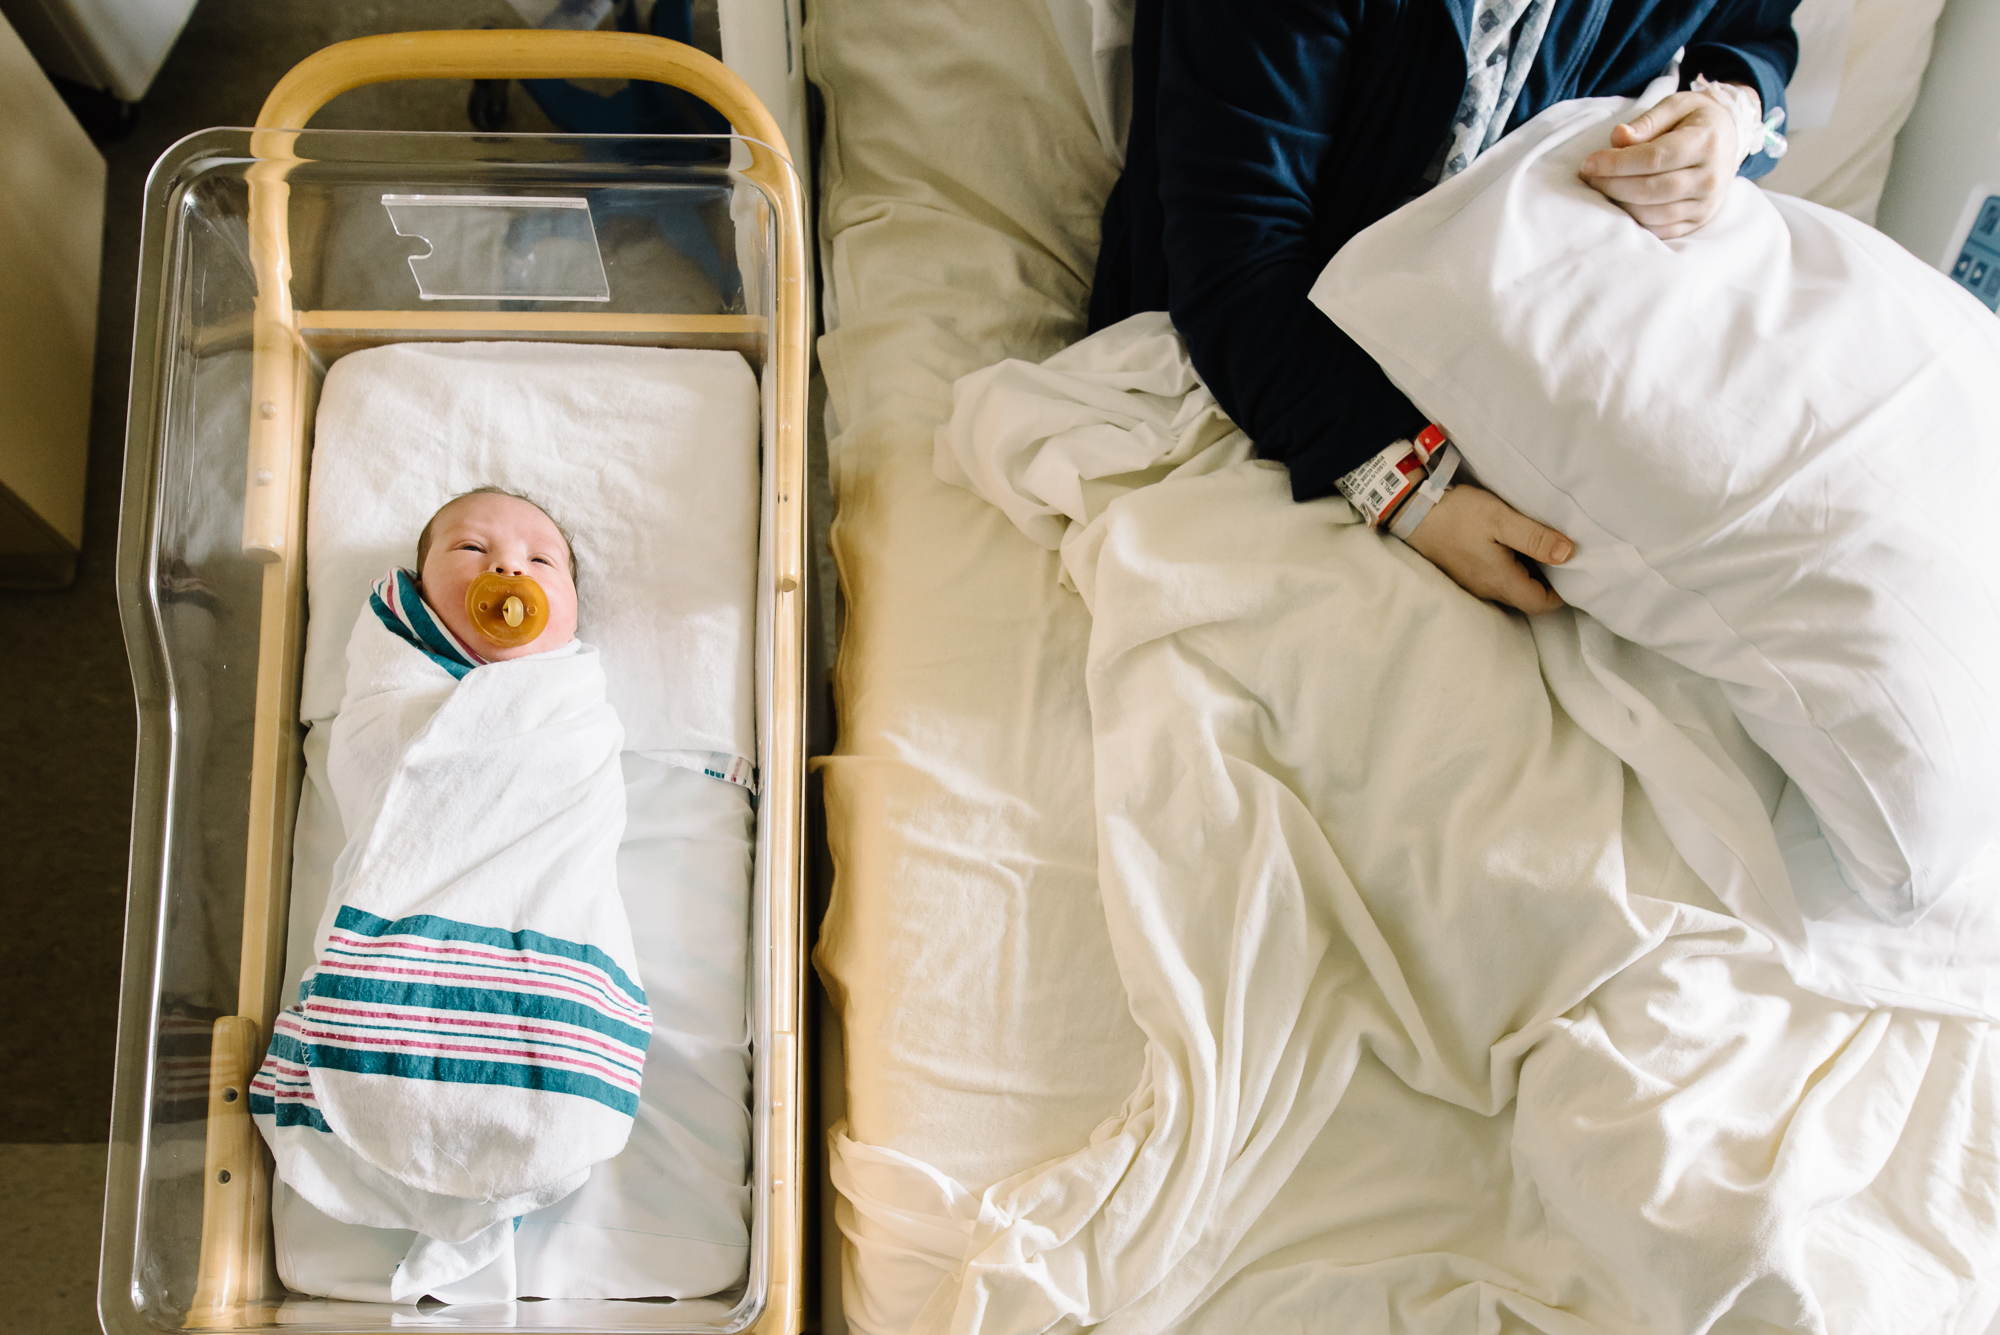
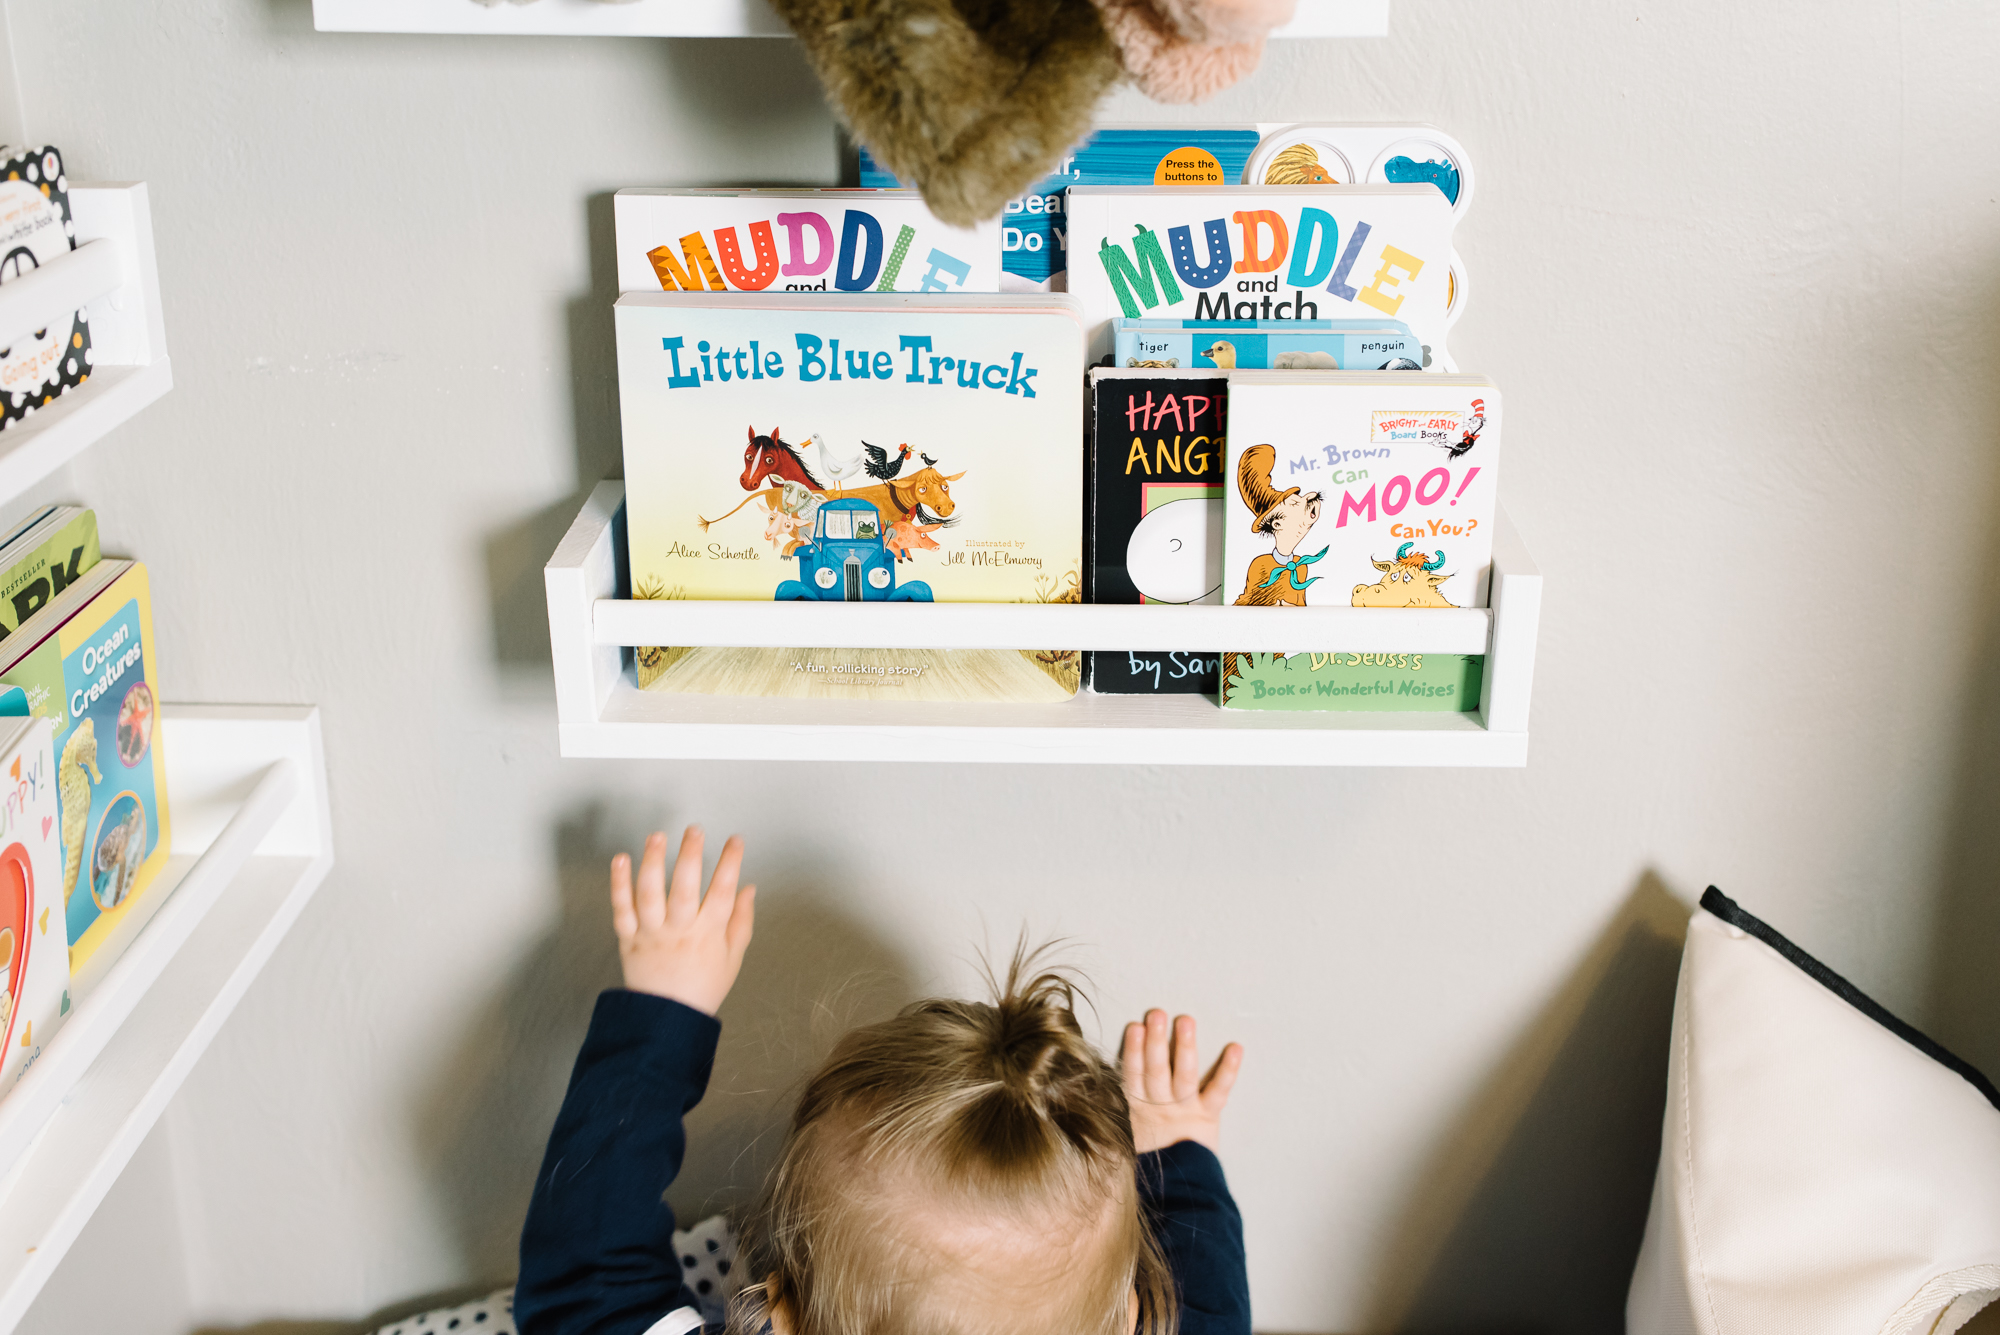
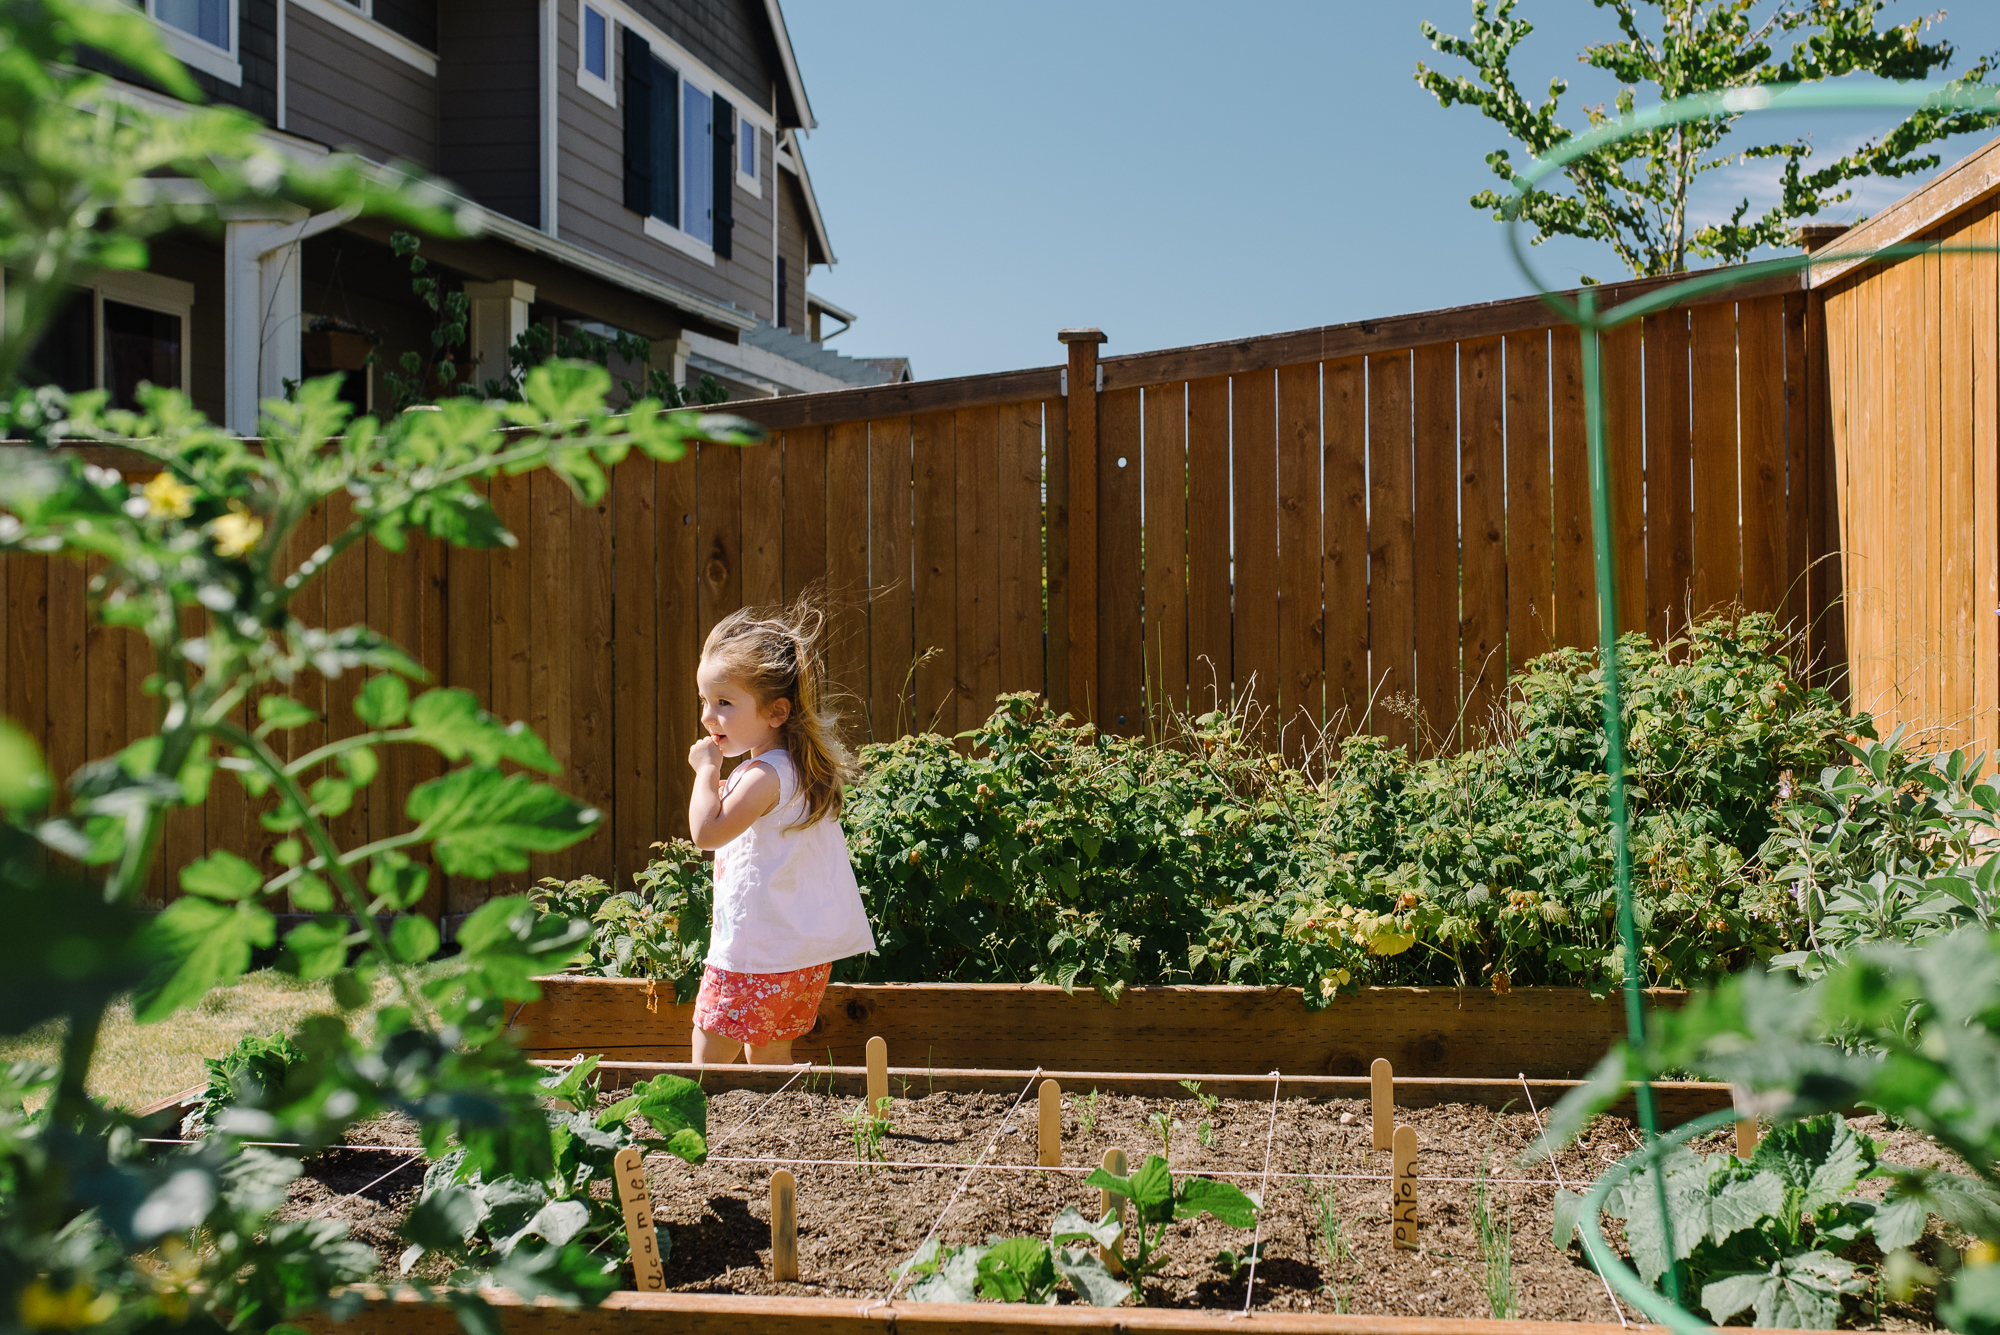
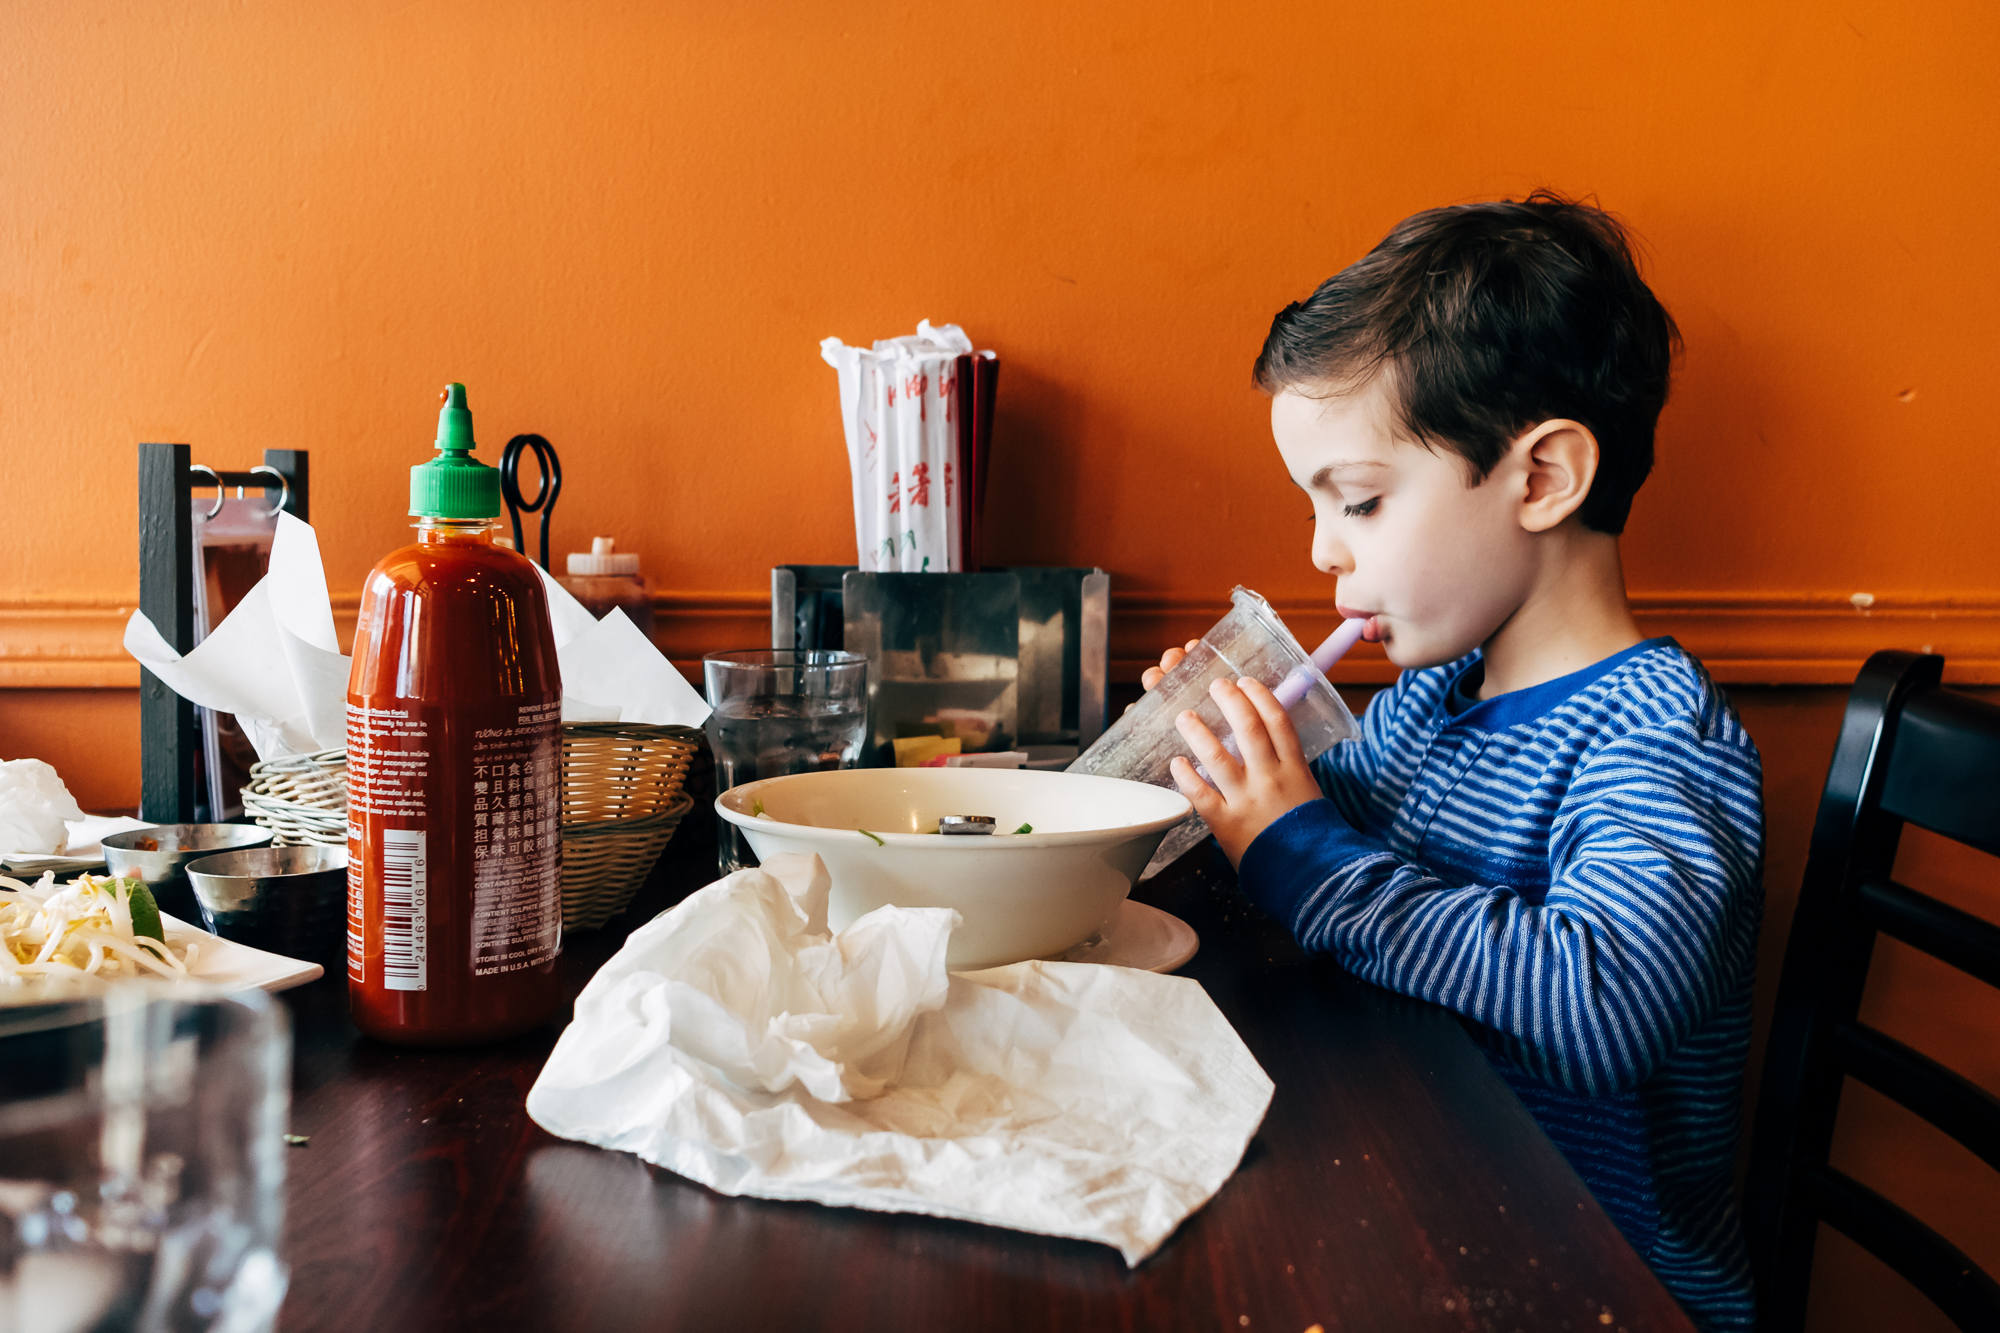
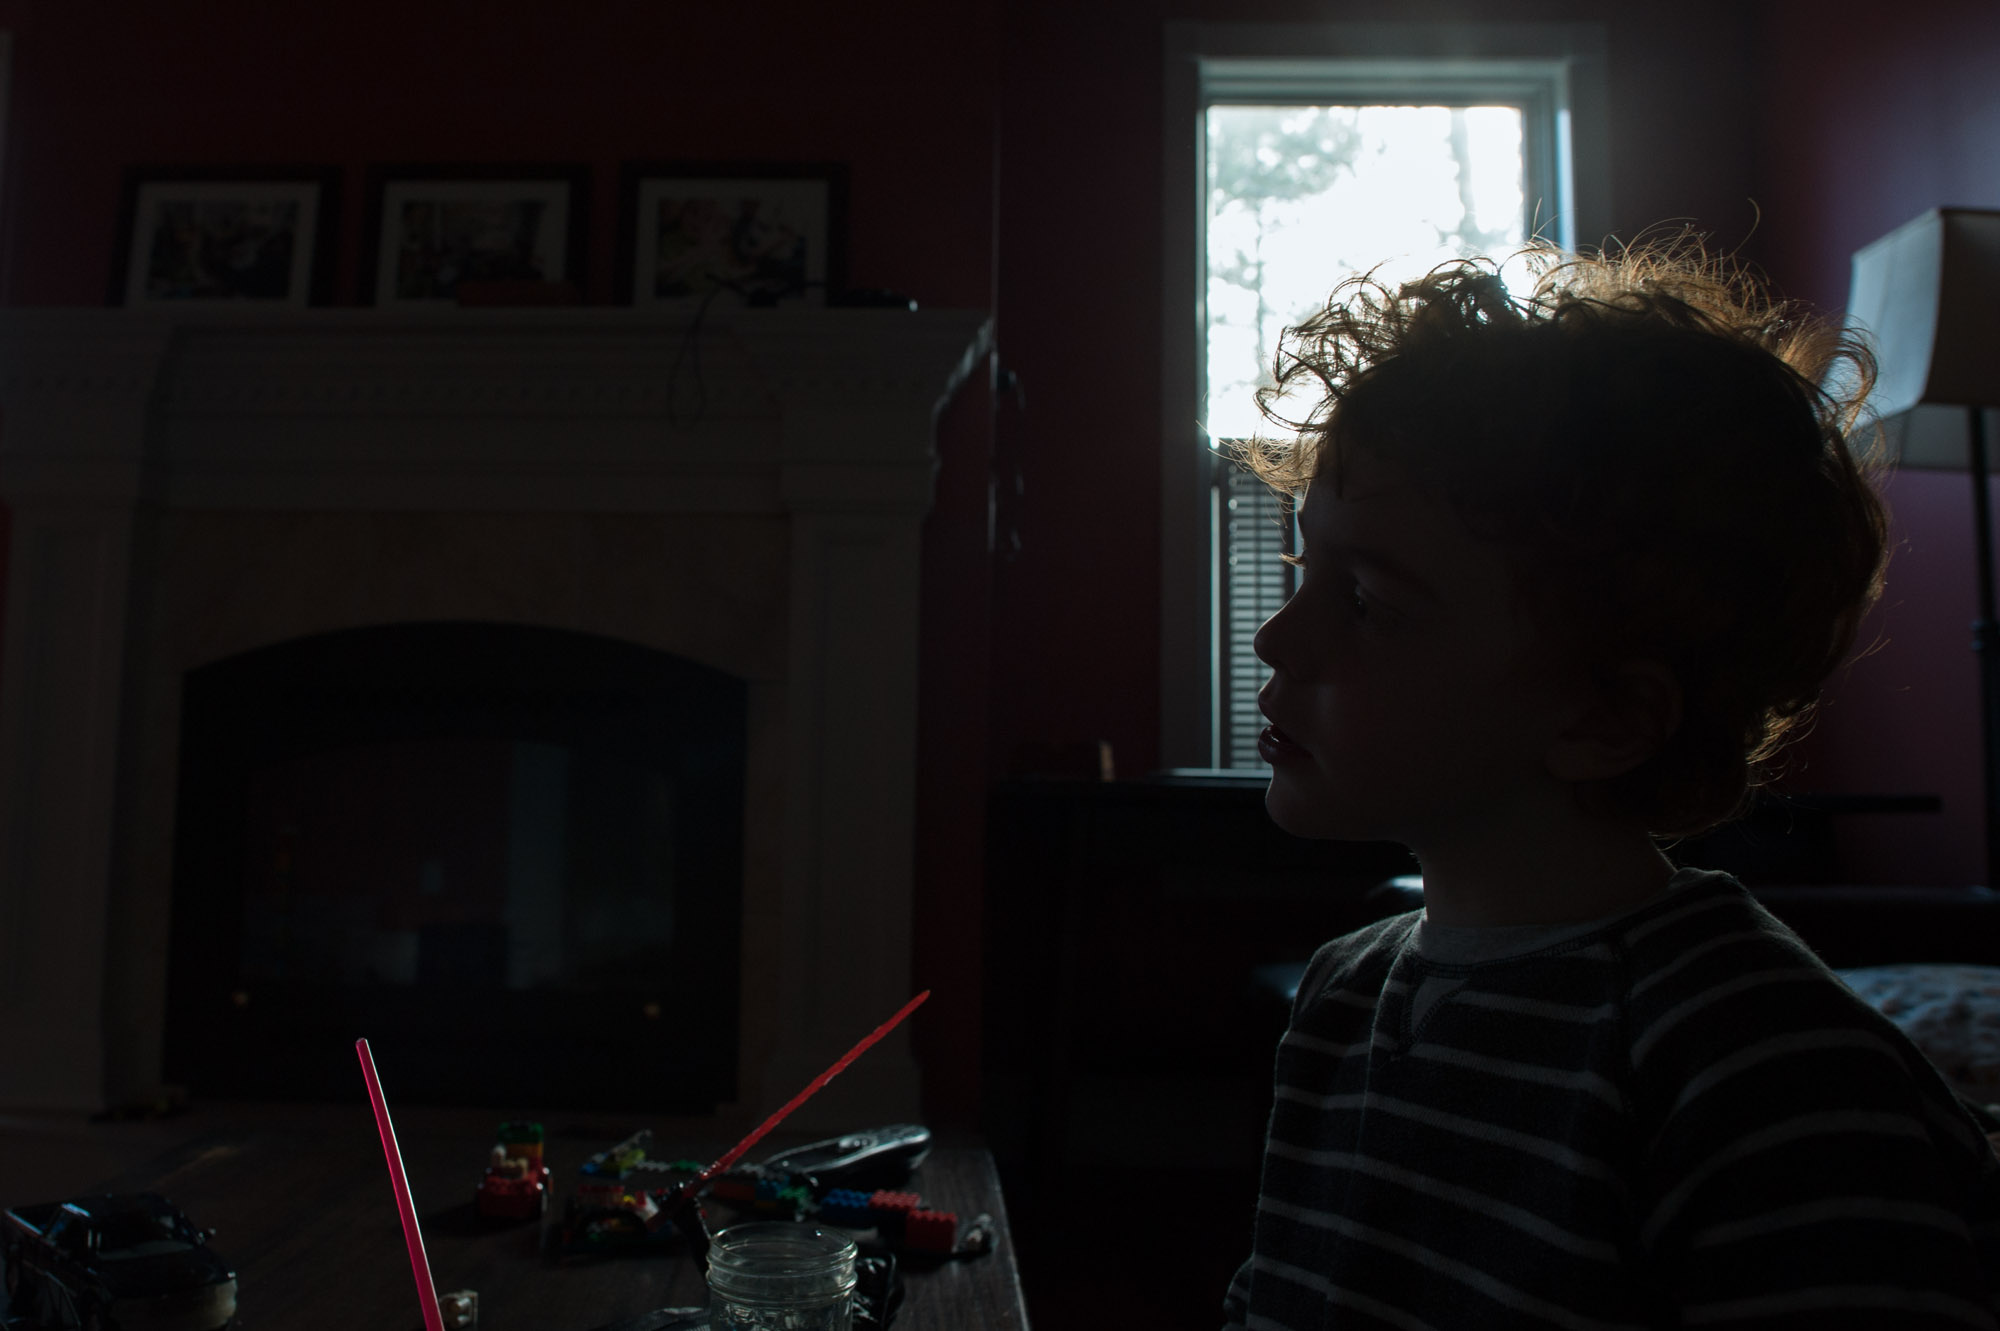
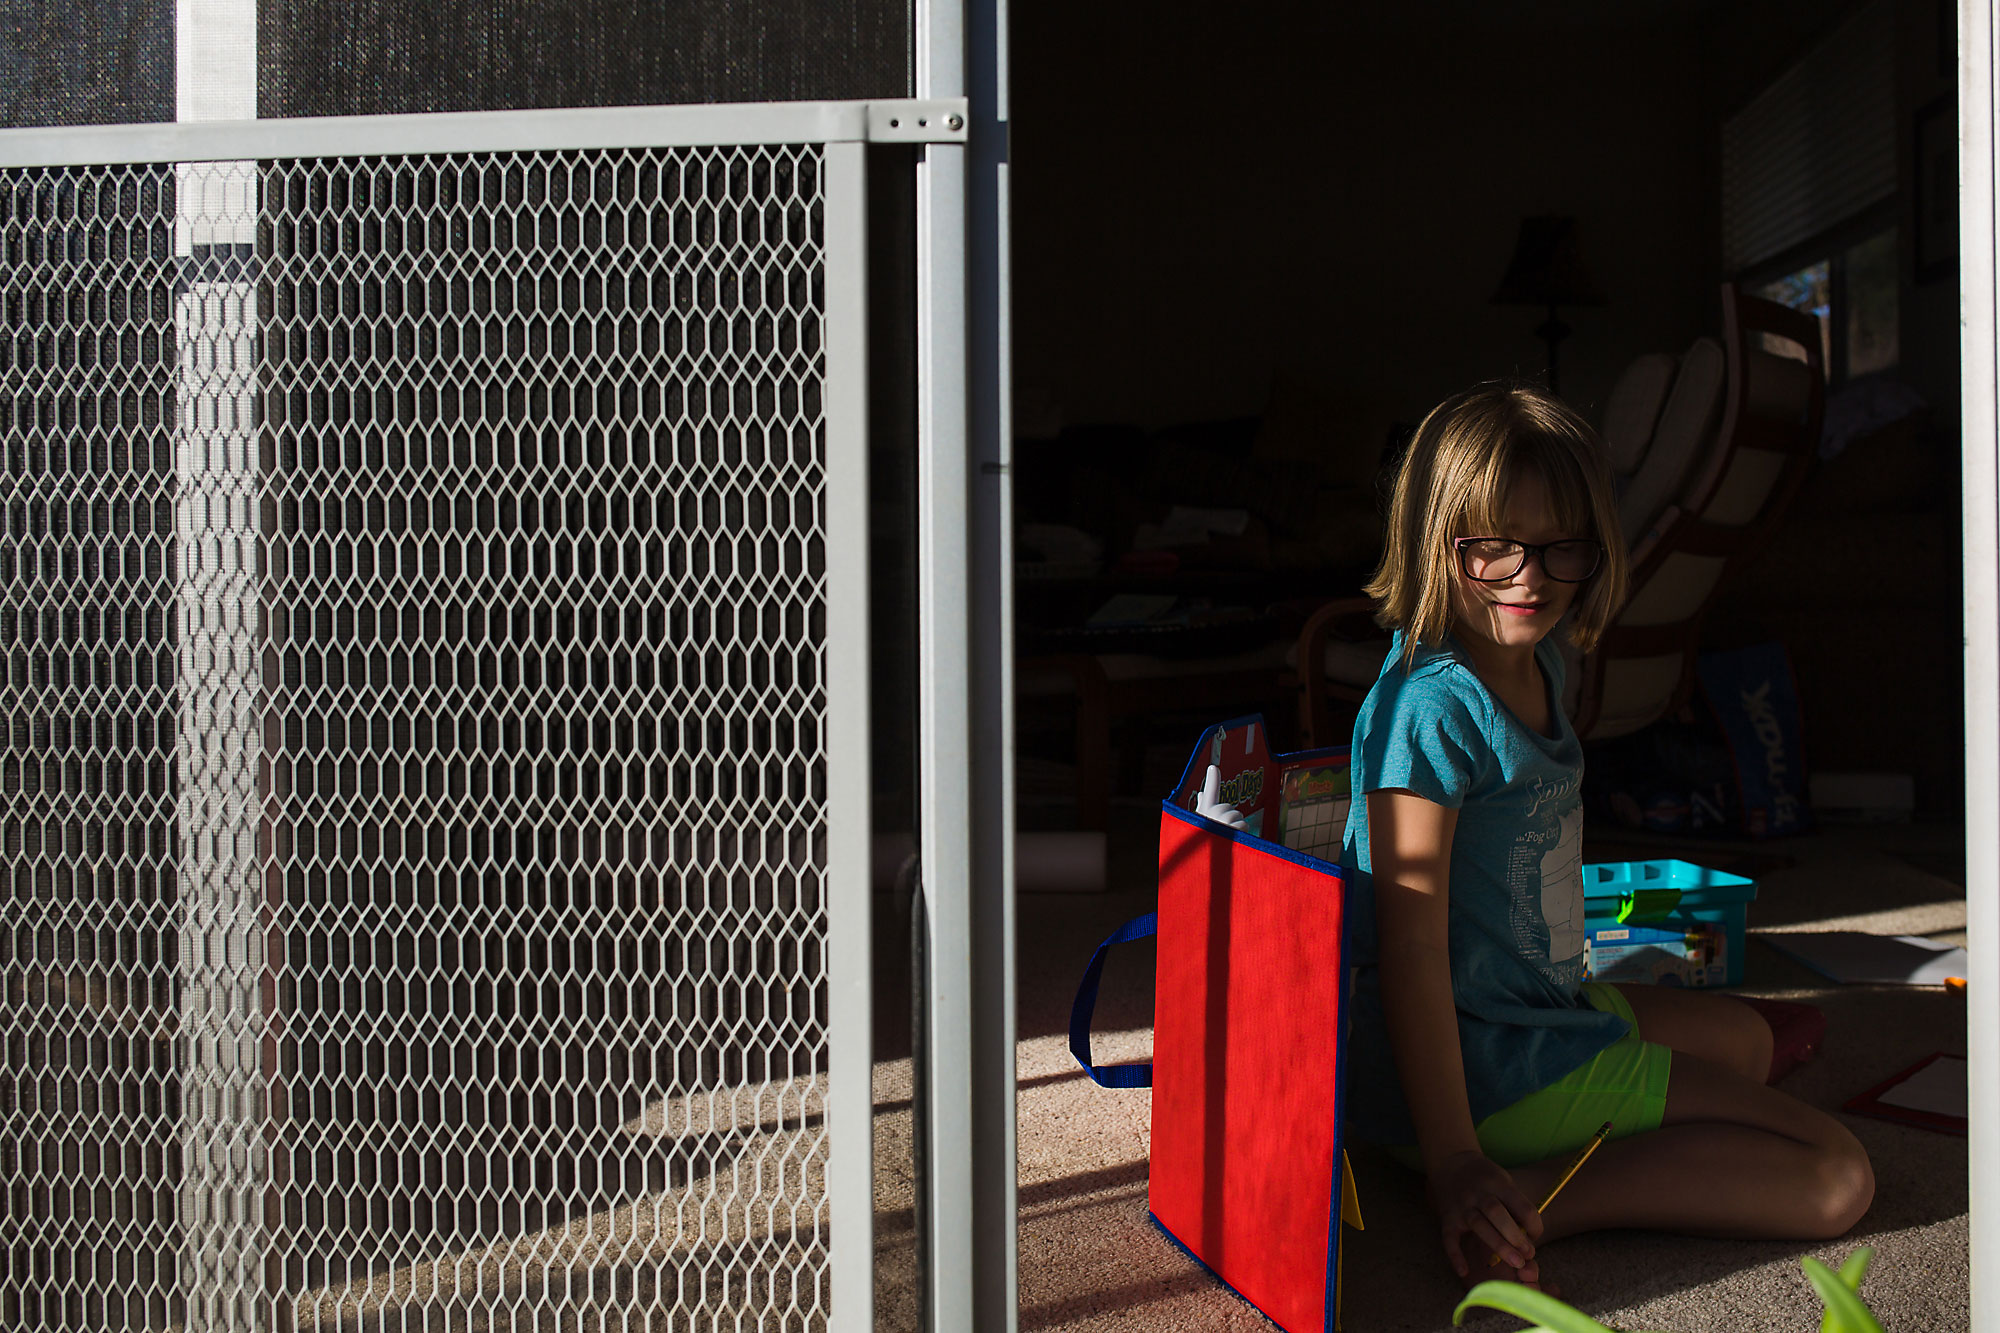
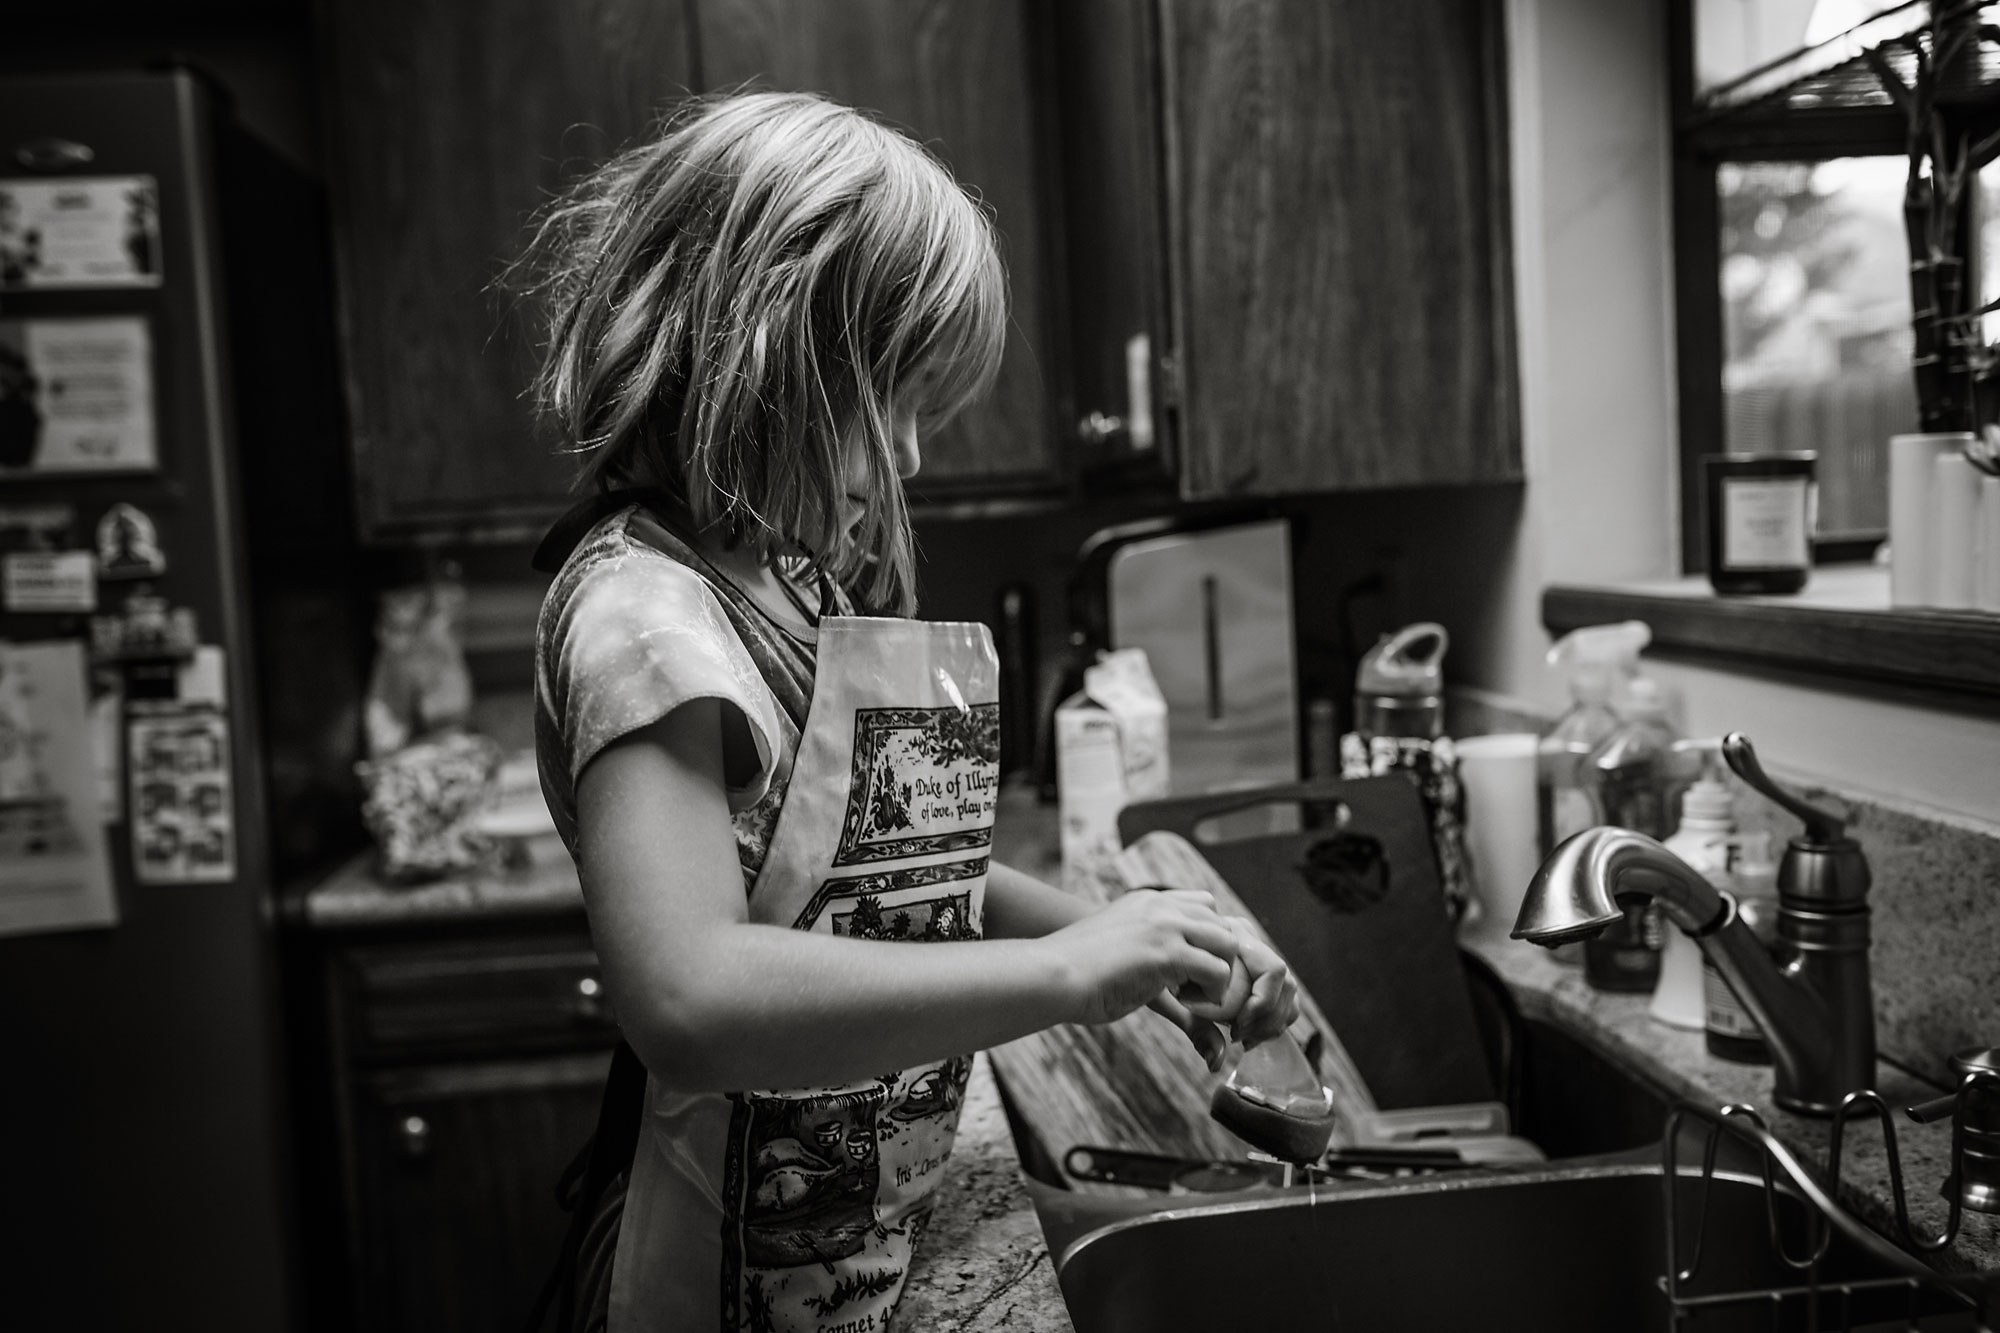
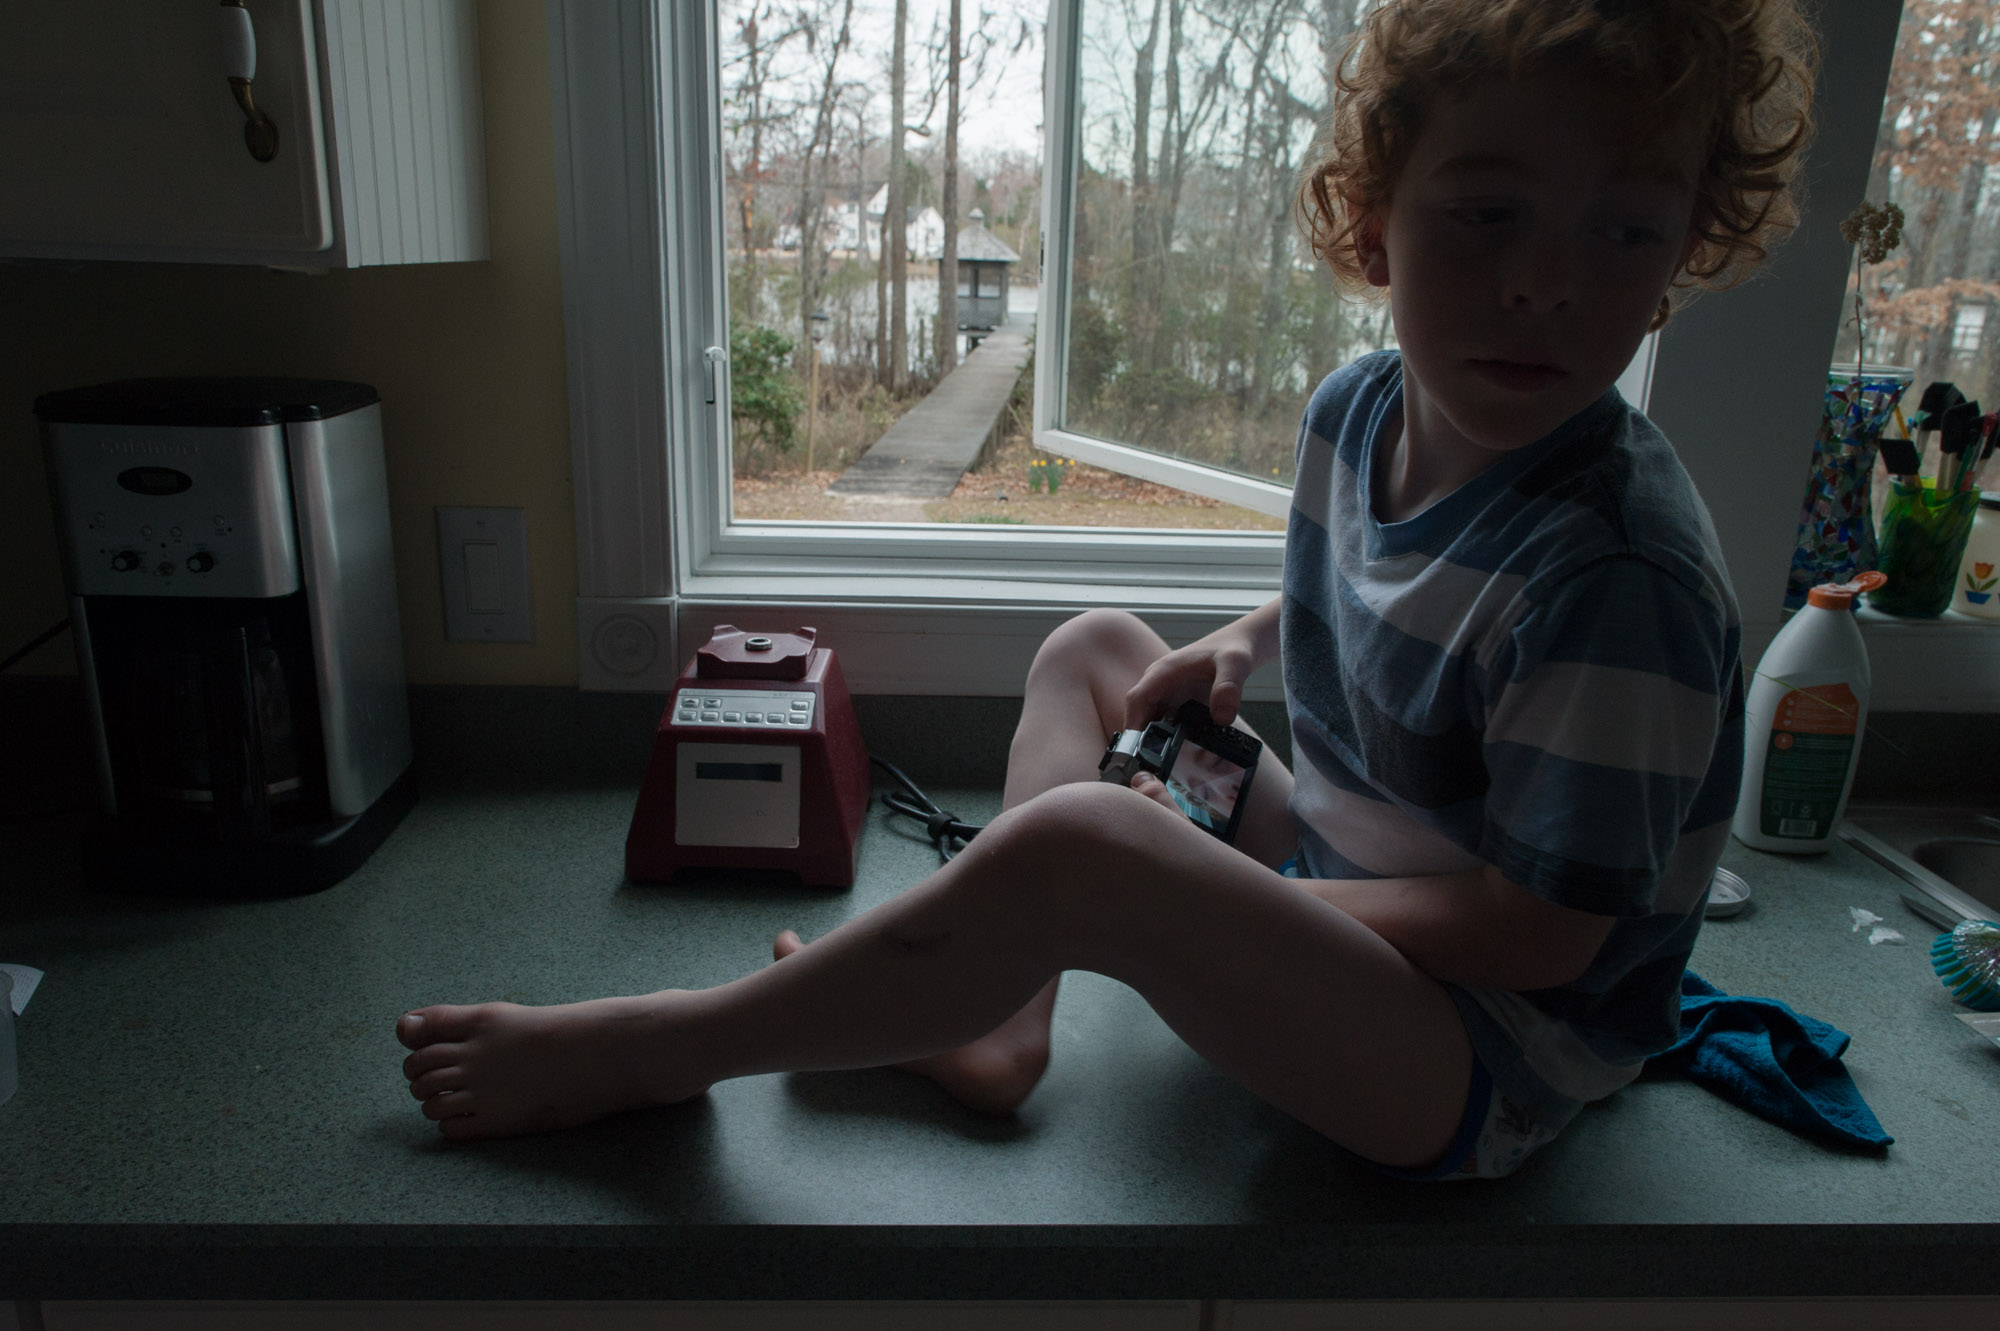
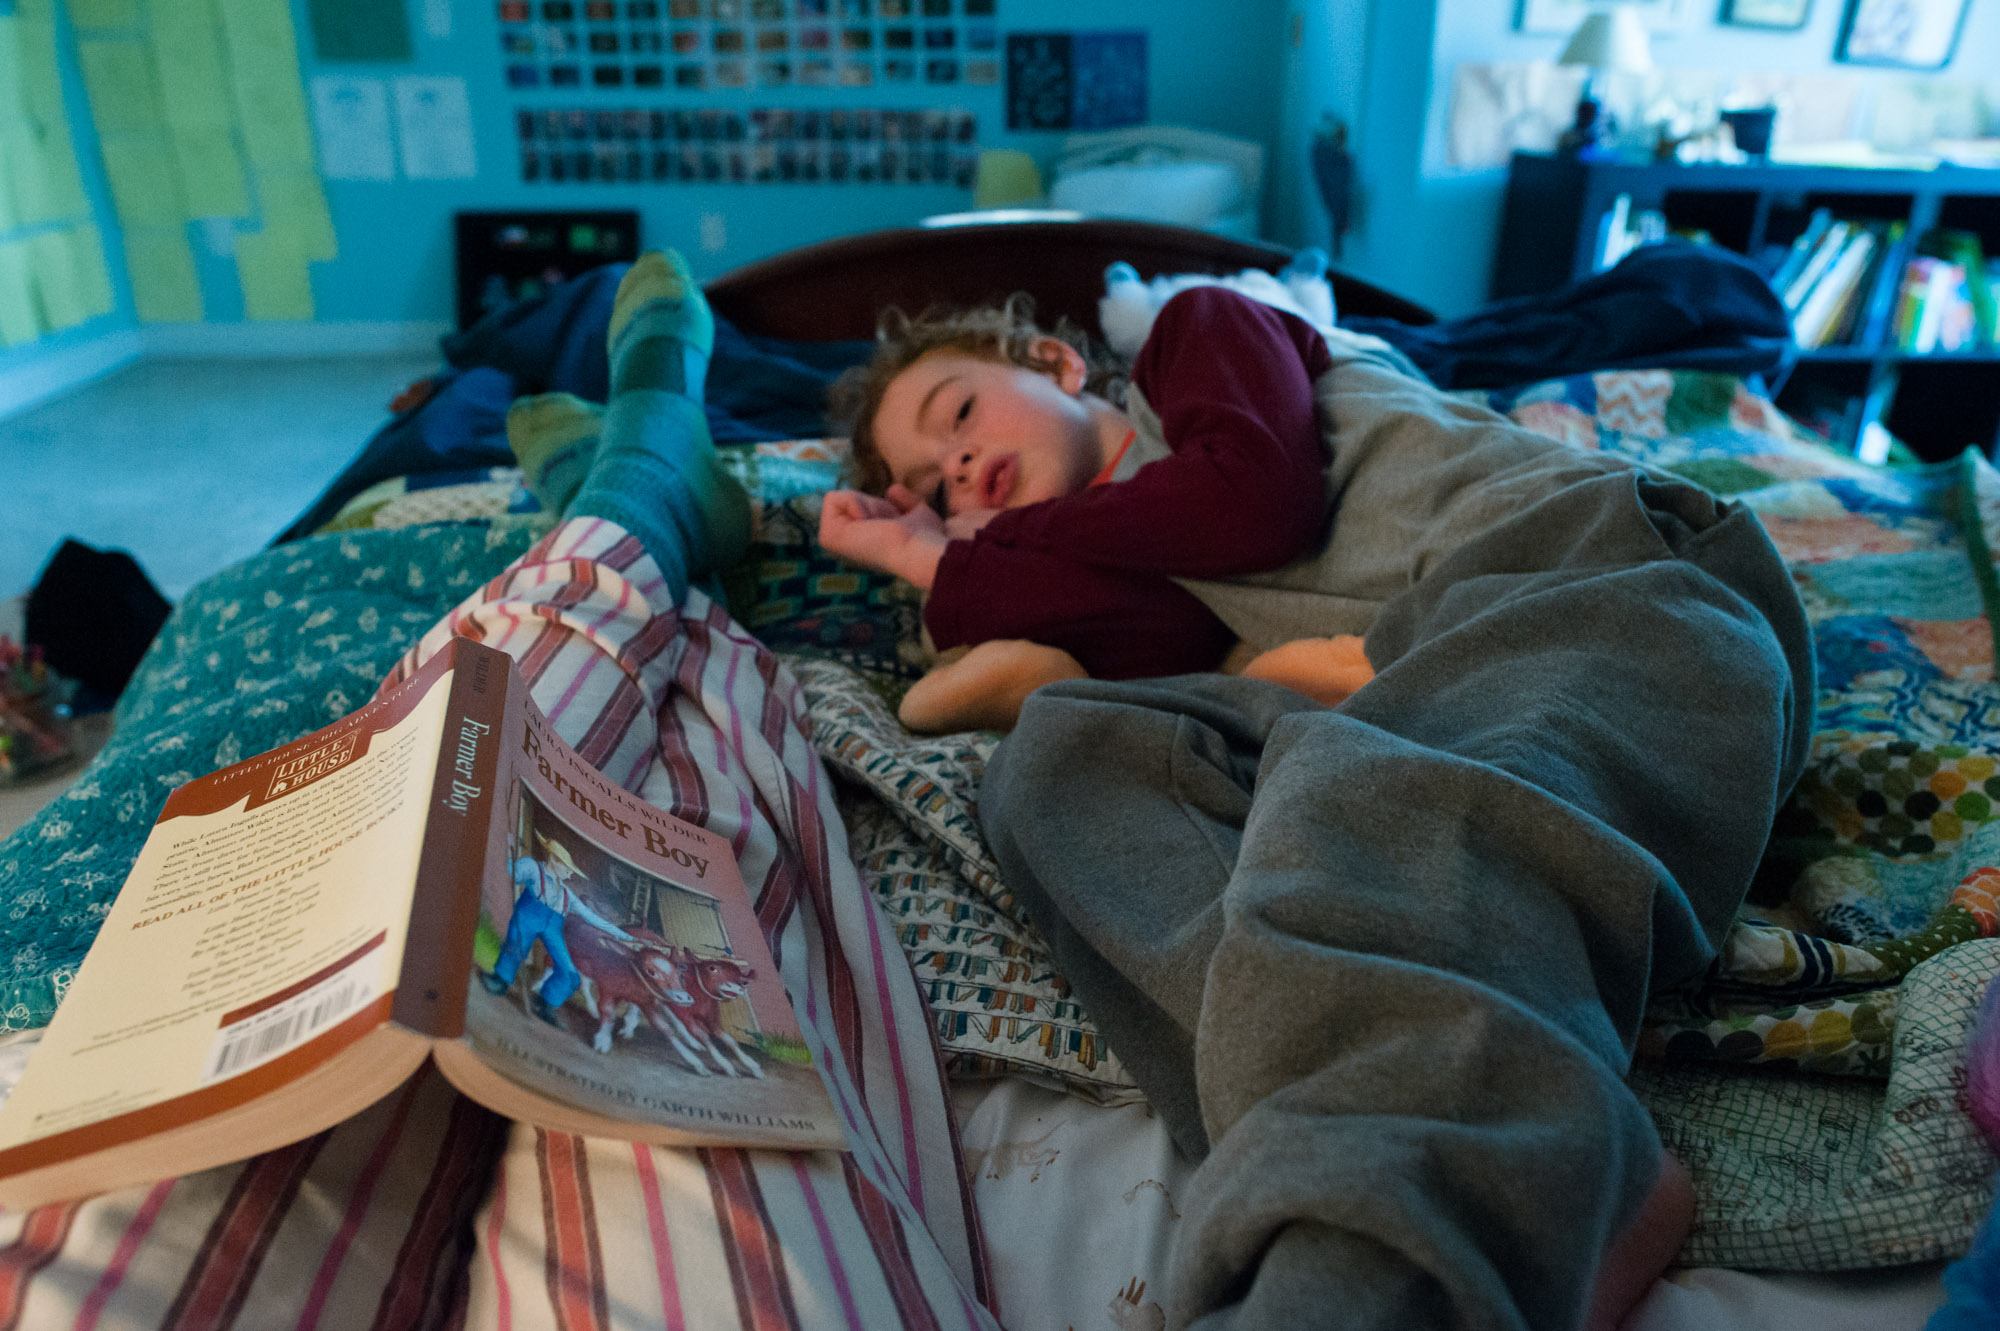
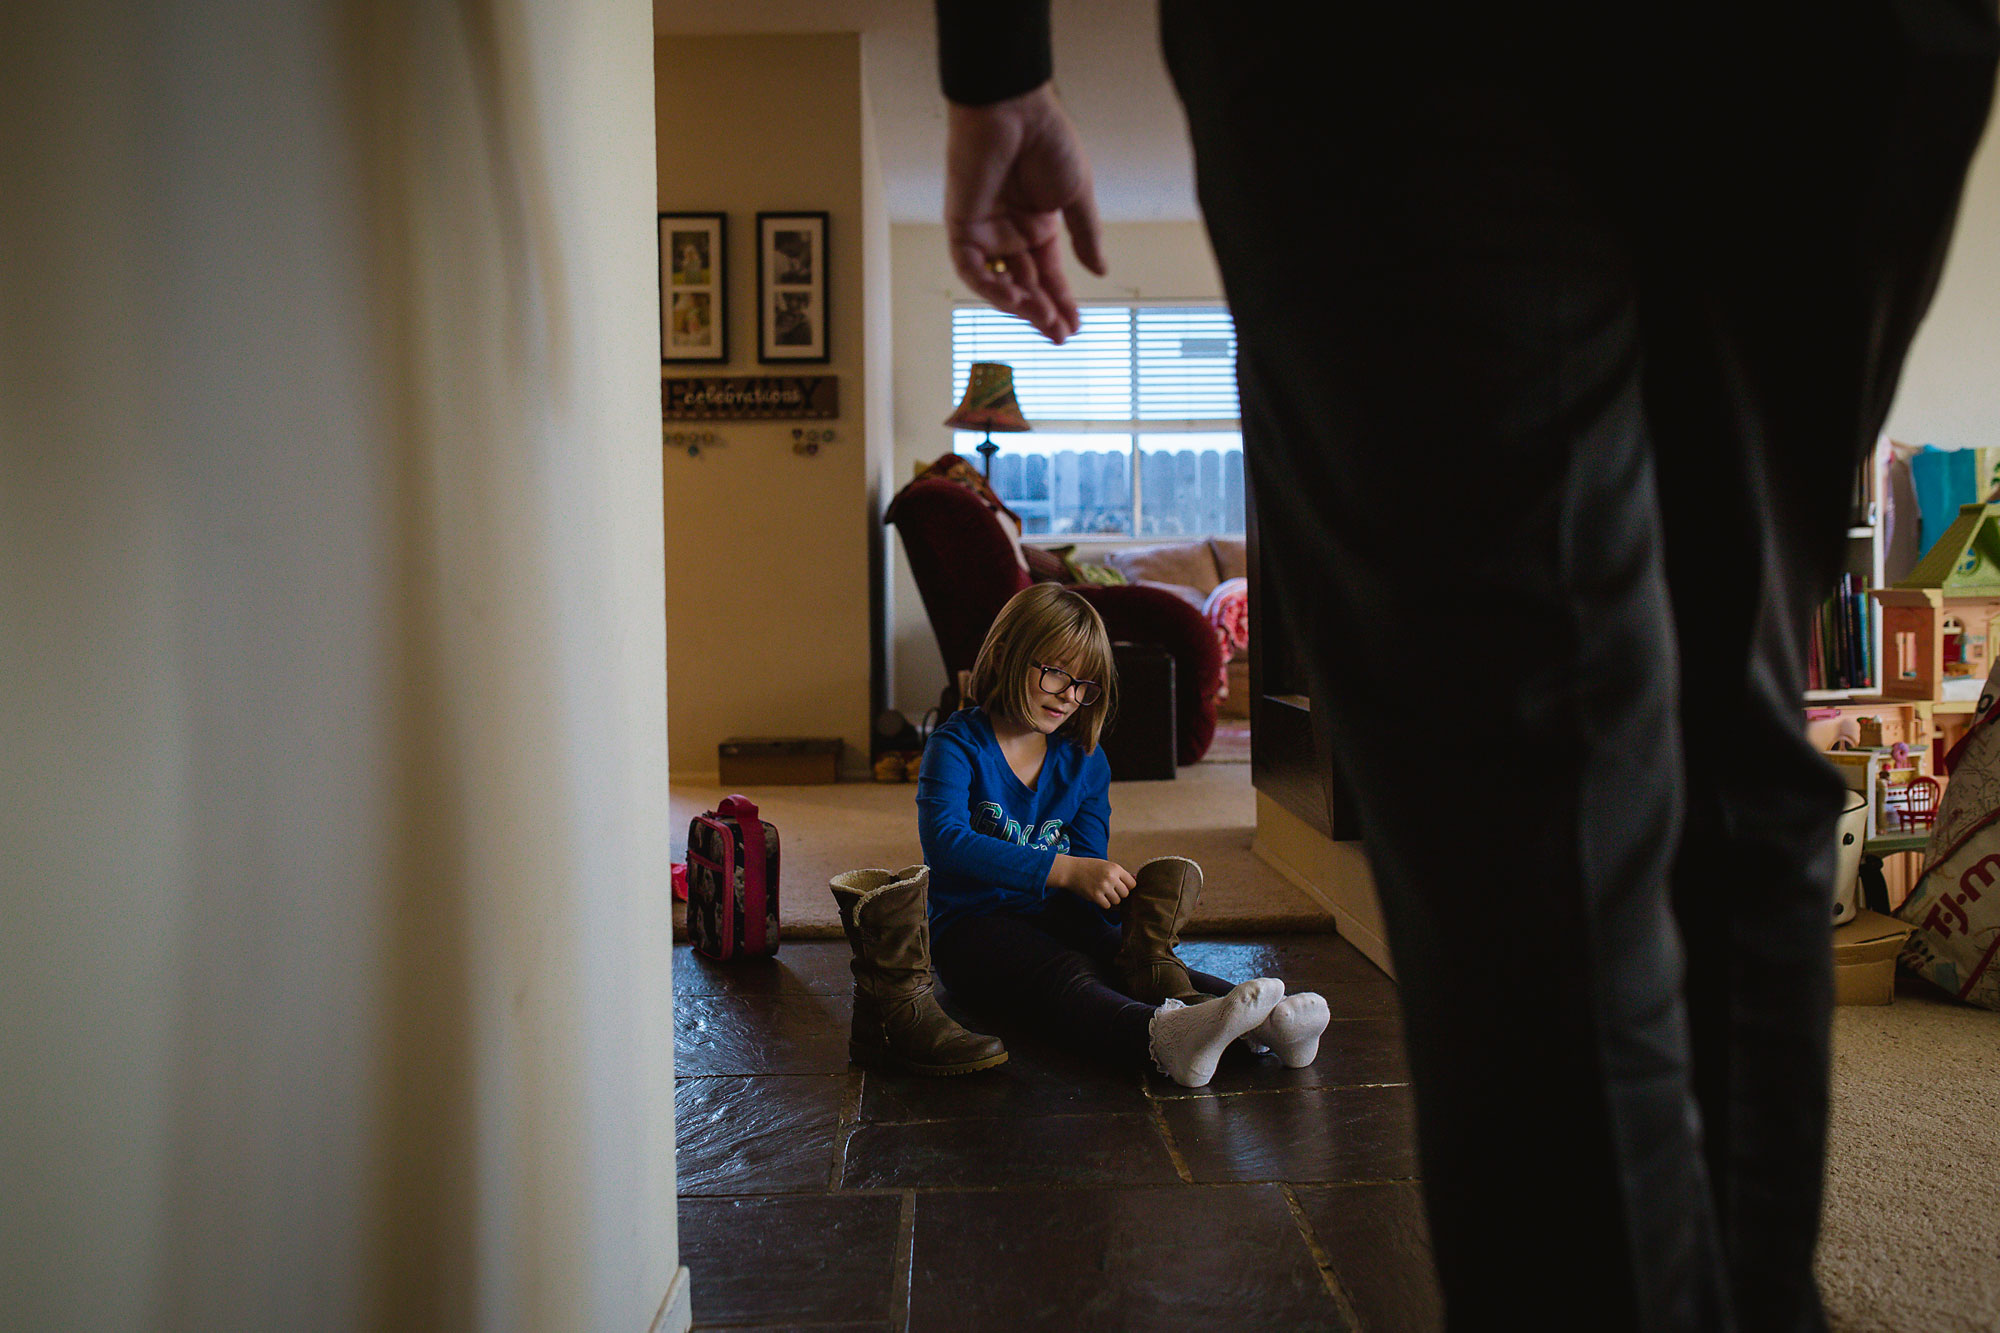
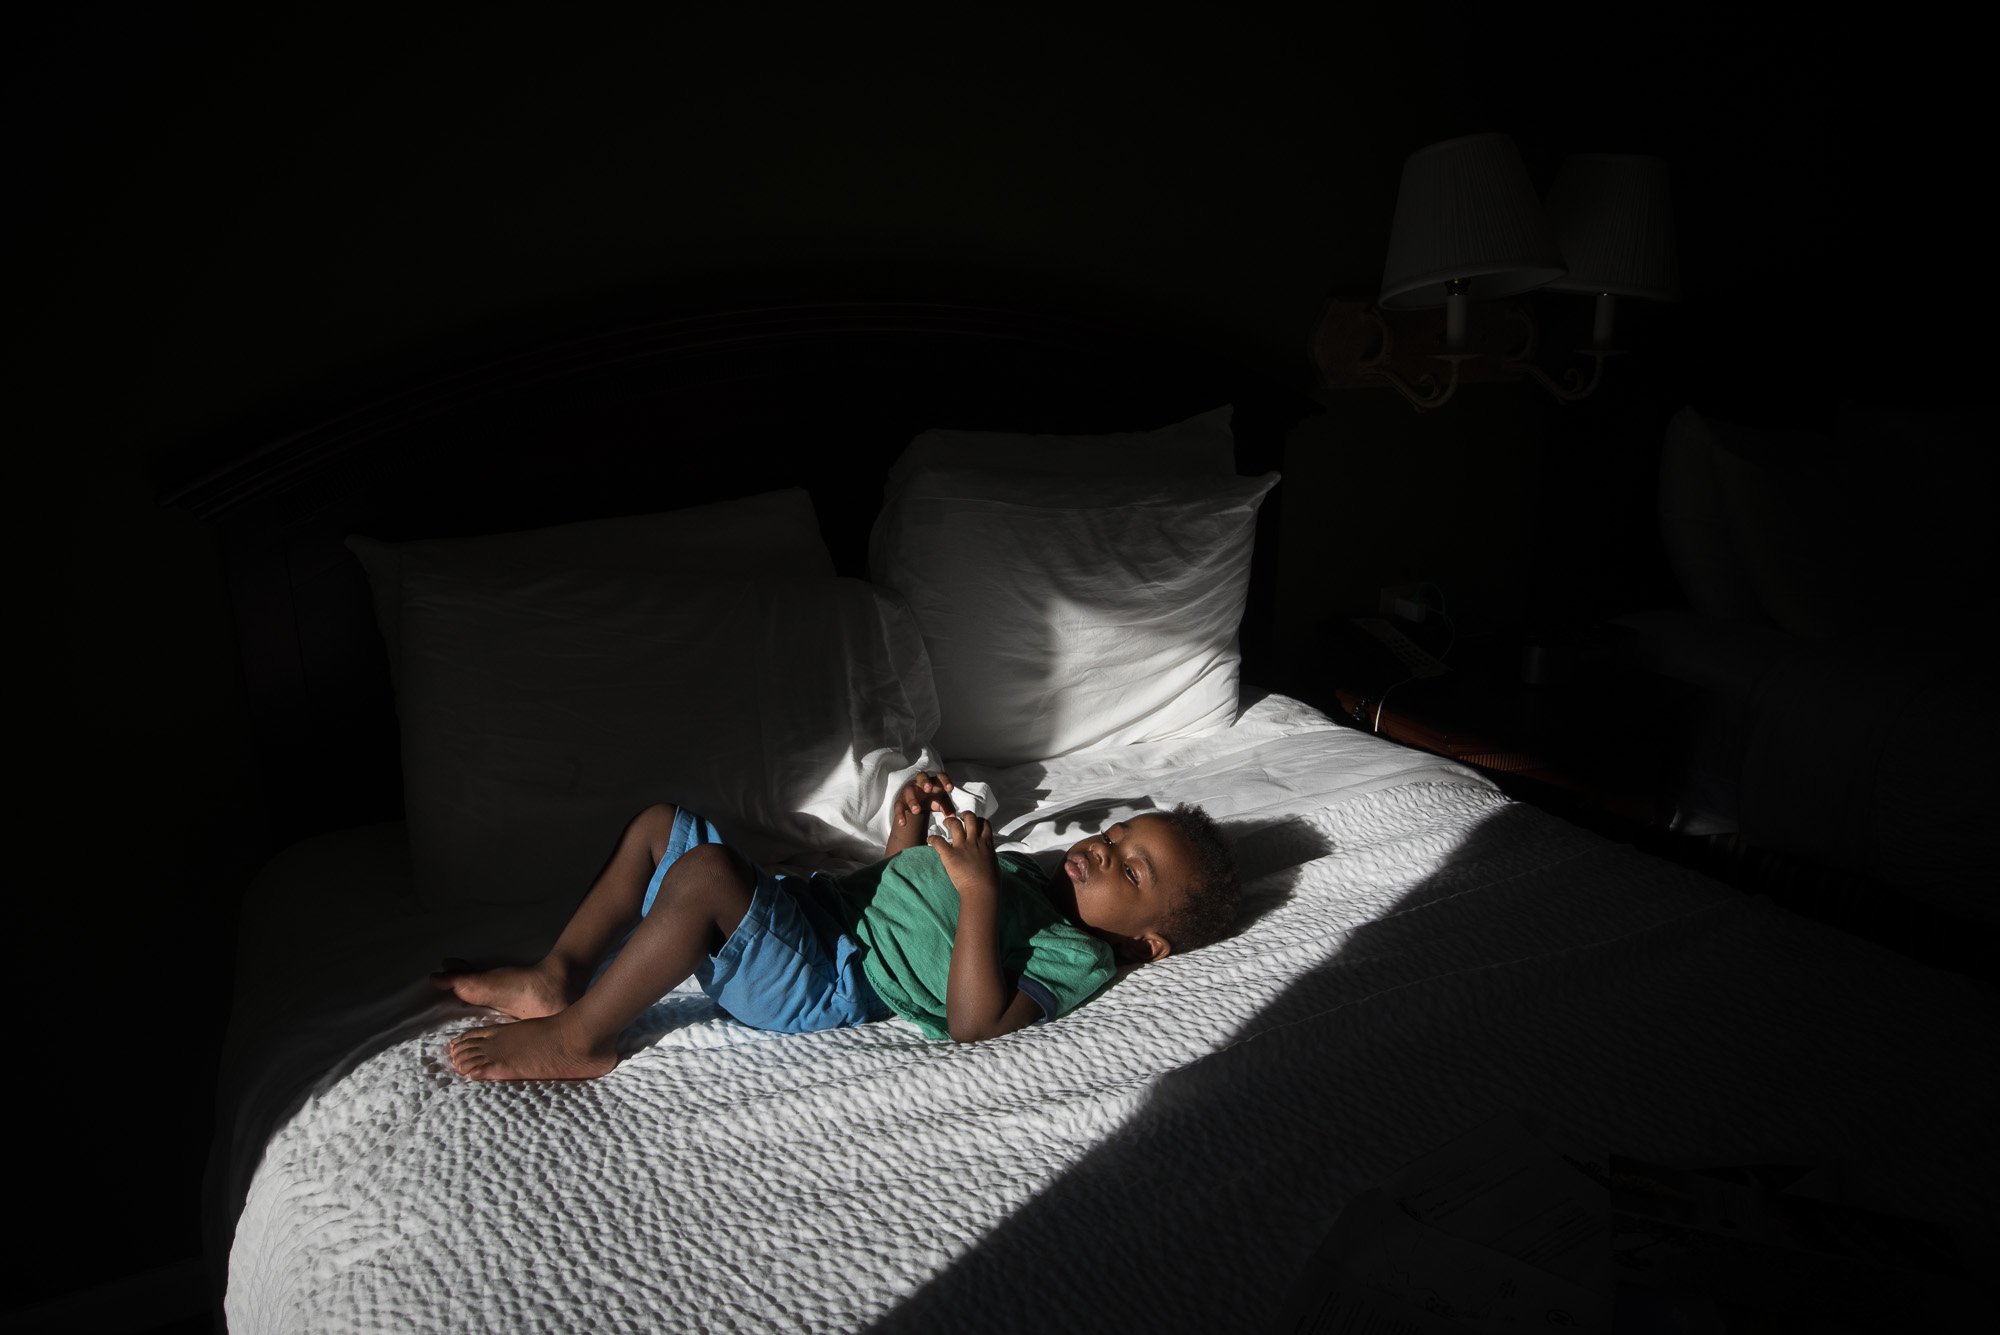
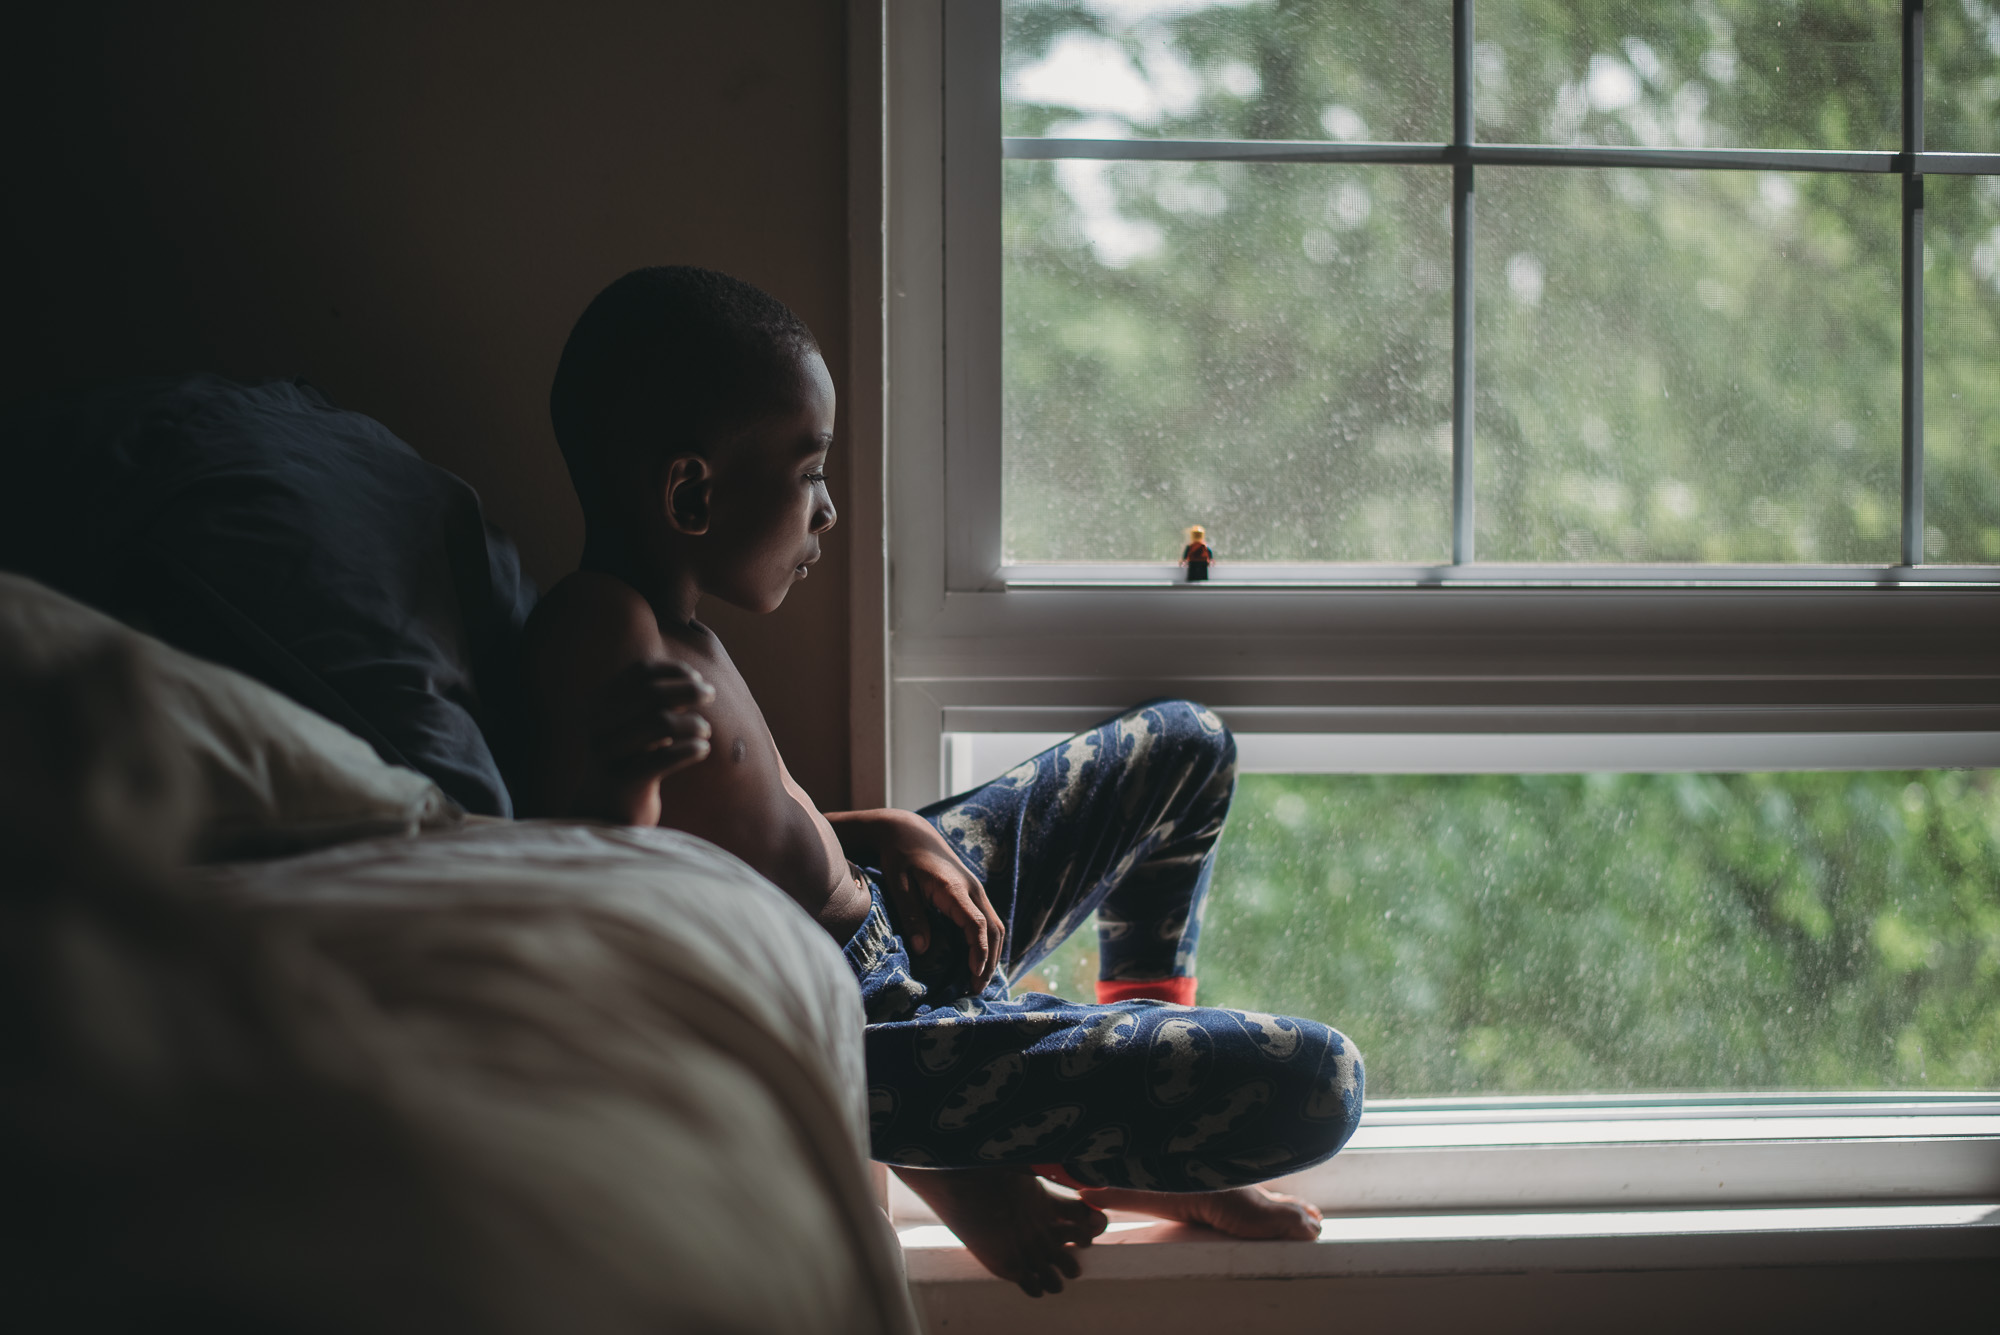
As a mom of an only child, and especially a fairly quiet and studious one who has only become more so over the last couple of years, this often poses an interesting conundrum. Because my house, as imperfect as it really is in all the dark little corners, is generally pretty tidy for the most part. And my daughter isn’t playing tag with a brother or sister down the hallways, she’s sitting on the couch quietly reading a book, or playing in a patch of light with her Legos, or making dinner with me in the kitchen. Sure she interacts with dad and he’s a willing subject, but he’s no 5-year-old sibling with chocolate smeared all over his face, pouncing on her in just his underwear and mismatched socks. (Ok, maybe the latter but I’m not sure he’d let me share those photos.)
So, I often end up asking myself if my often quiet captures, generally absent too much chaos, movement, mess, and even interaction, “fit” in this project. I have even found myself actively trying to find ways to instigate activities that might result in an image that is more of all those things. And then I realize… yeah, that’s actually not documentary, Michelle.
Robin
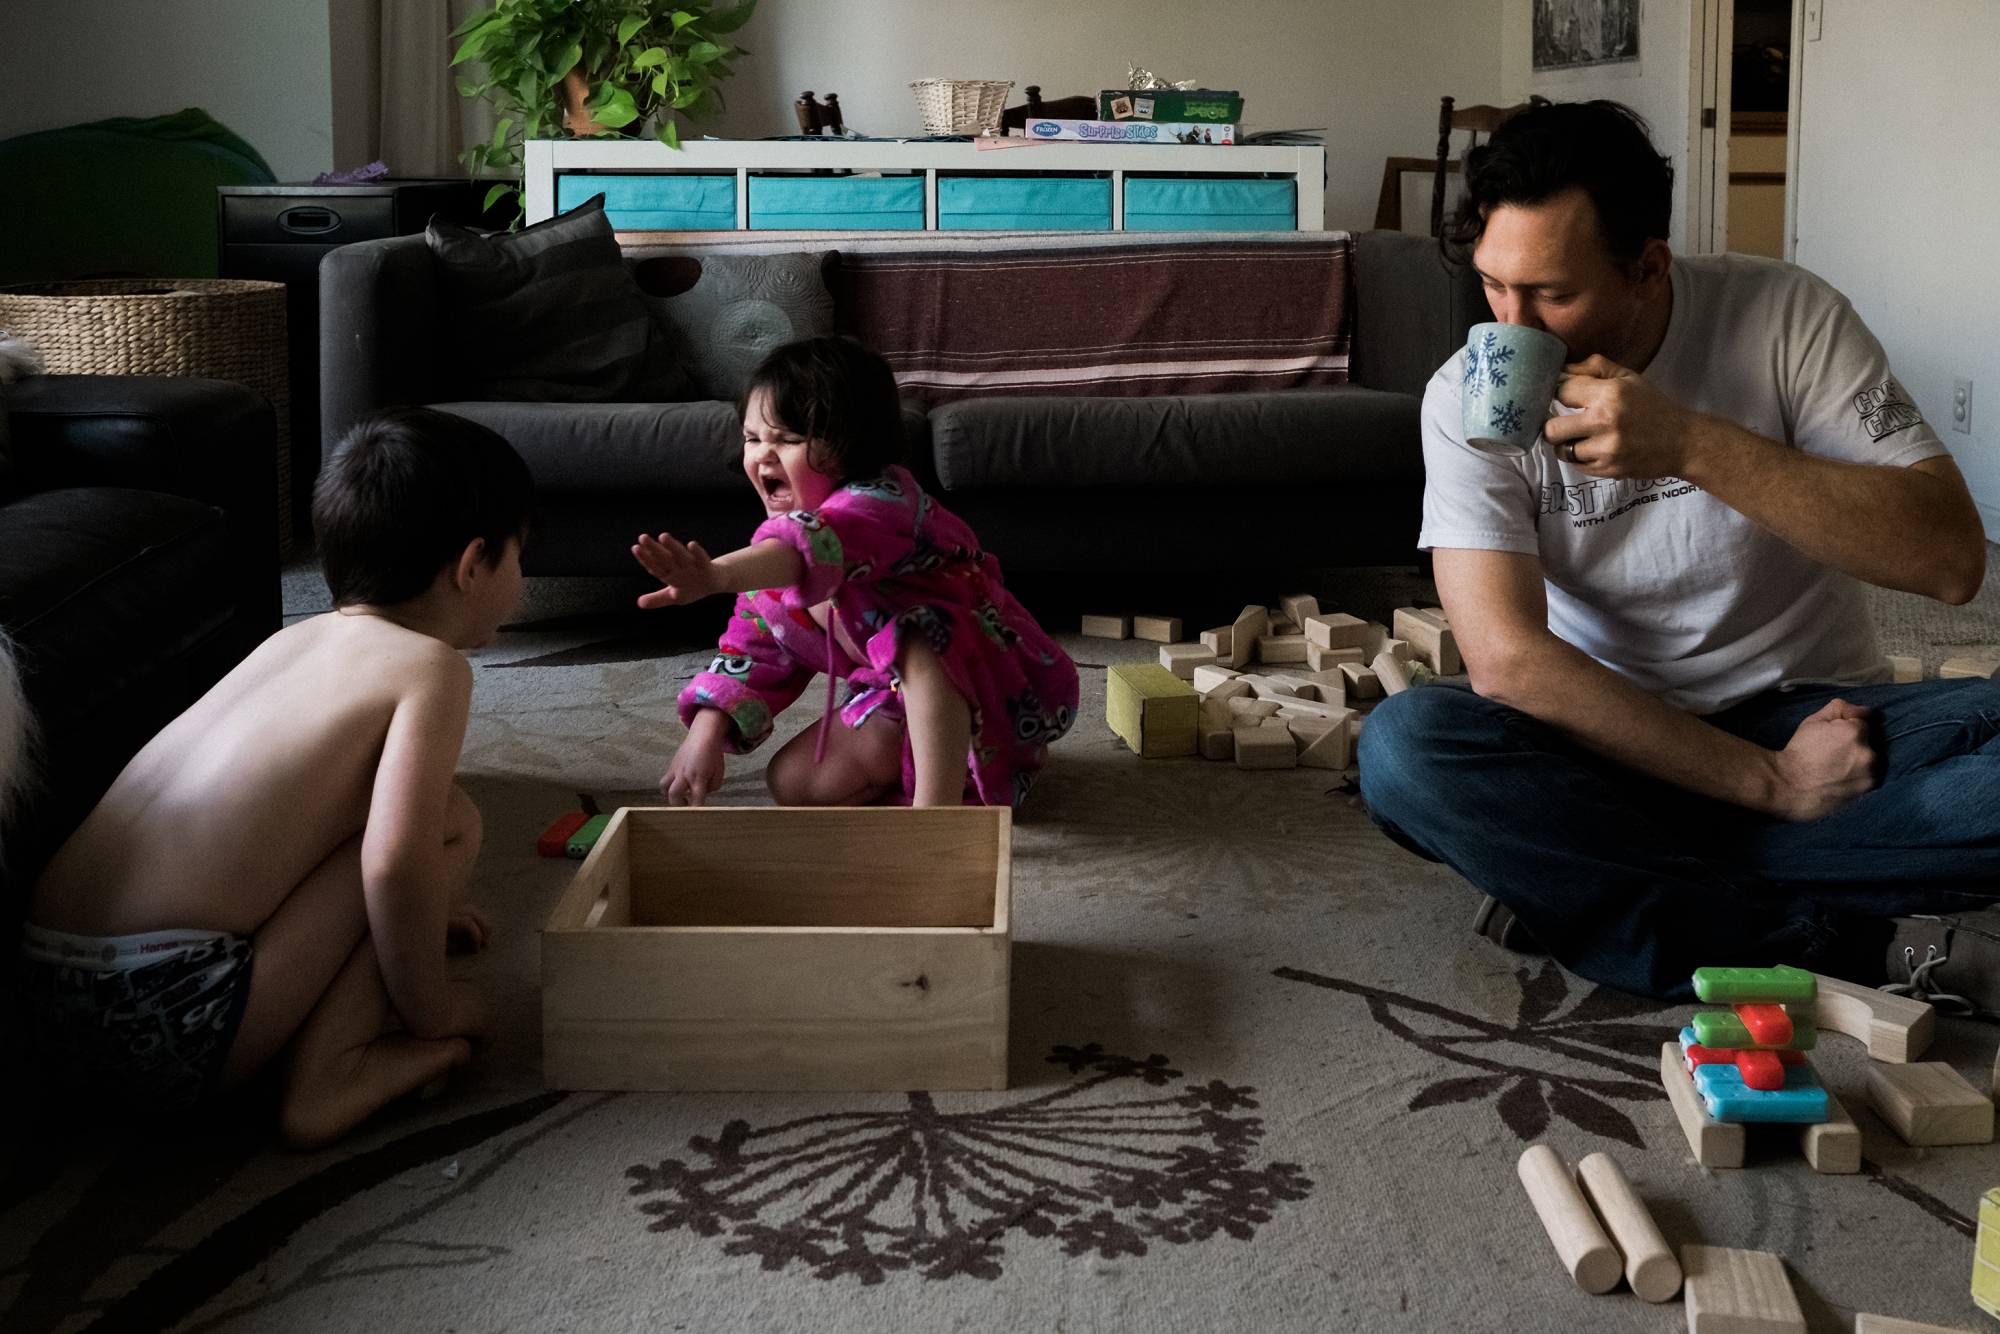
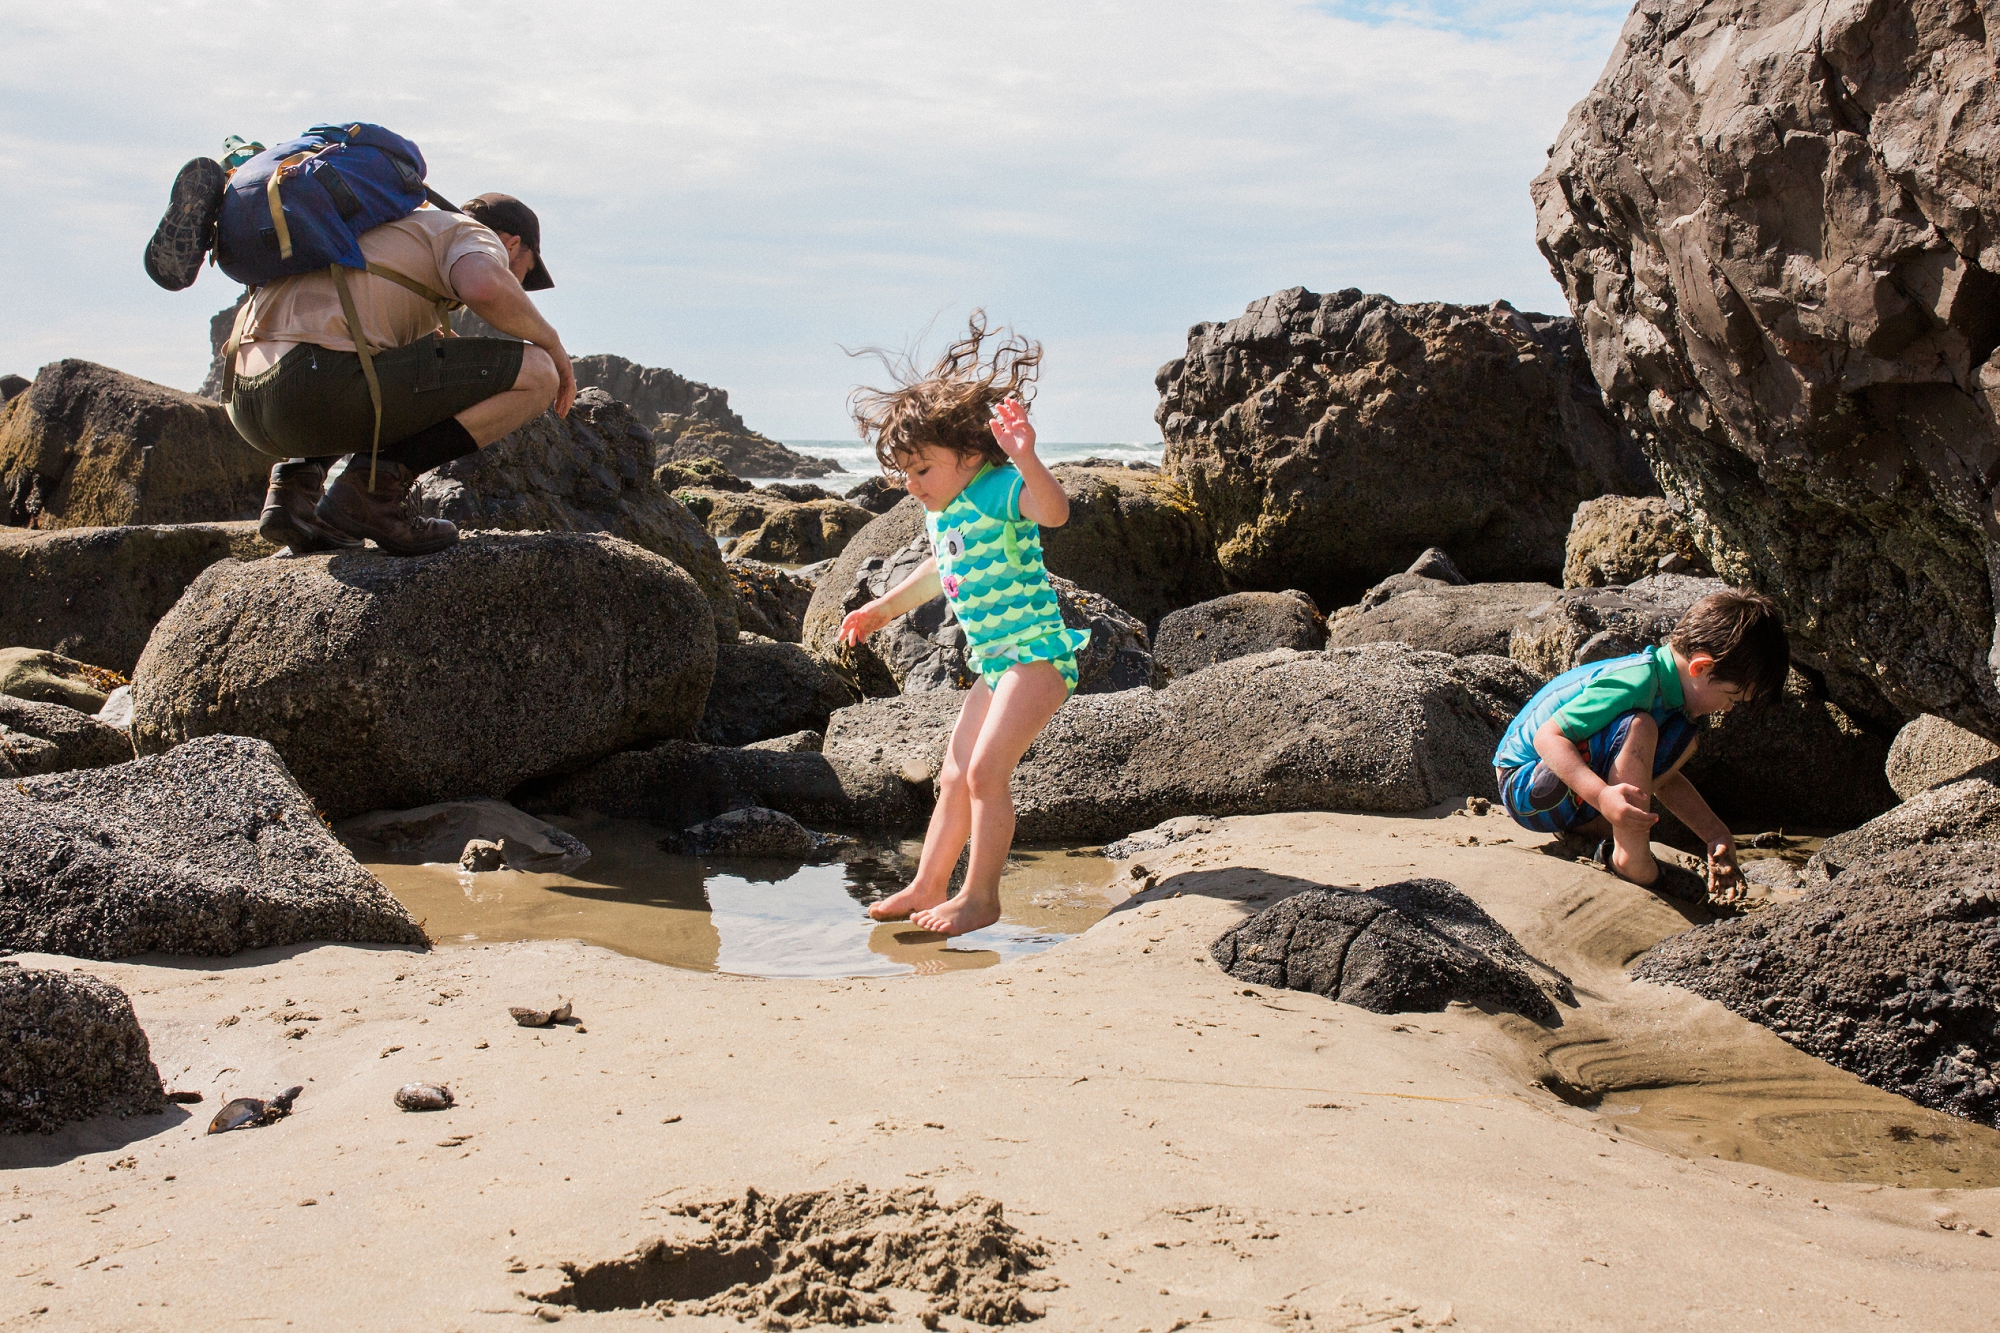
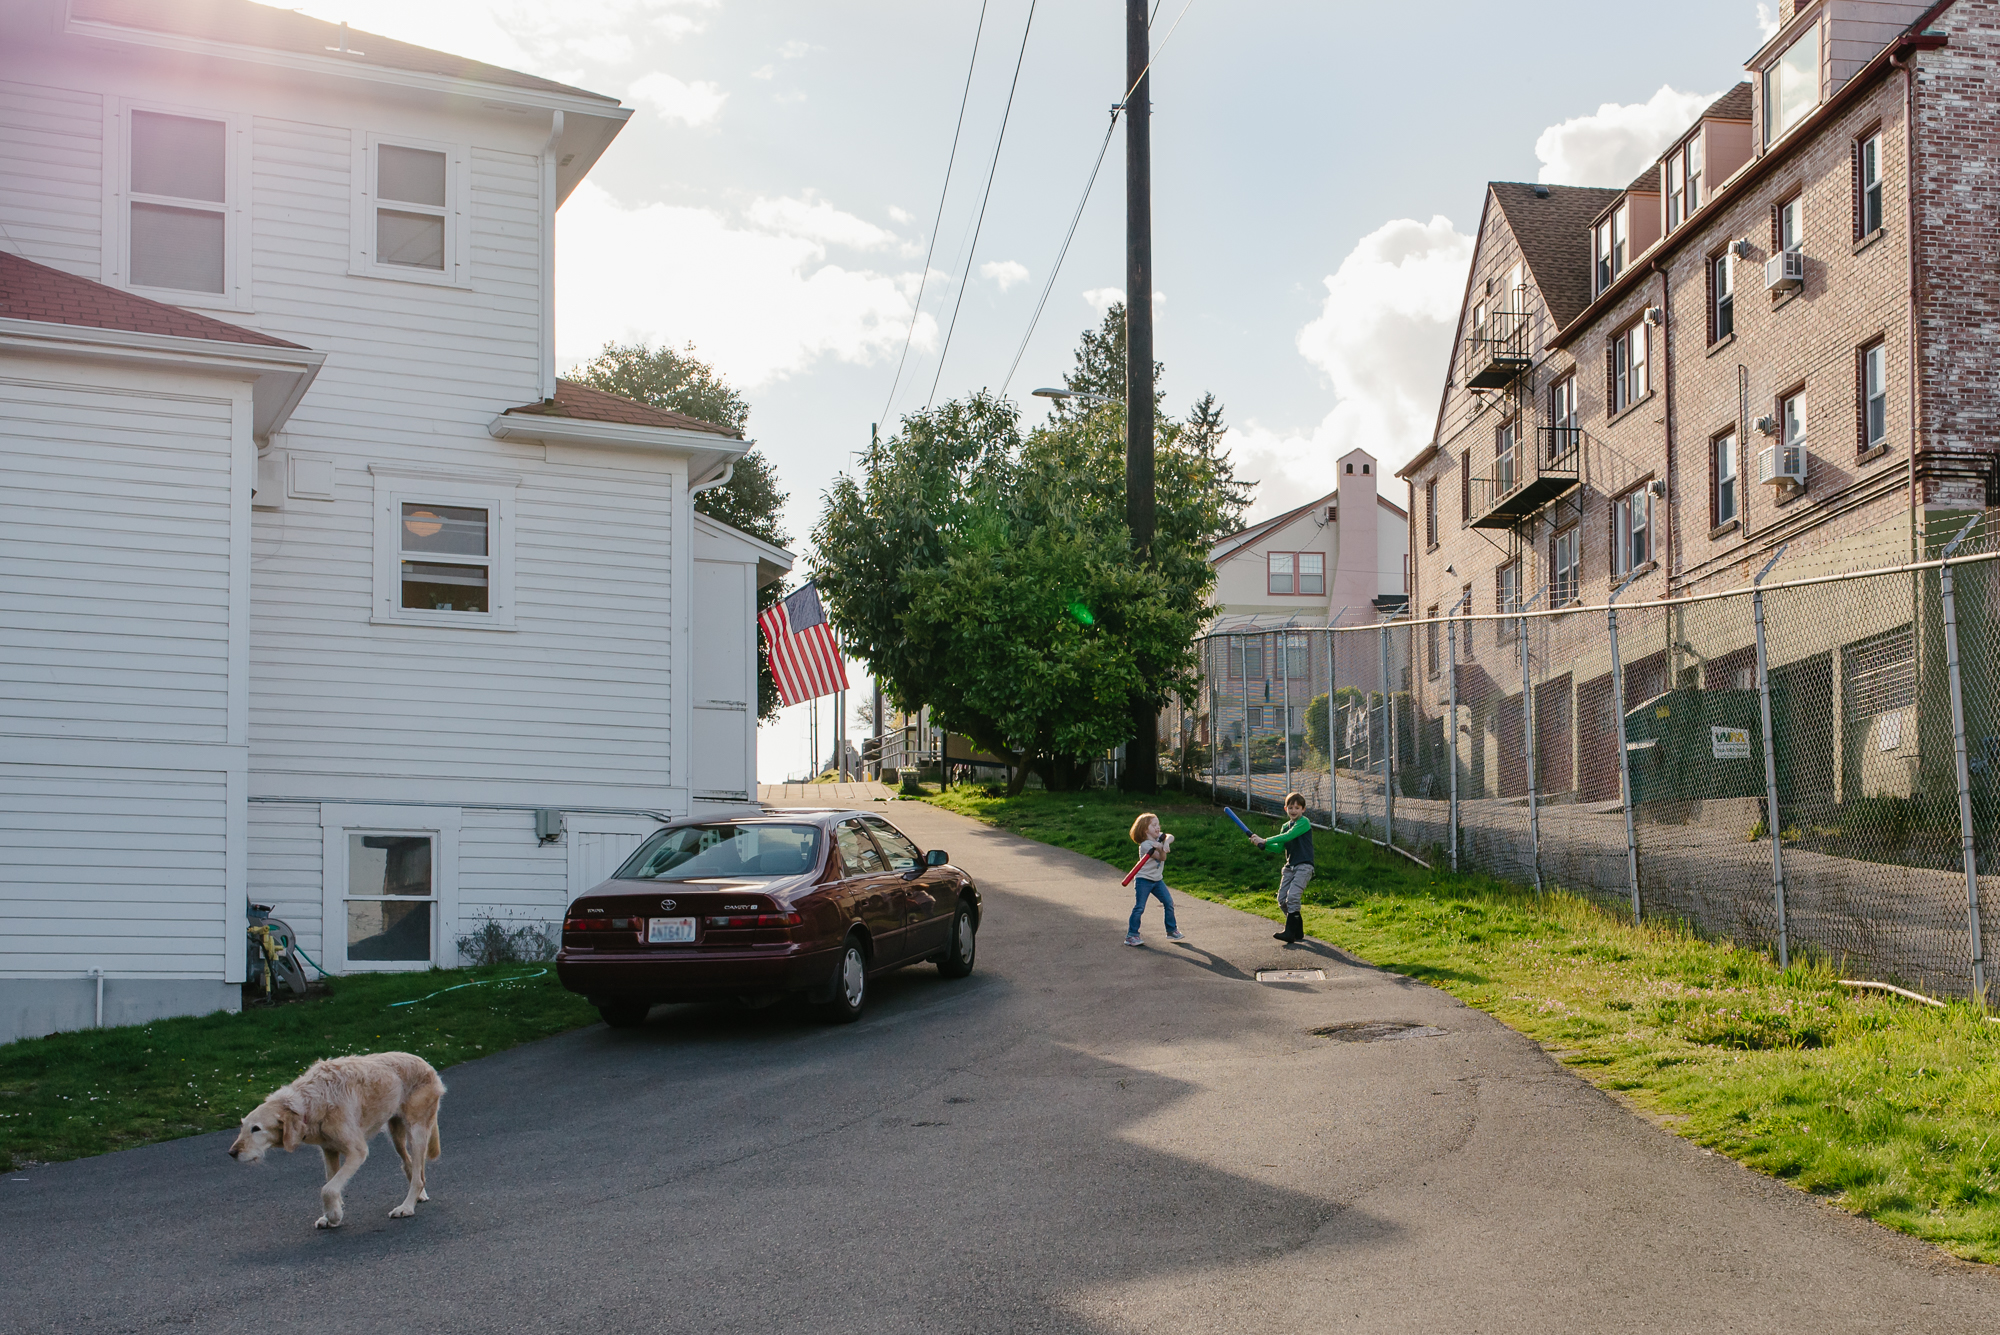
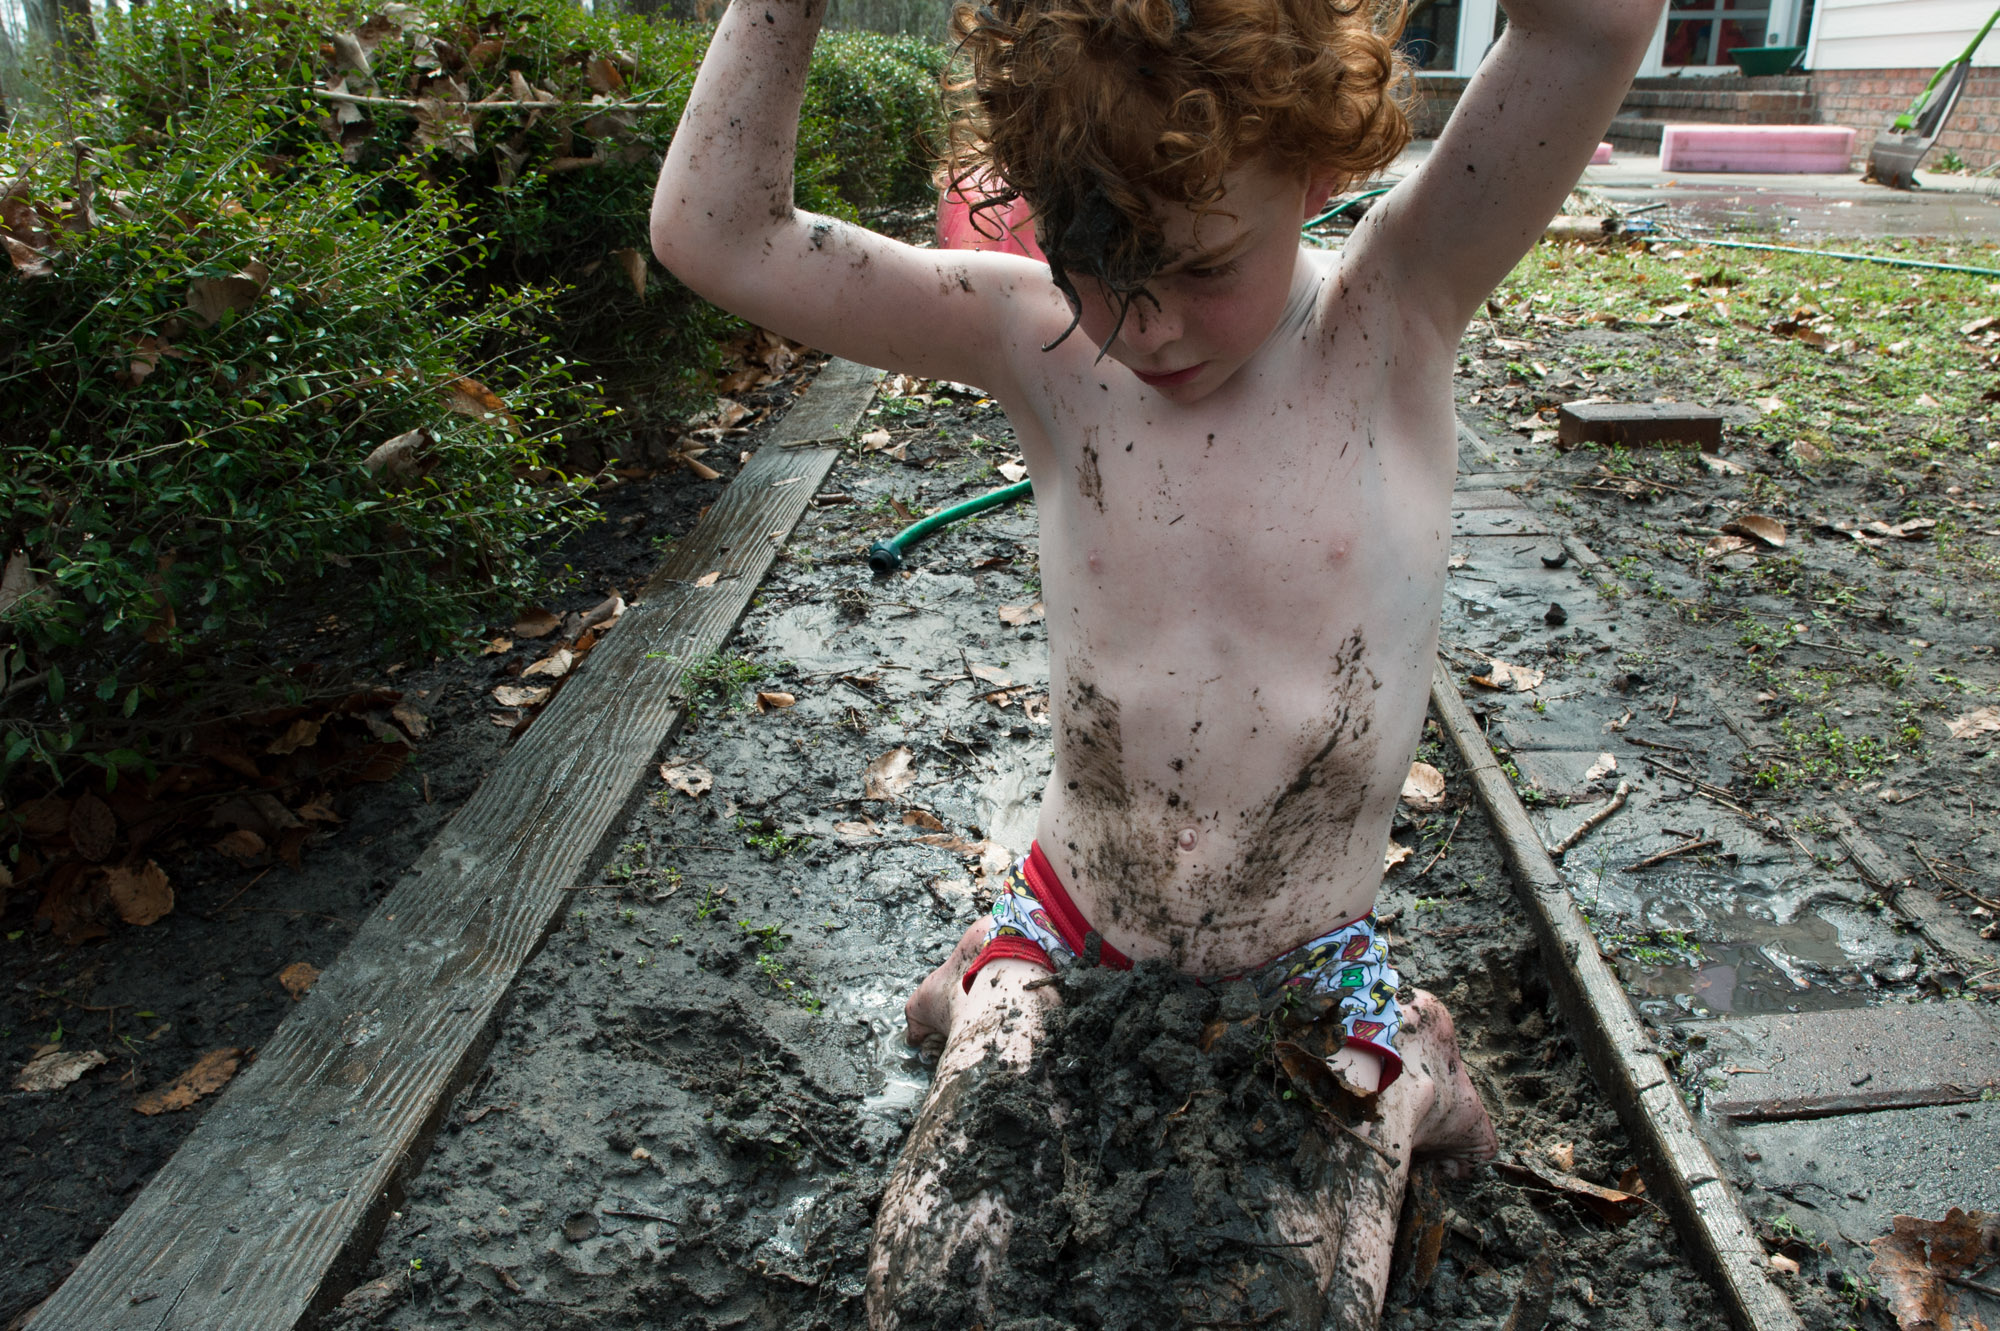
That part about Michelle’s house tending to be a little tidier and a little quieter than larger families made me laugh because my life is often neither tidy nor quiet. As I was reading what Michelle wrote, my son was playing with the hose in the backyard dressed in his superman shirt and cape (but no pants because they were already soaking wet and tossed aside) and waving the hose around spraying water everywhere and yelling wildly. A few minutes later, he was down to just underwear and rolling around in a mud puddle. The new blue superman shirt had stained his shoulders and upper back blue when it got wet, and he was throwing handfuls of mud into the woods yelling that he was a mud monster. I took a quick video and shared it with Michelle and noted just how loud and messy MY reality is.
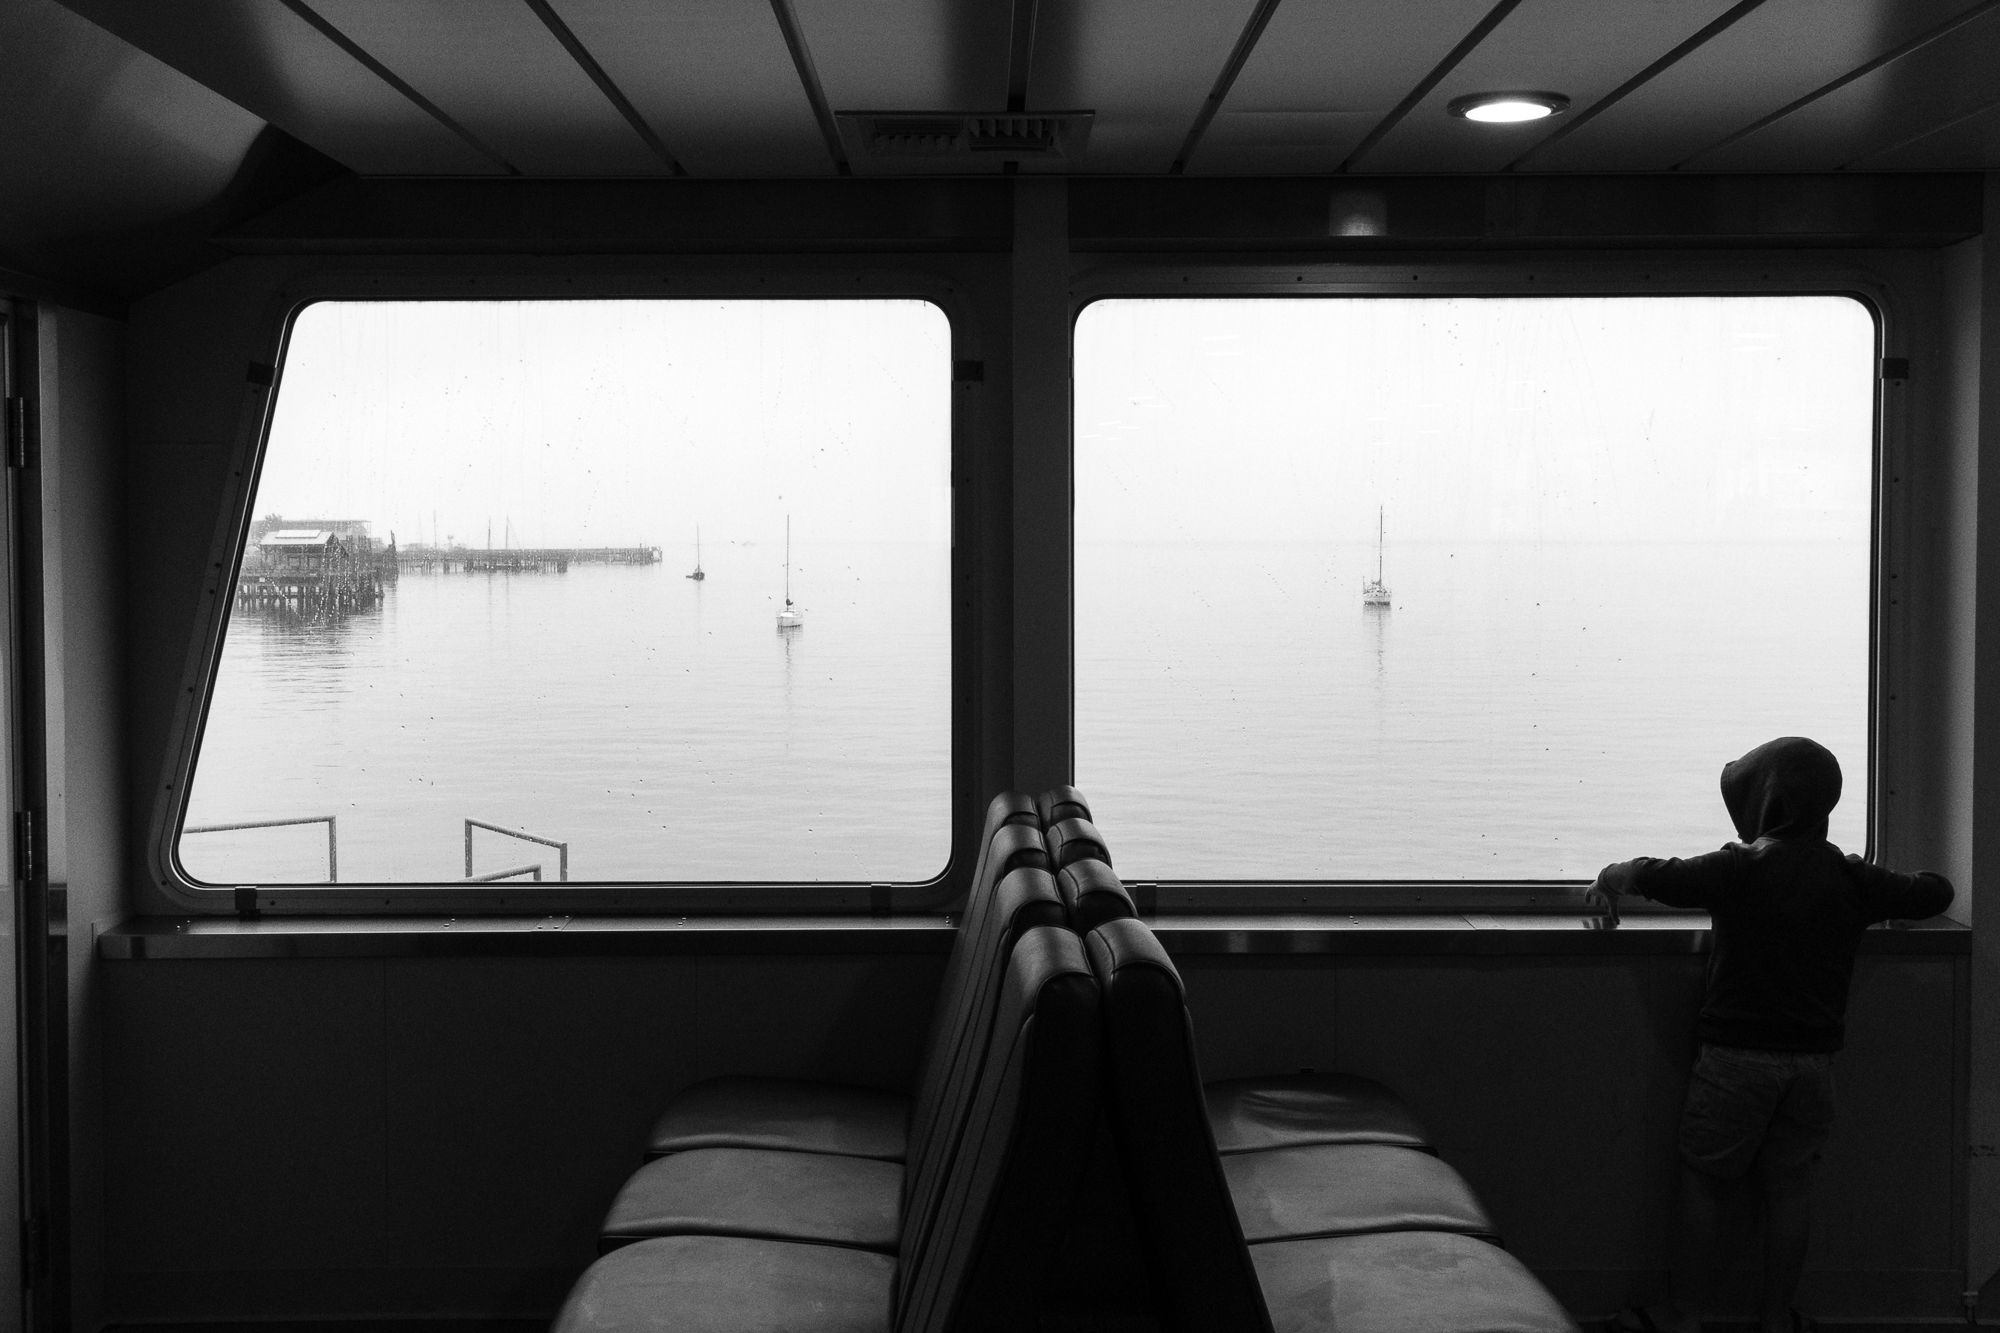
But despite having plenty of those loud, messy moments to photograph, I still feel, like Michelle, that my pictures often aren’t good enough for my weekly submission to Sham of the Perfect. Many times when I look through my photos on the computer, I find I have a lot of quieter pictures of my son playing with Legos, doing his school work, or reading a book. The photos don’t seem interesting enough, and when deciding what photo to submit, I wonder “is there enough interaction? Does this photo have a good enough moment?”
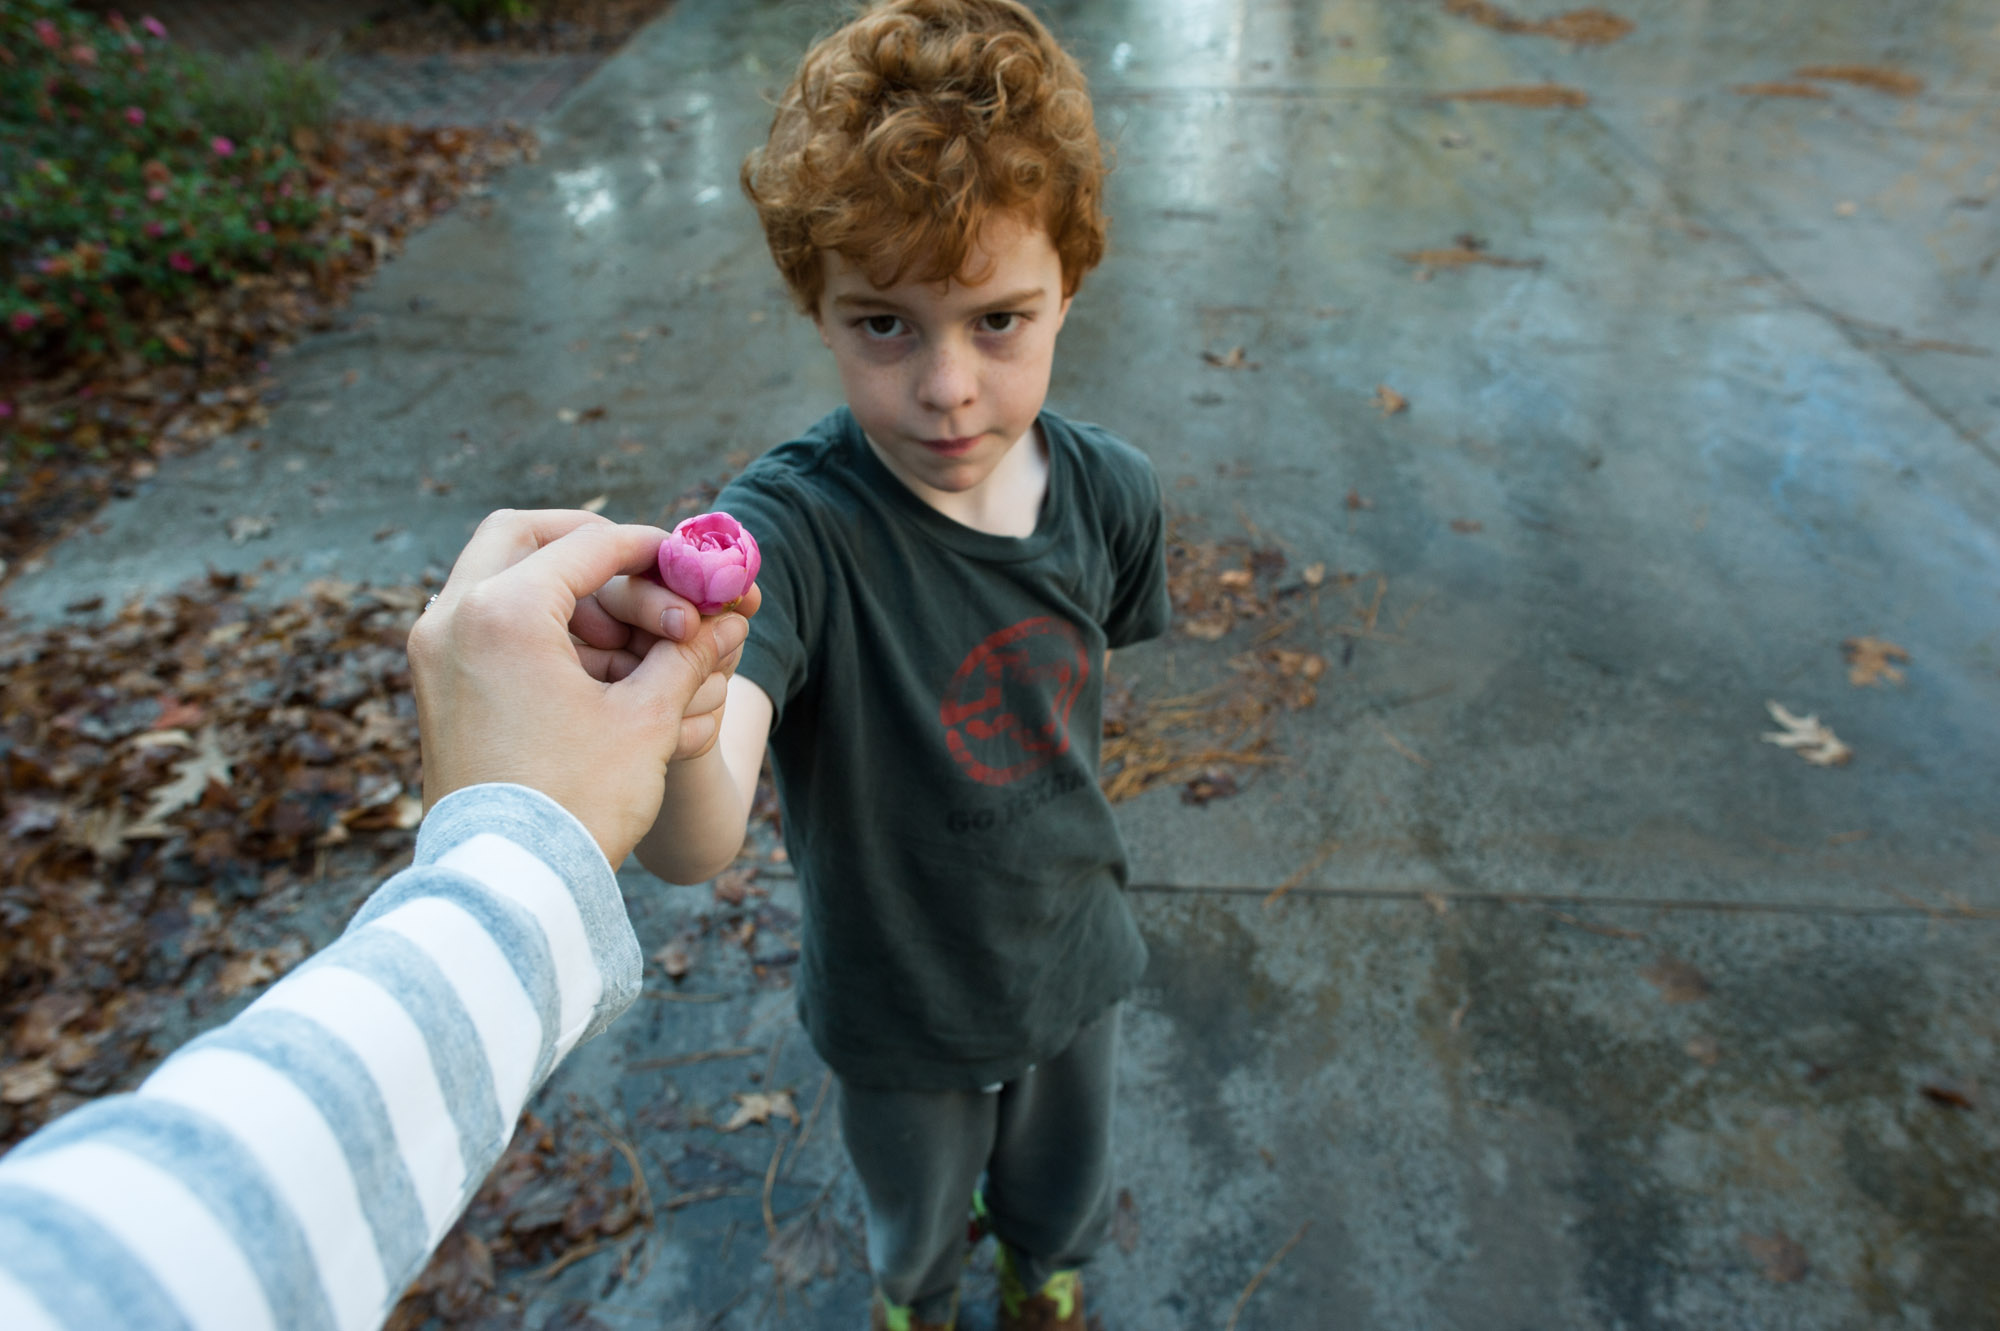
Because one of the most important aspects of documentary photography is taking the picture at the right moment. I like to compose my photo and then try to wait for that gesture, reaction, or interaction before hitting the shutter, and often that doesn’t happen when I’m taking pictures of my son. Or more correctly, I don’t want to sit and wait for that gesture to happen because my son is more interested in playing with me than in me being our family historian.
So the gestures between us often remain off camera and are never photographed, but having the perfect photo of our interaction will never trump having a real life connection with him.
Some of my pictures might lack the interaction that a larger group of siblings might have, but I have to remind myself that that’s ok. The goal of documentary photography is to photograph things how they really are, and that’s what I’m doing. I’m good at telling people that their ordinary life is beautiful and worth photographing, but sometimes I need to remind myself of that, too.
Michelle
Yes, whenever I get stuck in that mindset I have to stop and give myself a little slap on the cheek.
My life – and Robin’s – might not look like yours but it’s no less real as a result. Standing in that truth and embracing it is something I am constantly working on.
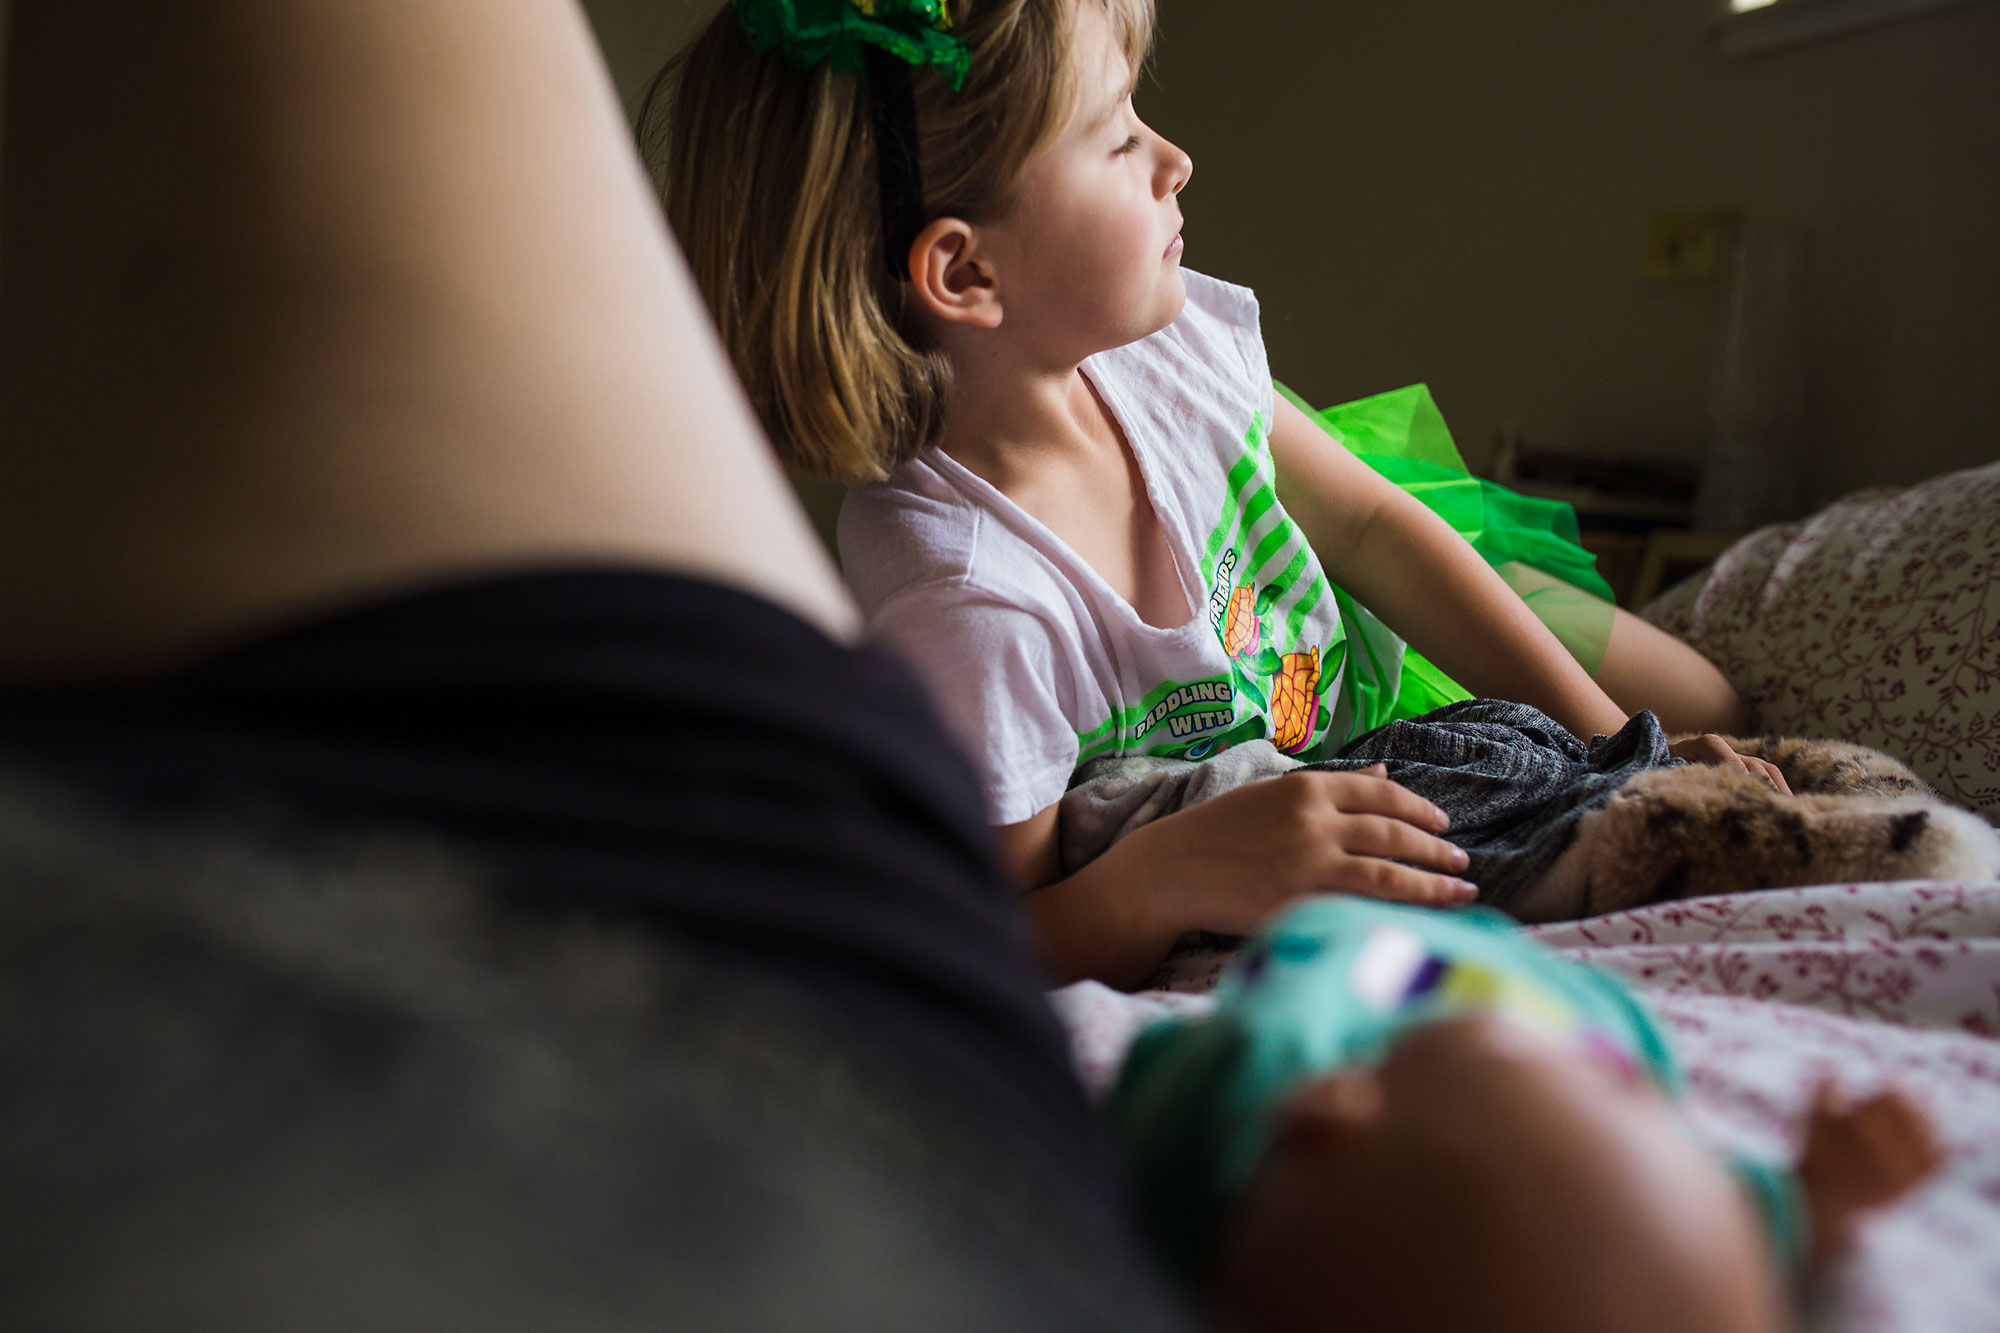
Going back to what Robin said about much of the interaction happening off-camera, between her and her son, that’s another aspect I am working on: trying to capture the relationship that I have with my daughter in a documentary way. Like for Robin and her son, “I” am the person she is interacting with in most situations and, being behind the camera, this means a connection between us is often through the lens.
Is it documentary if I, as the photographer, am the one whose relationship with the subject I am exploring? Typically, documentary work requires the photographer to take on a passive, fly-on-the-wall approach, to be purposefully absent from the image. So, how do I represent my relationship with her in a documentary way without living my life in front of a tripod and holding a remote?
Honestly, I don’t know the answer to that question… yet. I experiment when I have time but rarely have anything I feel is ready to share. In this exploration, I am inspired by the work of fellow photographer Meredith McGrane, whose personal project The One Love, documents her relationship with her daughter, an only child, by finding creative ways to represent herself and her daughter, together in the frame without a tripod or timer. One of my favorite images is of her and her daughter playing with hula hoops; you know she’s there just by the edge of her own hoop spinning in the bottom of the frame. I love that because, when I’m behind the camera, that’s where I live: a foot or a hand or soft tummy at the bottom of the frame.
Robin
Yes, I was introduced to Meredith McGrane’s work several months ago, and it inspired me want to get into the frame more often. I loved the way she made me feel as if I were experiencing the photo with her and her daughter. Like Michelle, I am working on being in the photo and still shooting in a documentary way.
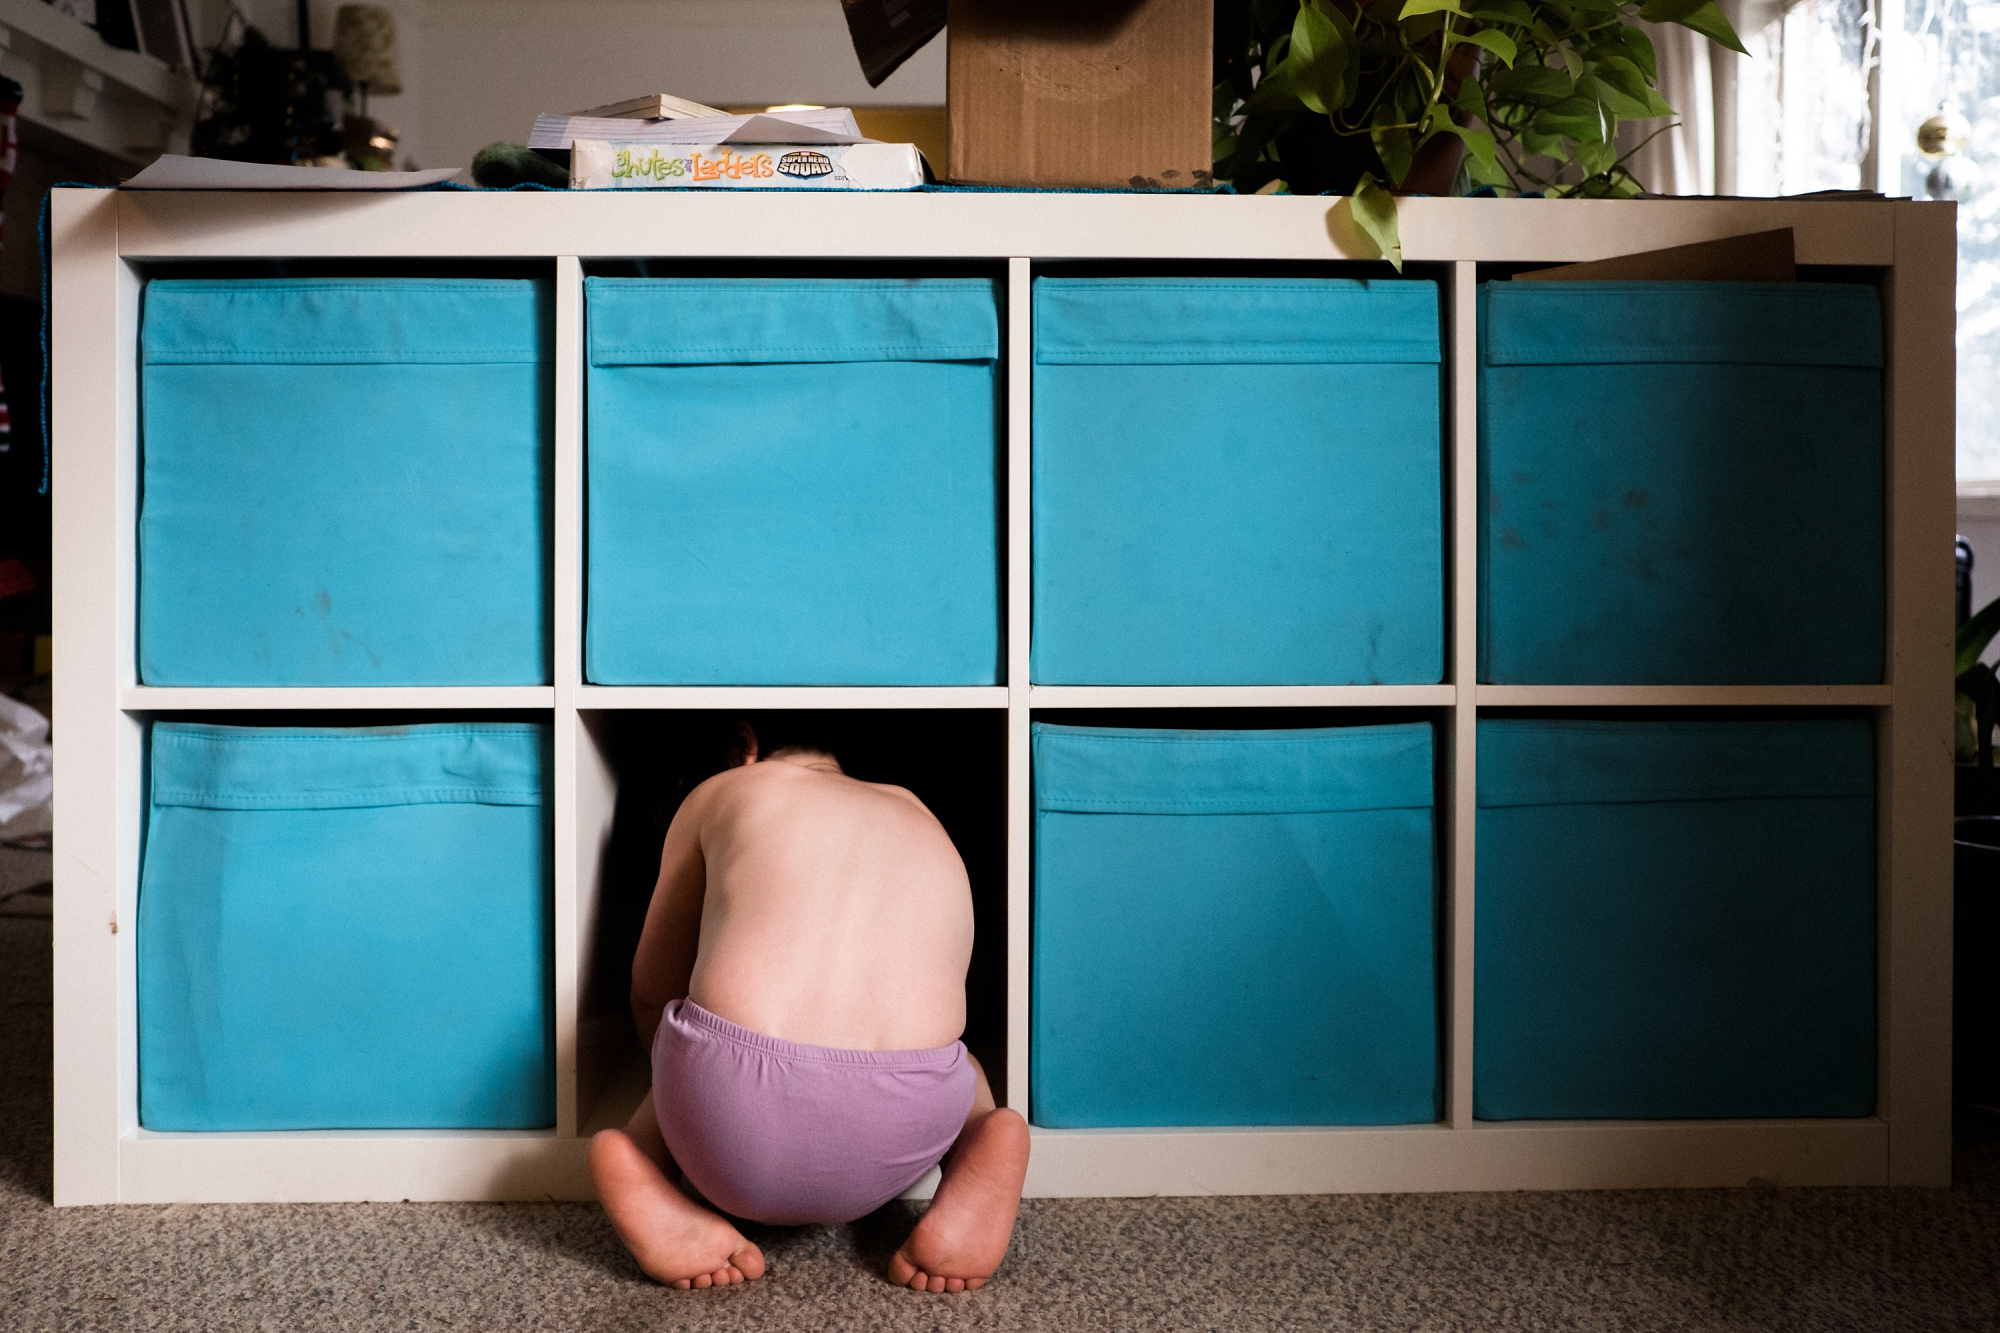
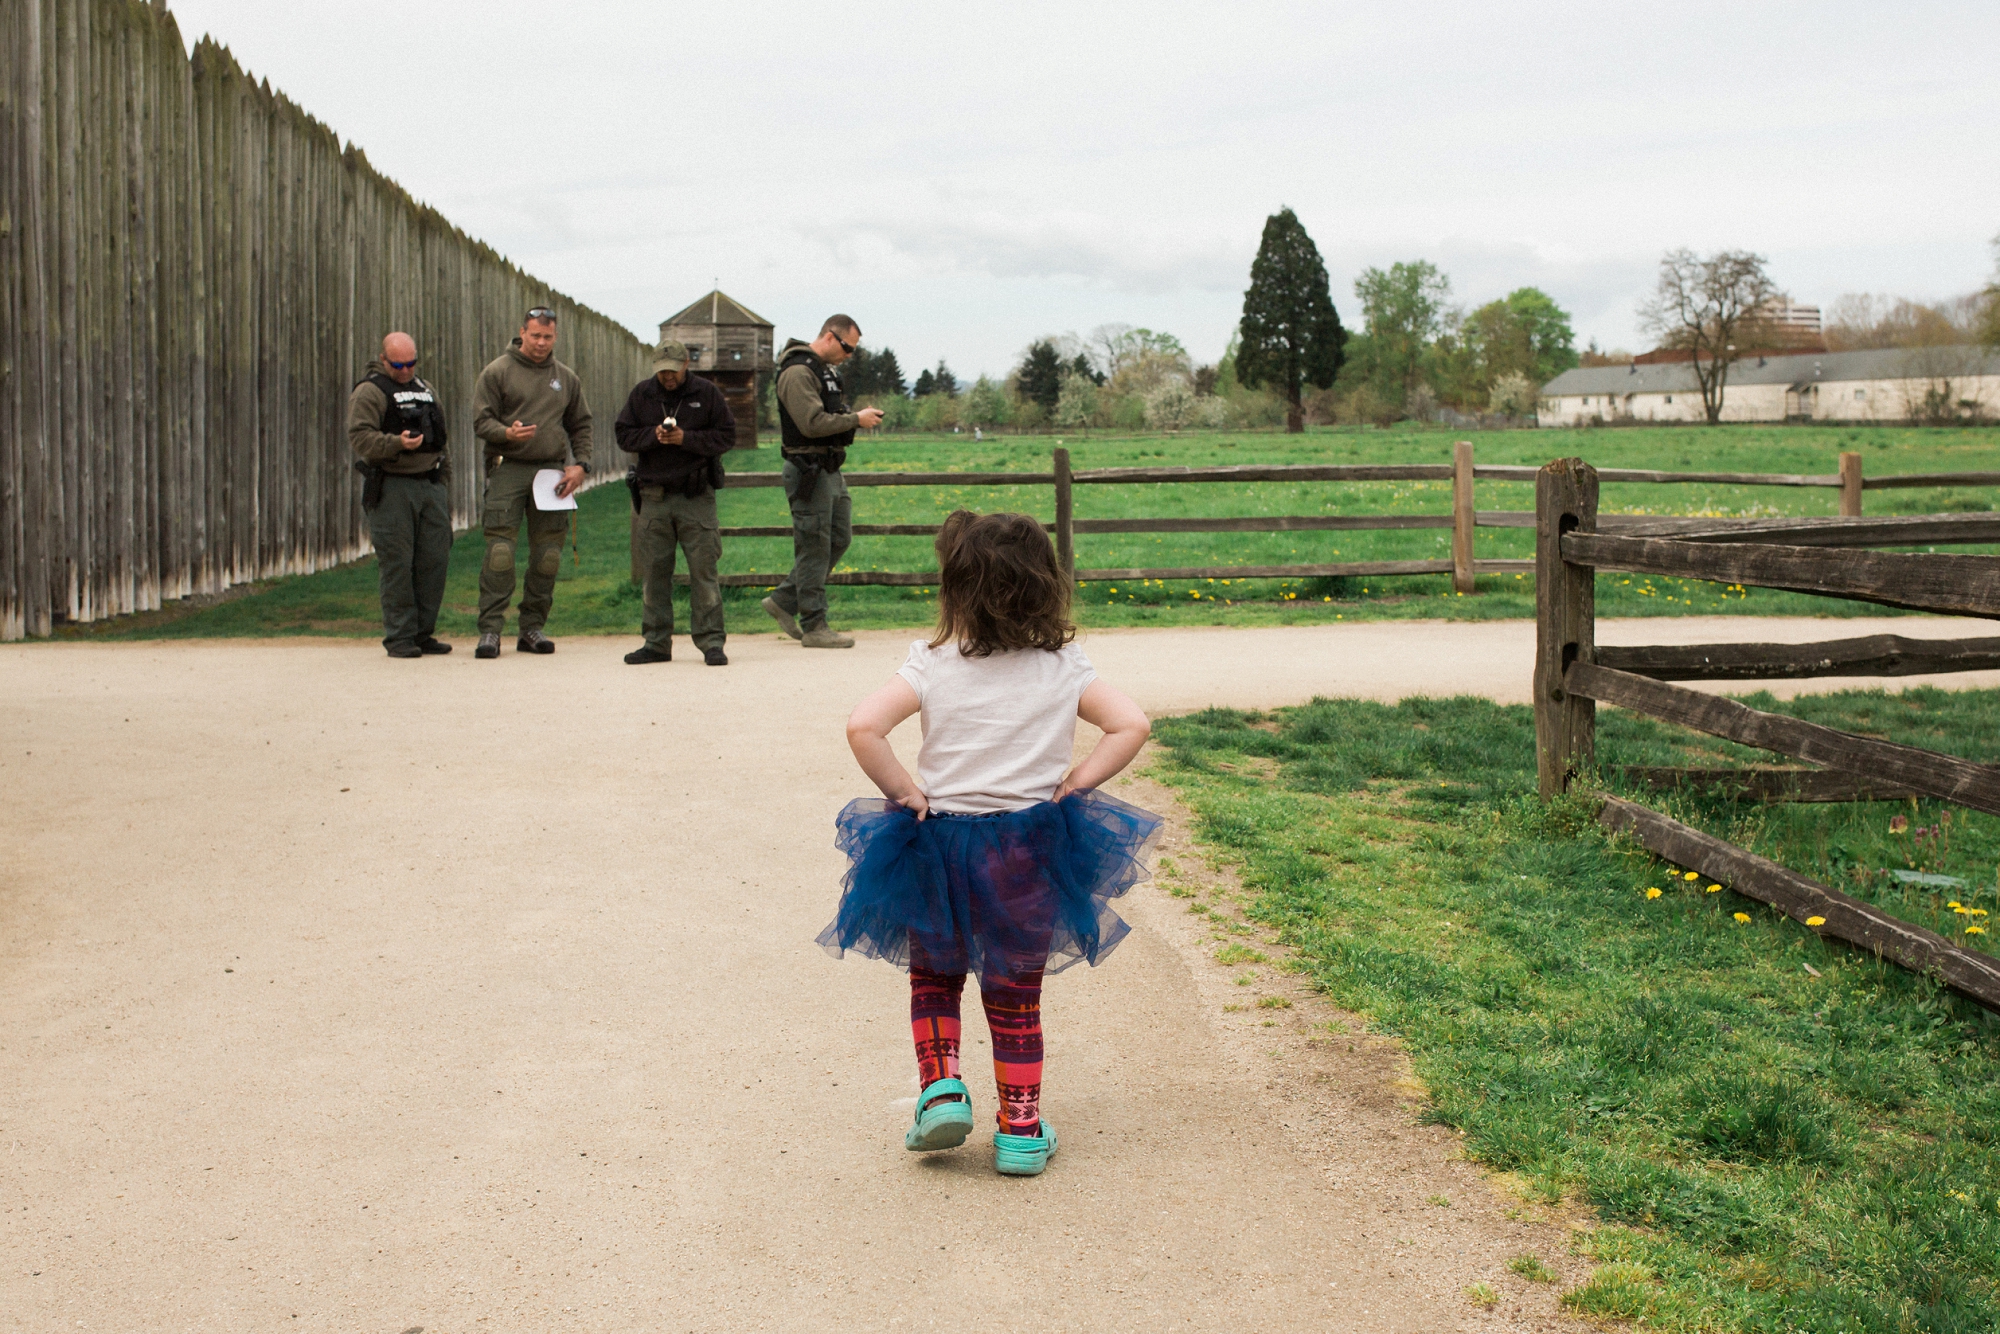
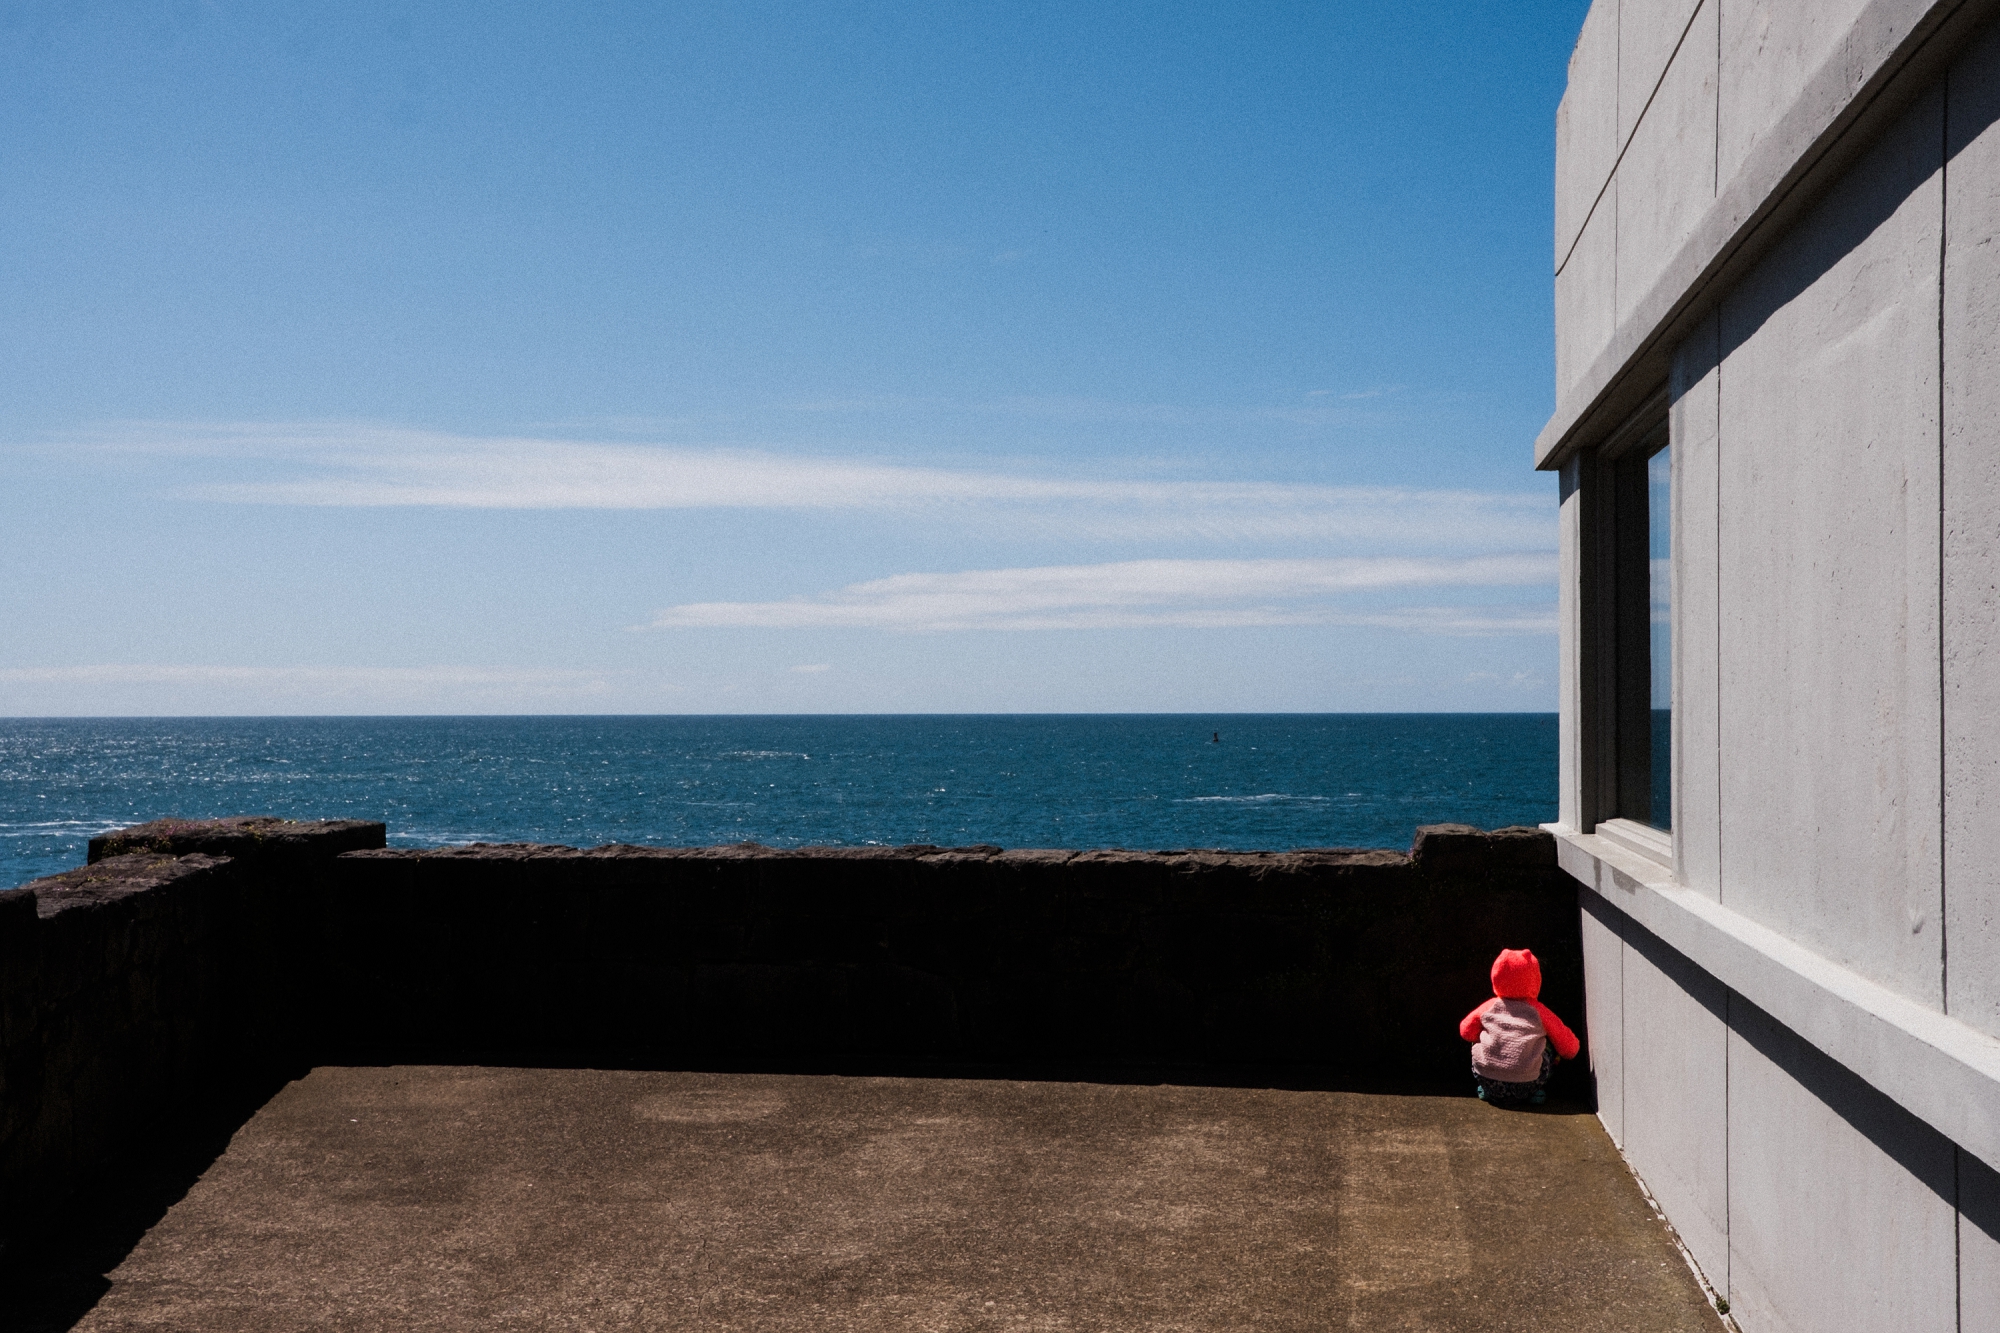
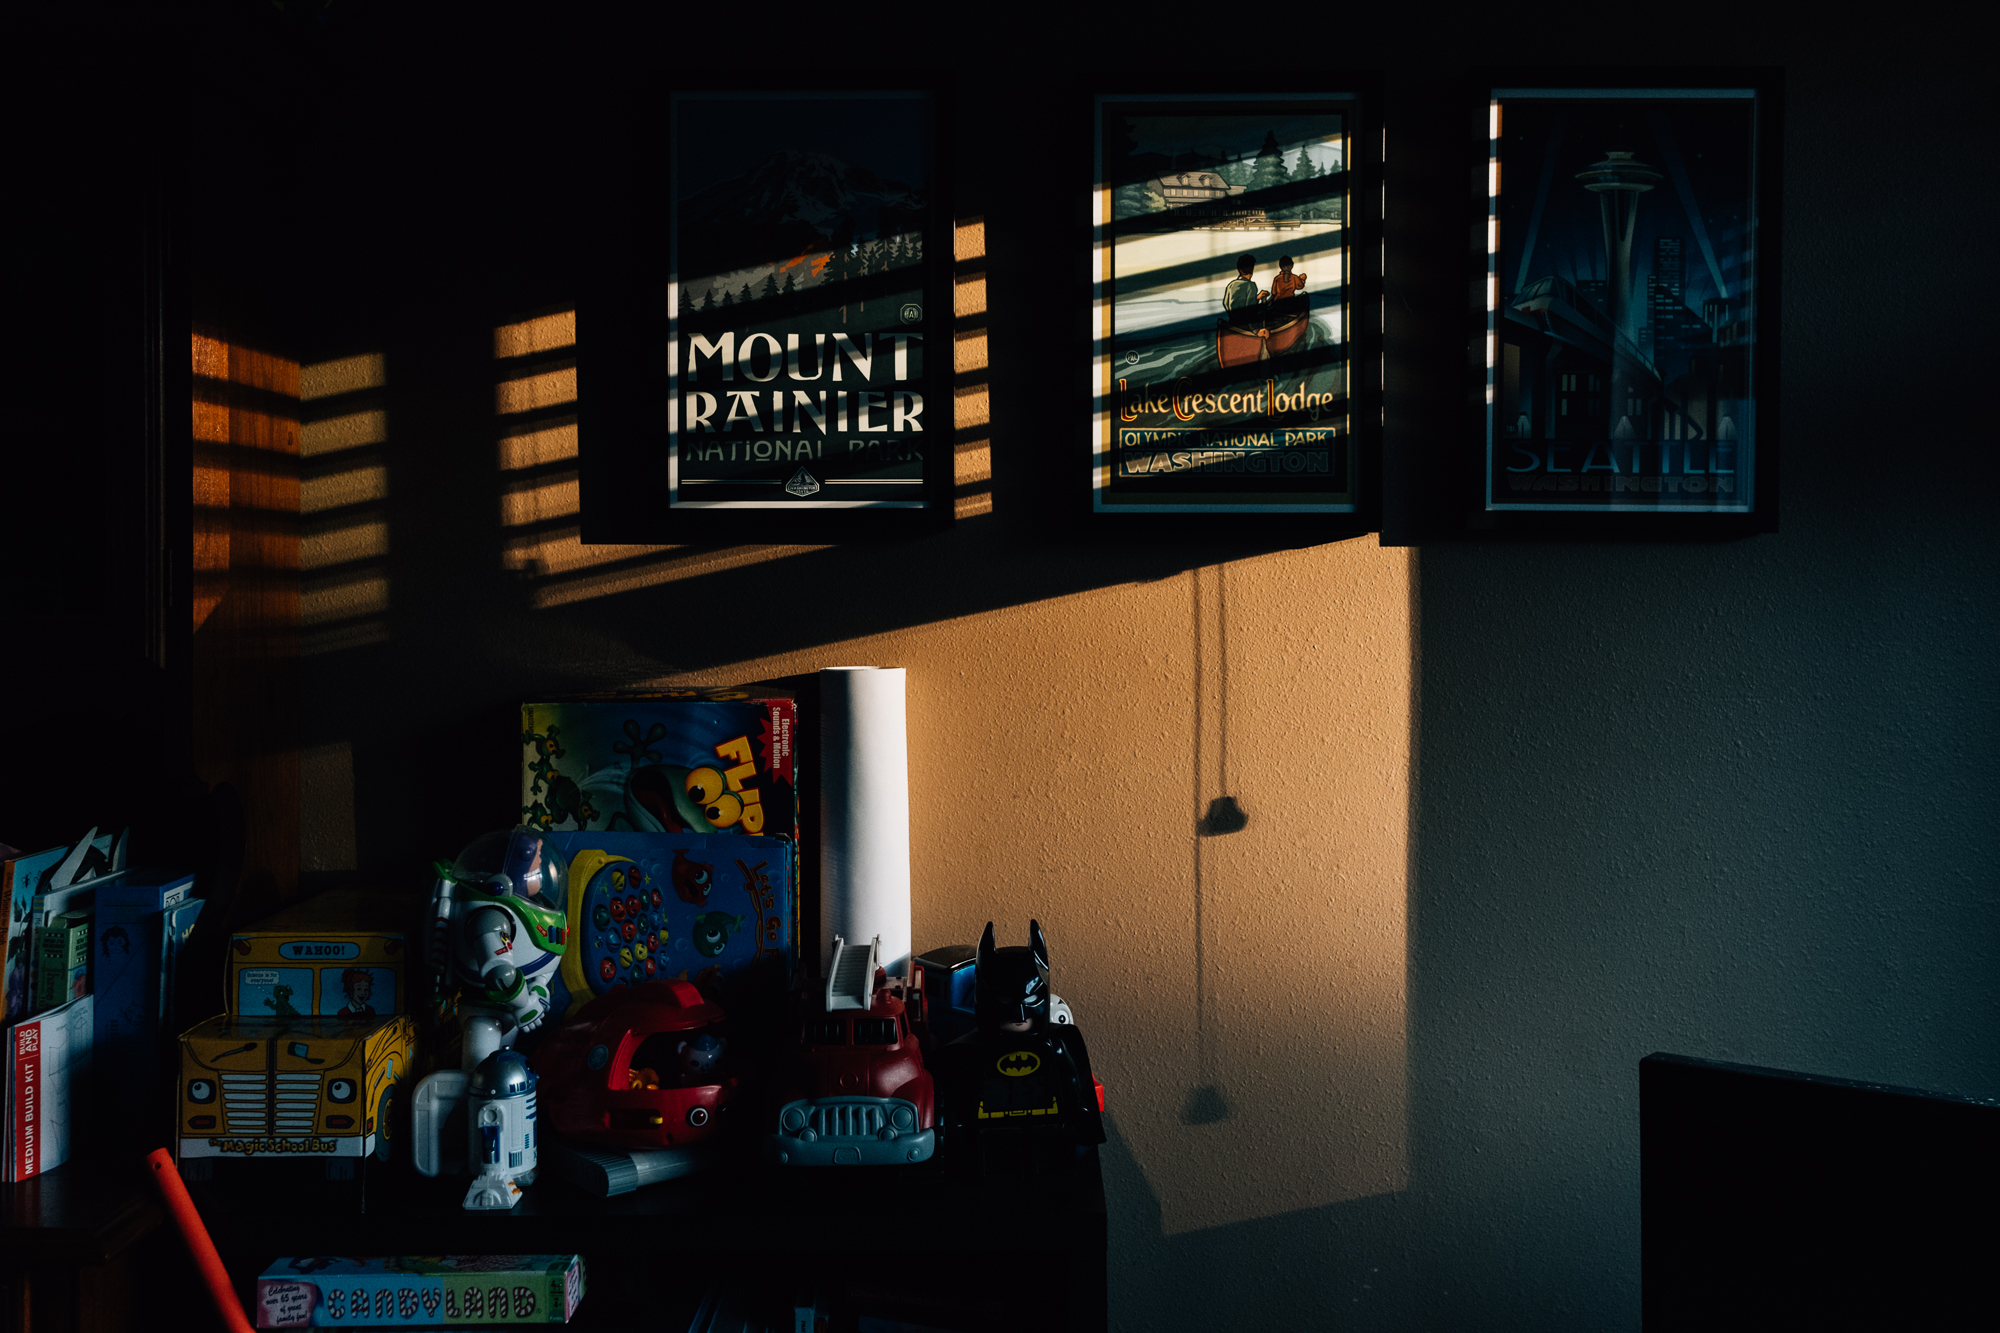
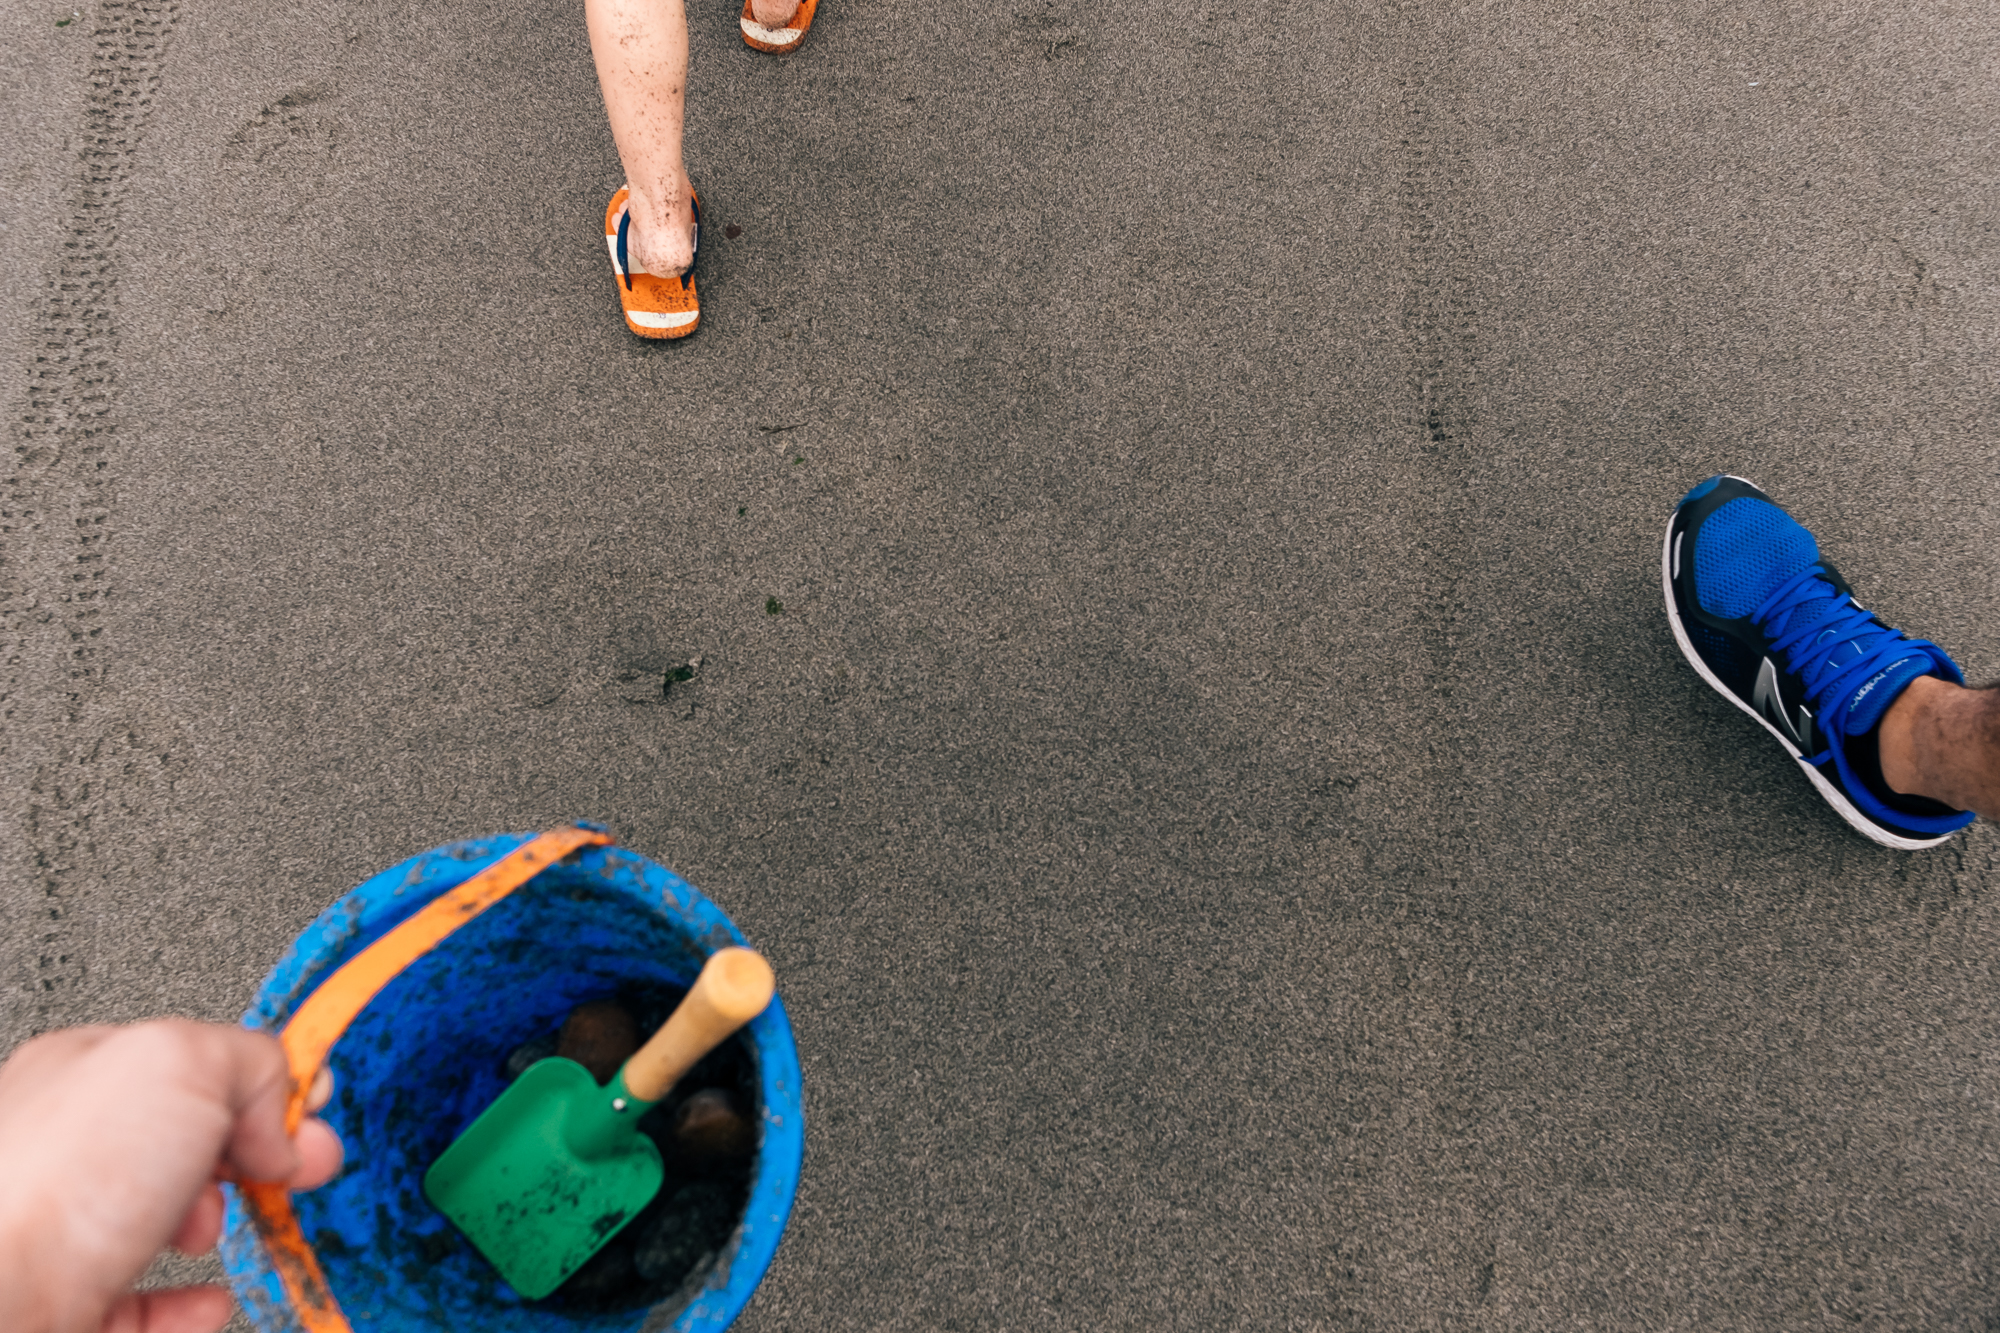
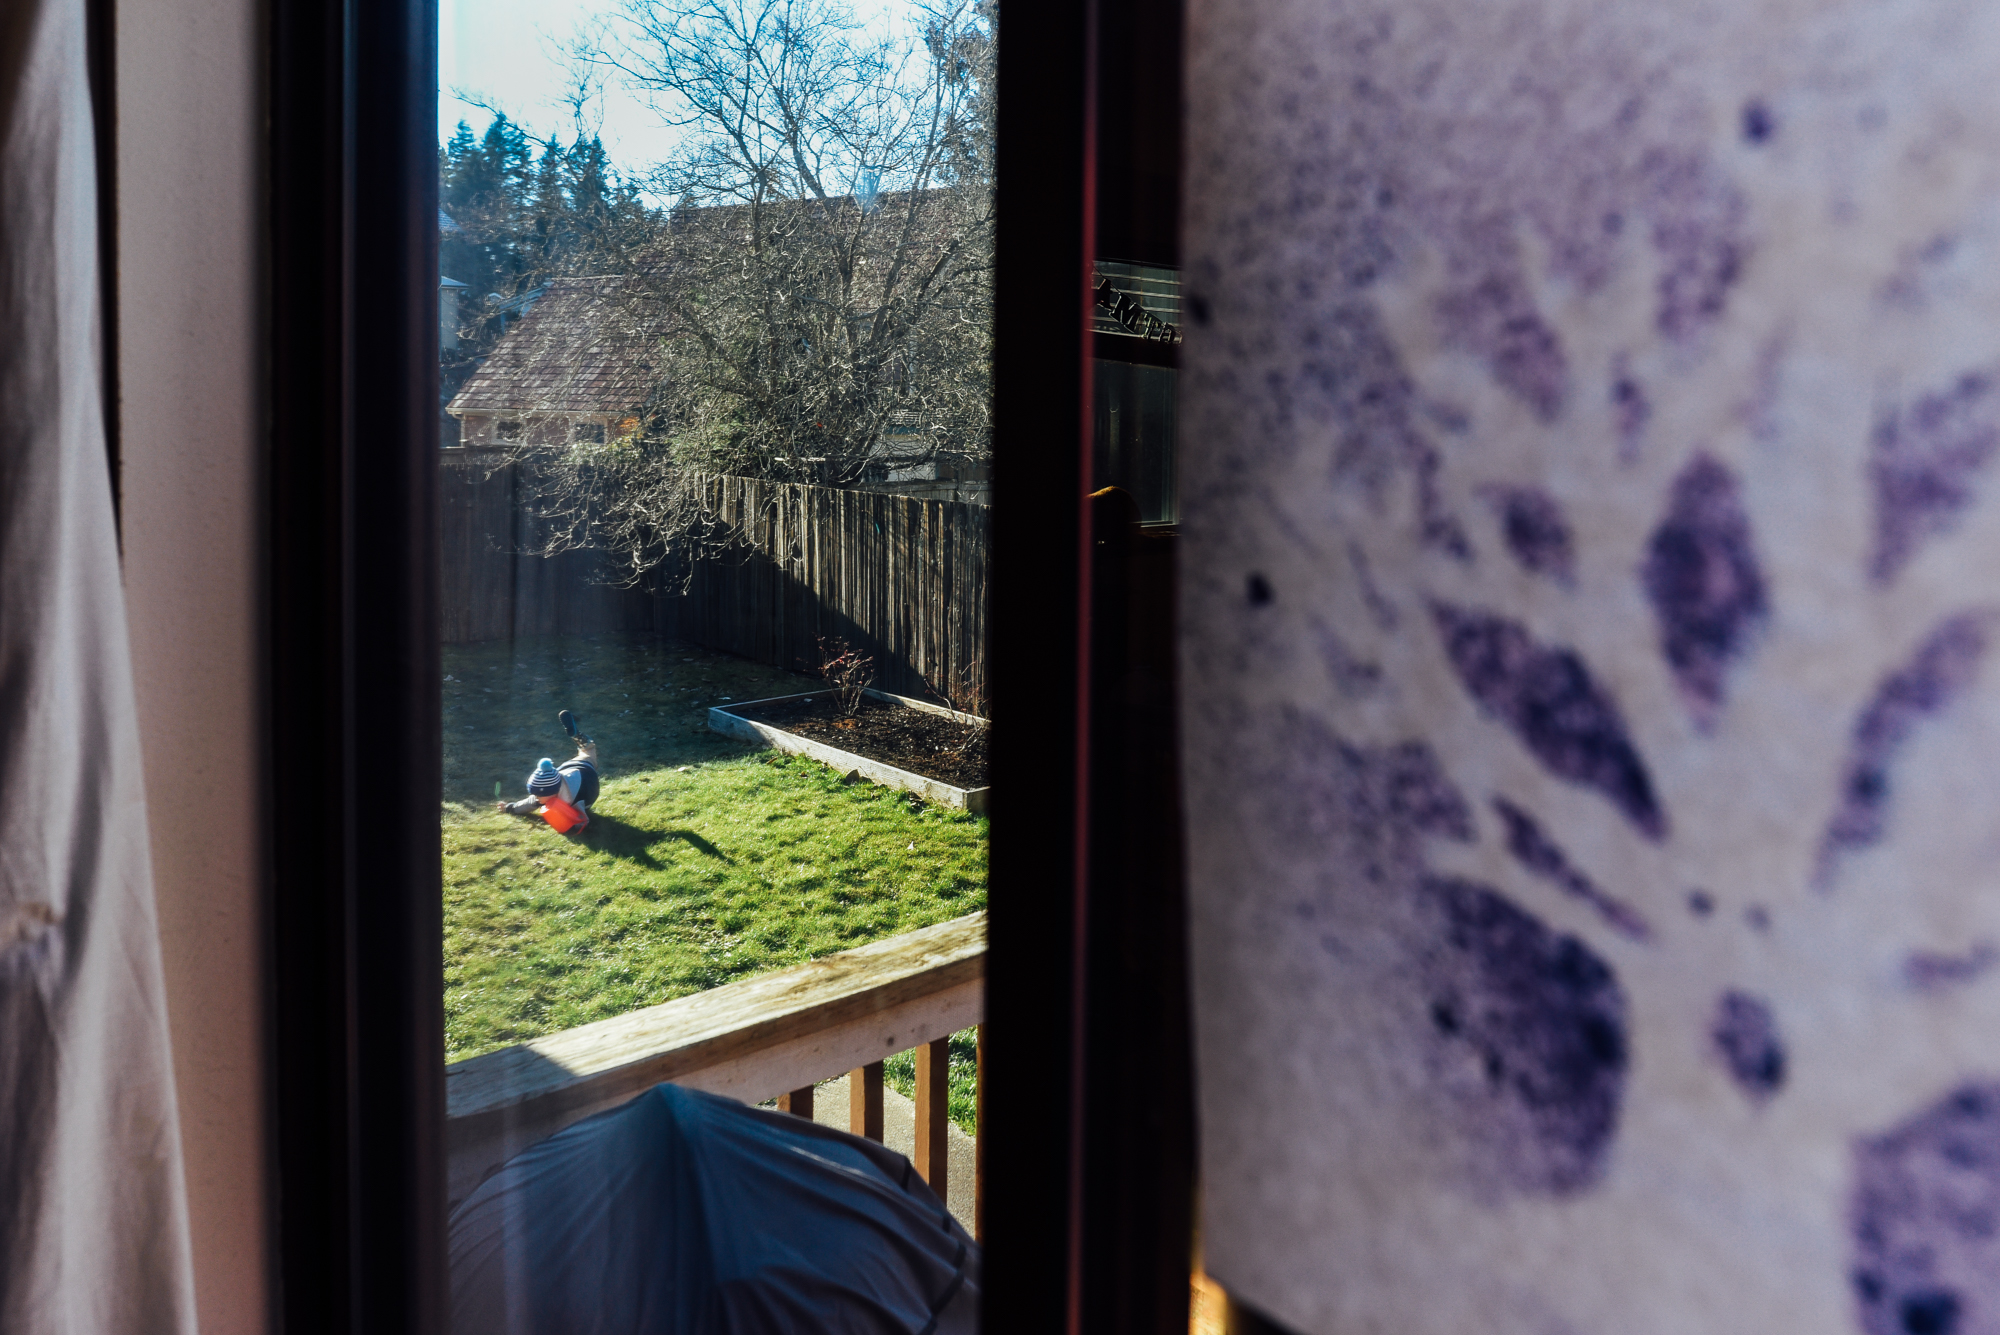
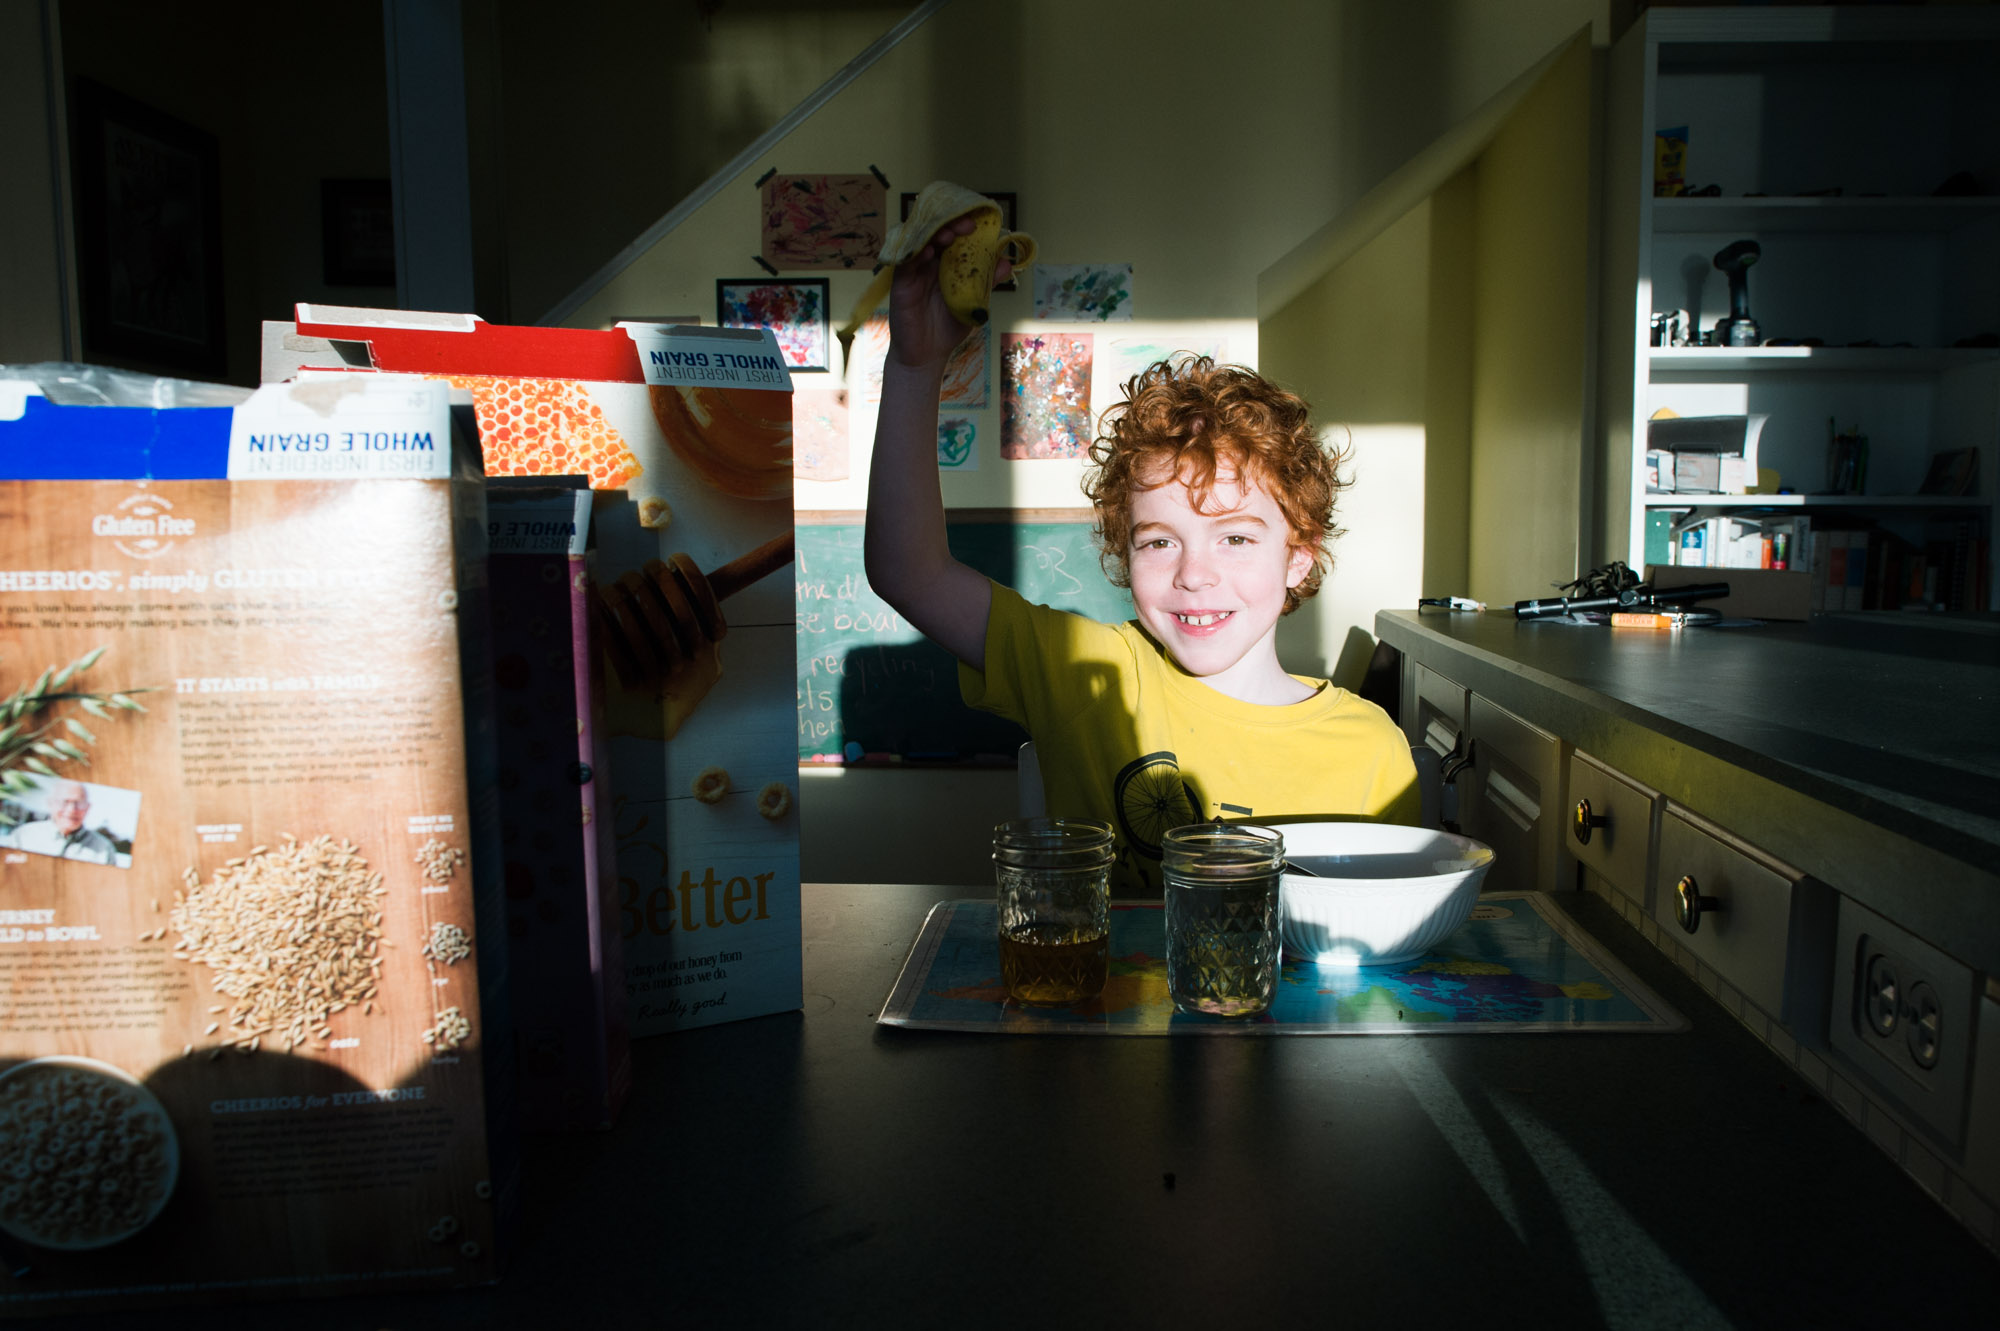
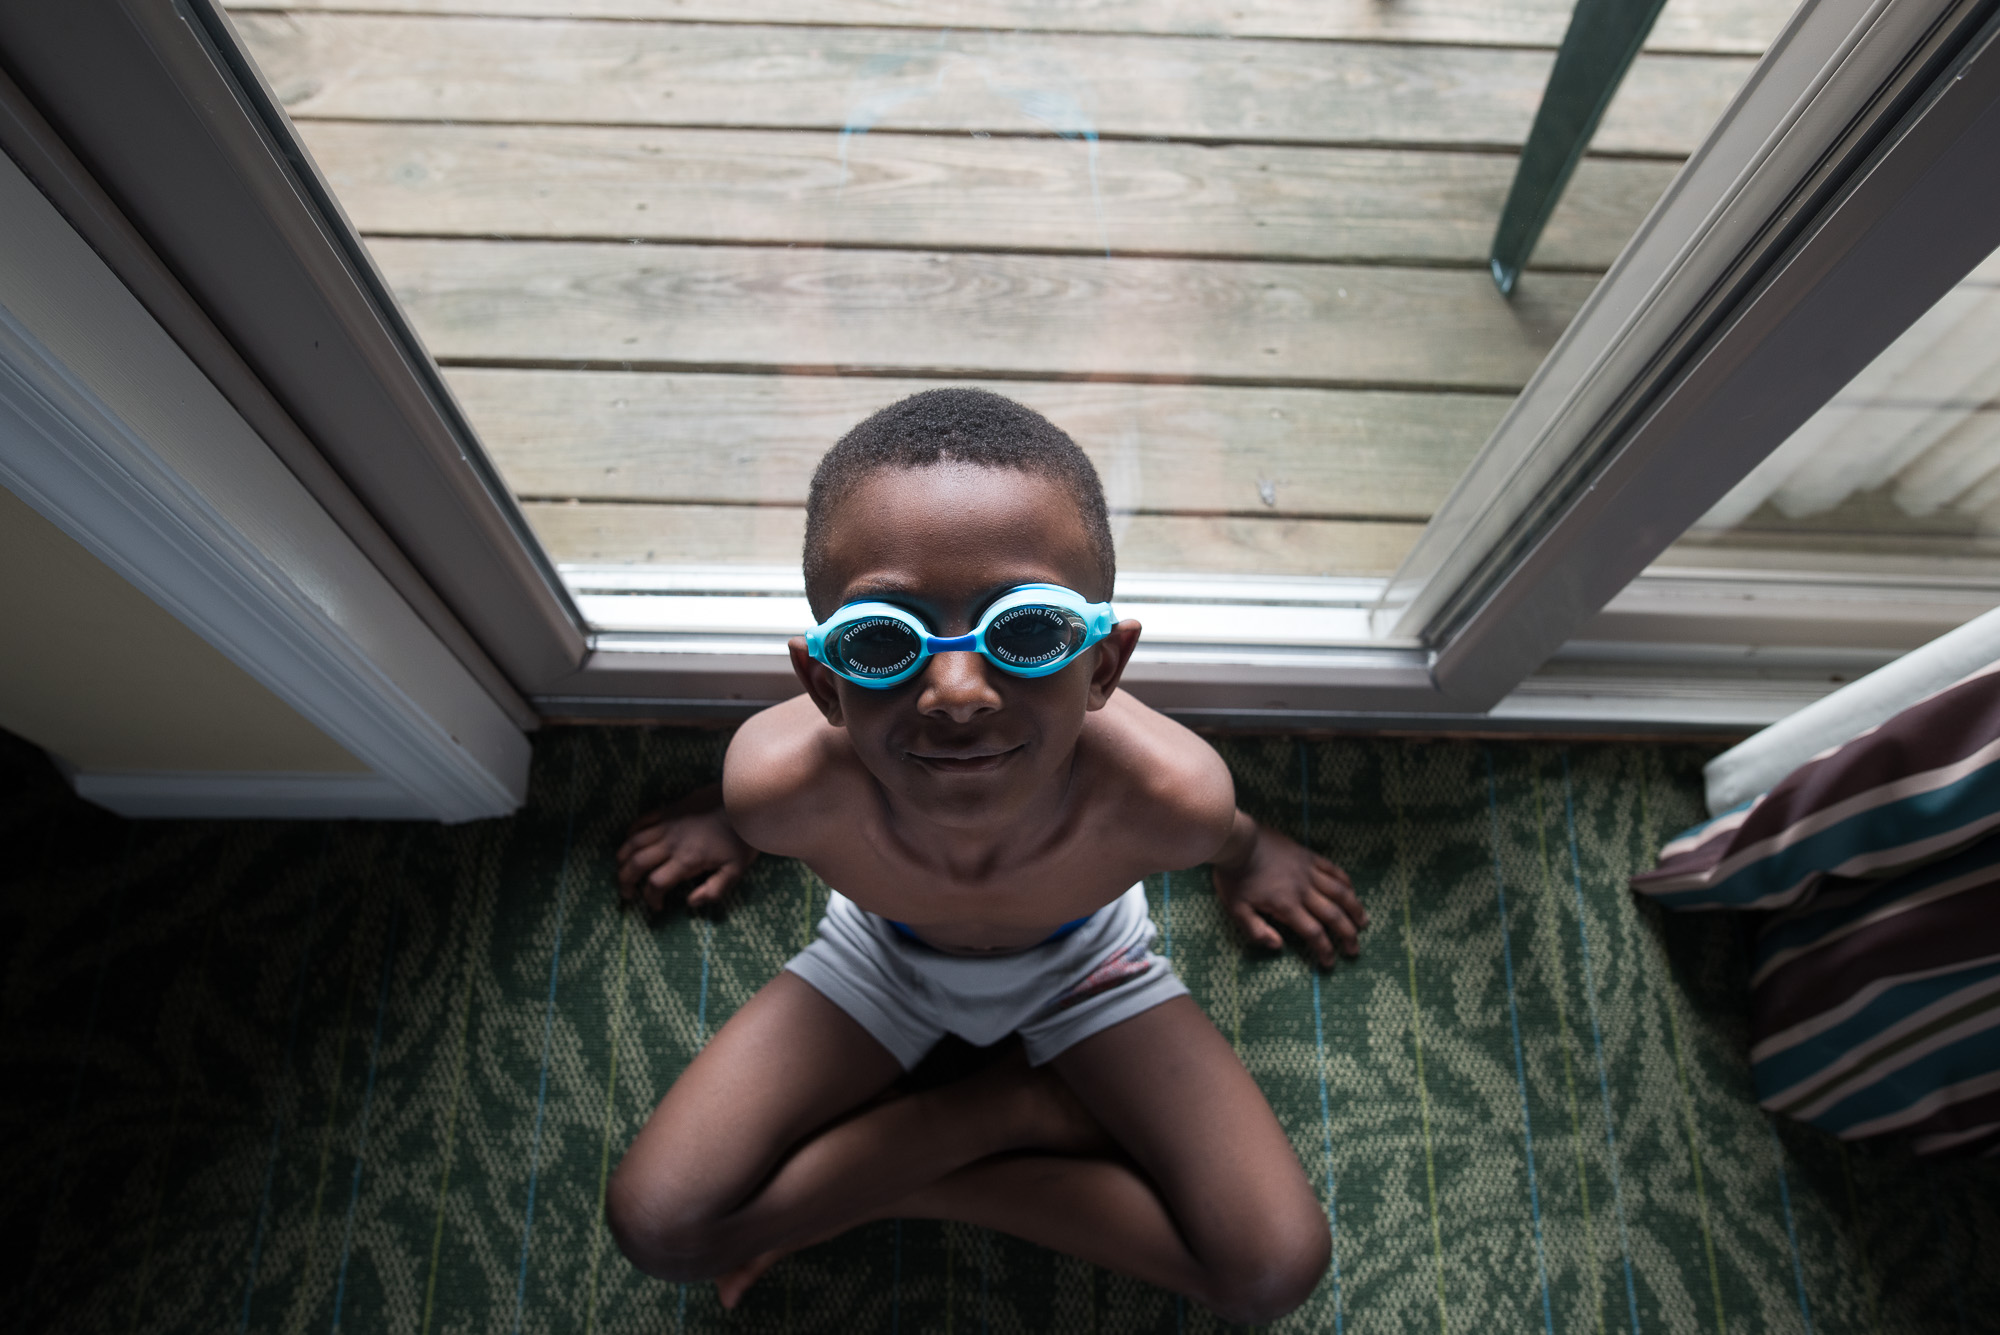
This year I’ve also tried to incorporate more layering into my photos. Layering is a technique that involves using foreground, subject, and background so that all the layers of the image work together to tell a story. Since I don’t usually have other people around to create layers for me, I have to be more creative with my layers. I’ve been using windows and doorways and even cereal boxes like in the picture below, but this is definitely something I would like to improve on.
Michelle
Layering is also a big area of exploration for me also. I dedicated one week of my 365 this year to trying to creating more layers in my images and it was hard to find enough activity to make it work. Sure, I can layer with inanimate objects but that’s not all that interesting. At the end of the day, our family’s reality with two working parents and a kid in 2nd grade is me making dinner, my daughter doing homework, and then all of us collapsing on the couch for an episode of House Hunters Renovation before bedtime. There really isn’t a whole lot to work with there most nights. Working on that on weekends and in client sessions is definitely top-of-mind this year.
Of course, I bet if we had multiple kids we’d be dying for some quieter moments and downtime to photograph. I have to remind myself the grass is always greener and these challenges just make us better photographers.

Michelle McDaid is a British ex-pat and only child herself, who currently lives in Sacramento, CA. You can see more of her work over on Memories by Michelle Photography, on Facebook, or follow along with her 365 project on Instagram.

Robin Stephenson is a homeschool mama who loves to read and is addicted to 365 photography projects. You can see more of her 365 photos at The Everyday.
 Slow down, be present, and live in the moment. A few of the words I’m repeating to myself lately. Earlier this year, I hit an impasse in my photography journey. I was feeling bored and unfulfilled in my creative process. I asked myself:
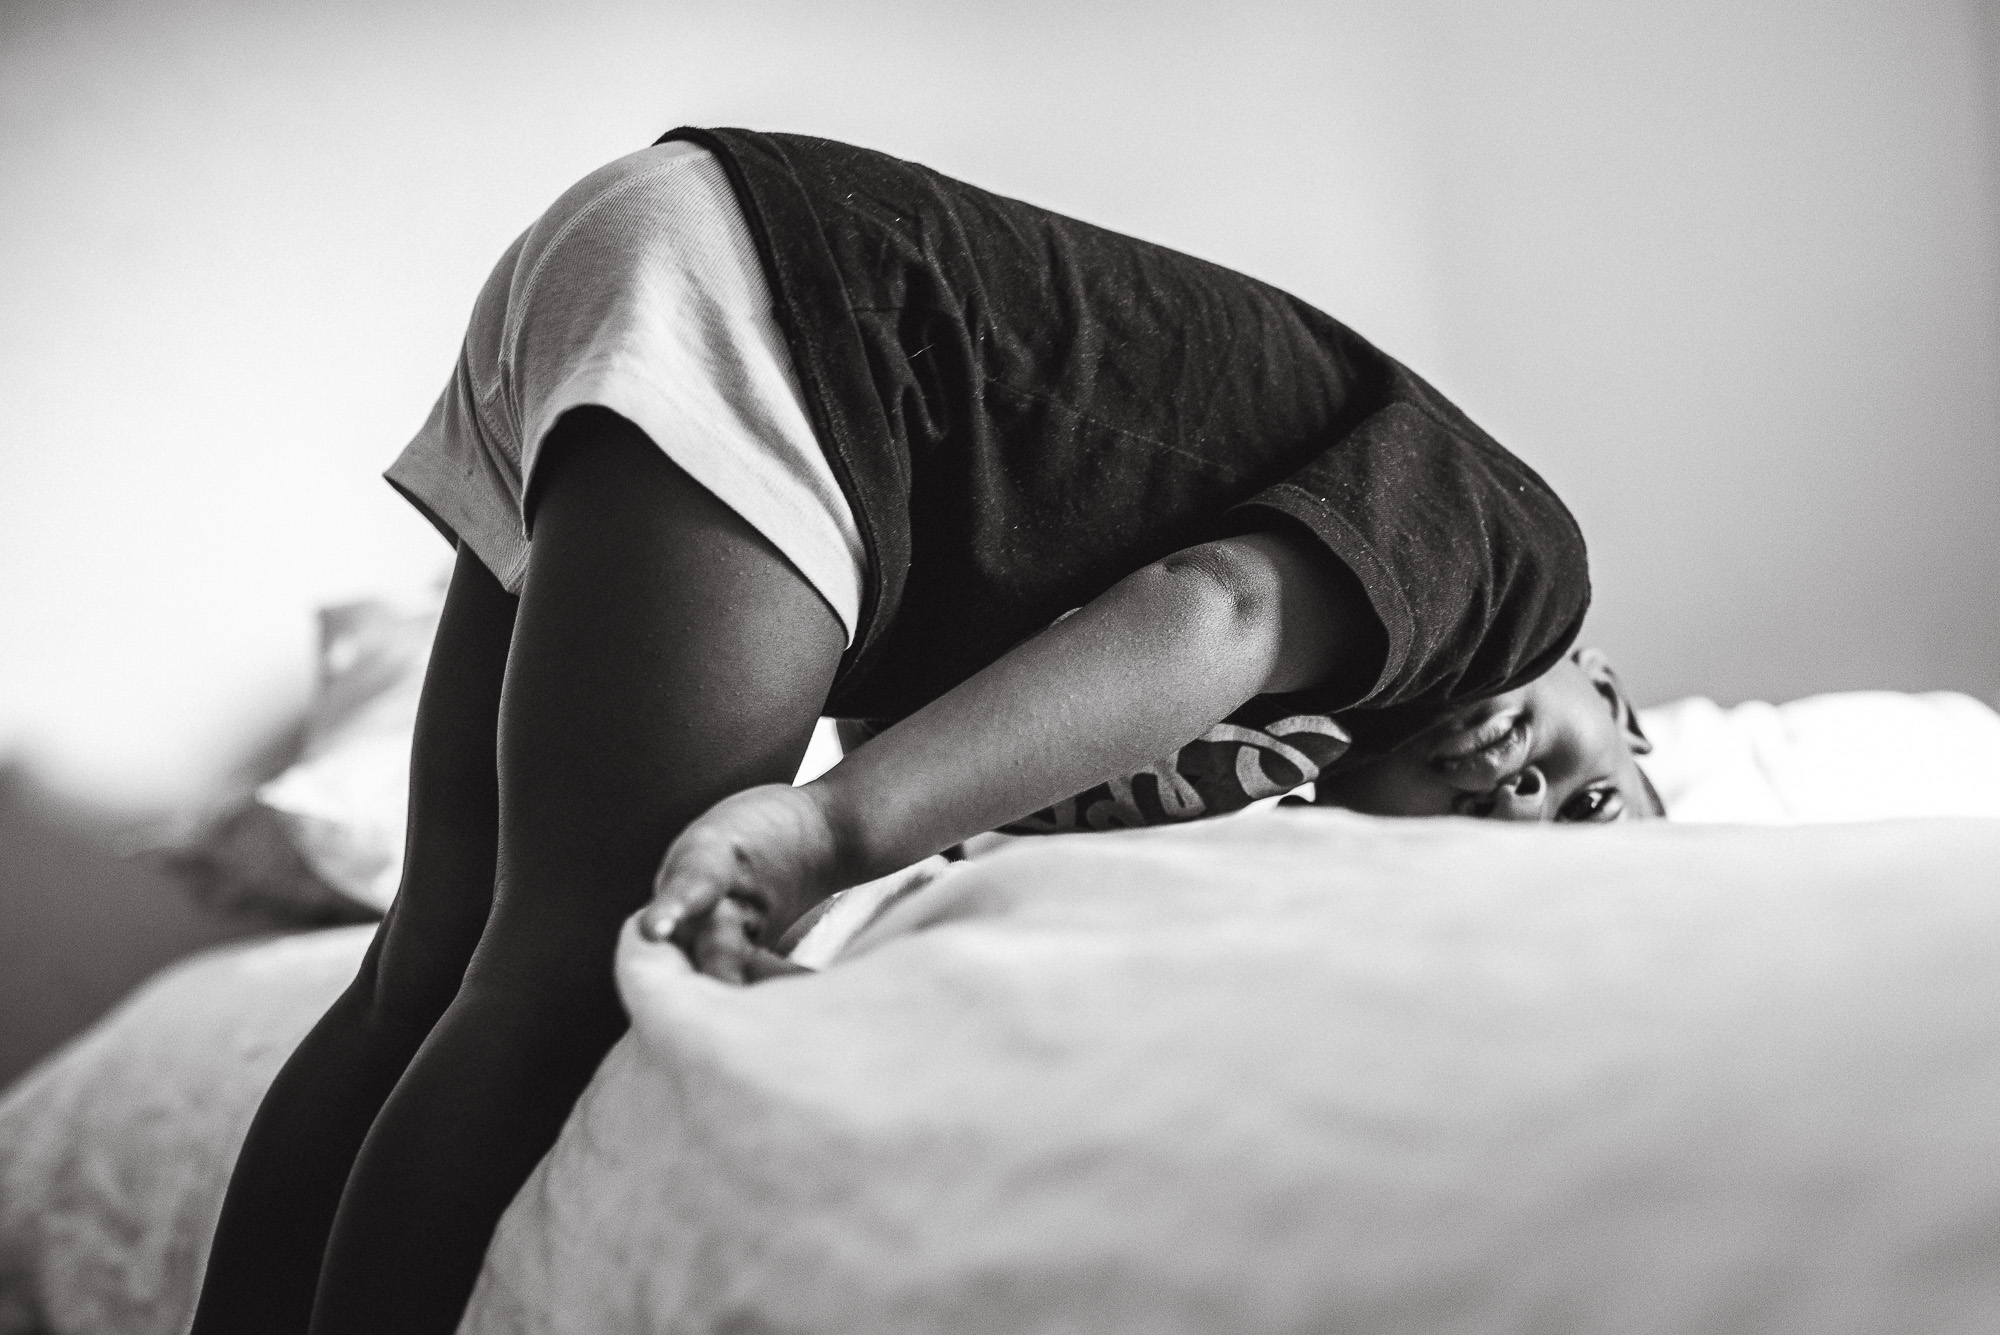
 Focusing on being mindful and present means that I can be more intentional about what takes up my time and space. If you are like me and want to be a better artist; this means you can spend more time making better images and less time worrying about what other people are doing. Mindfulness keeps you focused on the task at hand and allows you to rely on your own voice instead creating images for clients, likes or social acclaim.
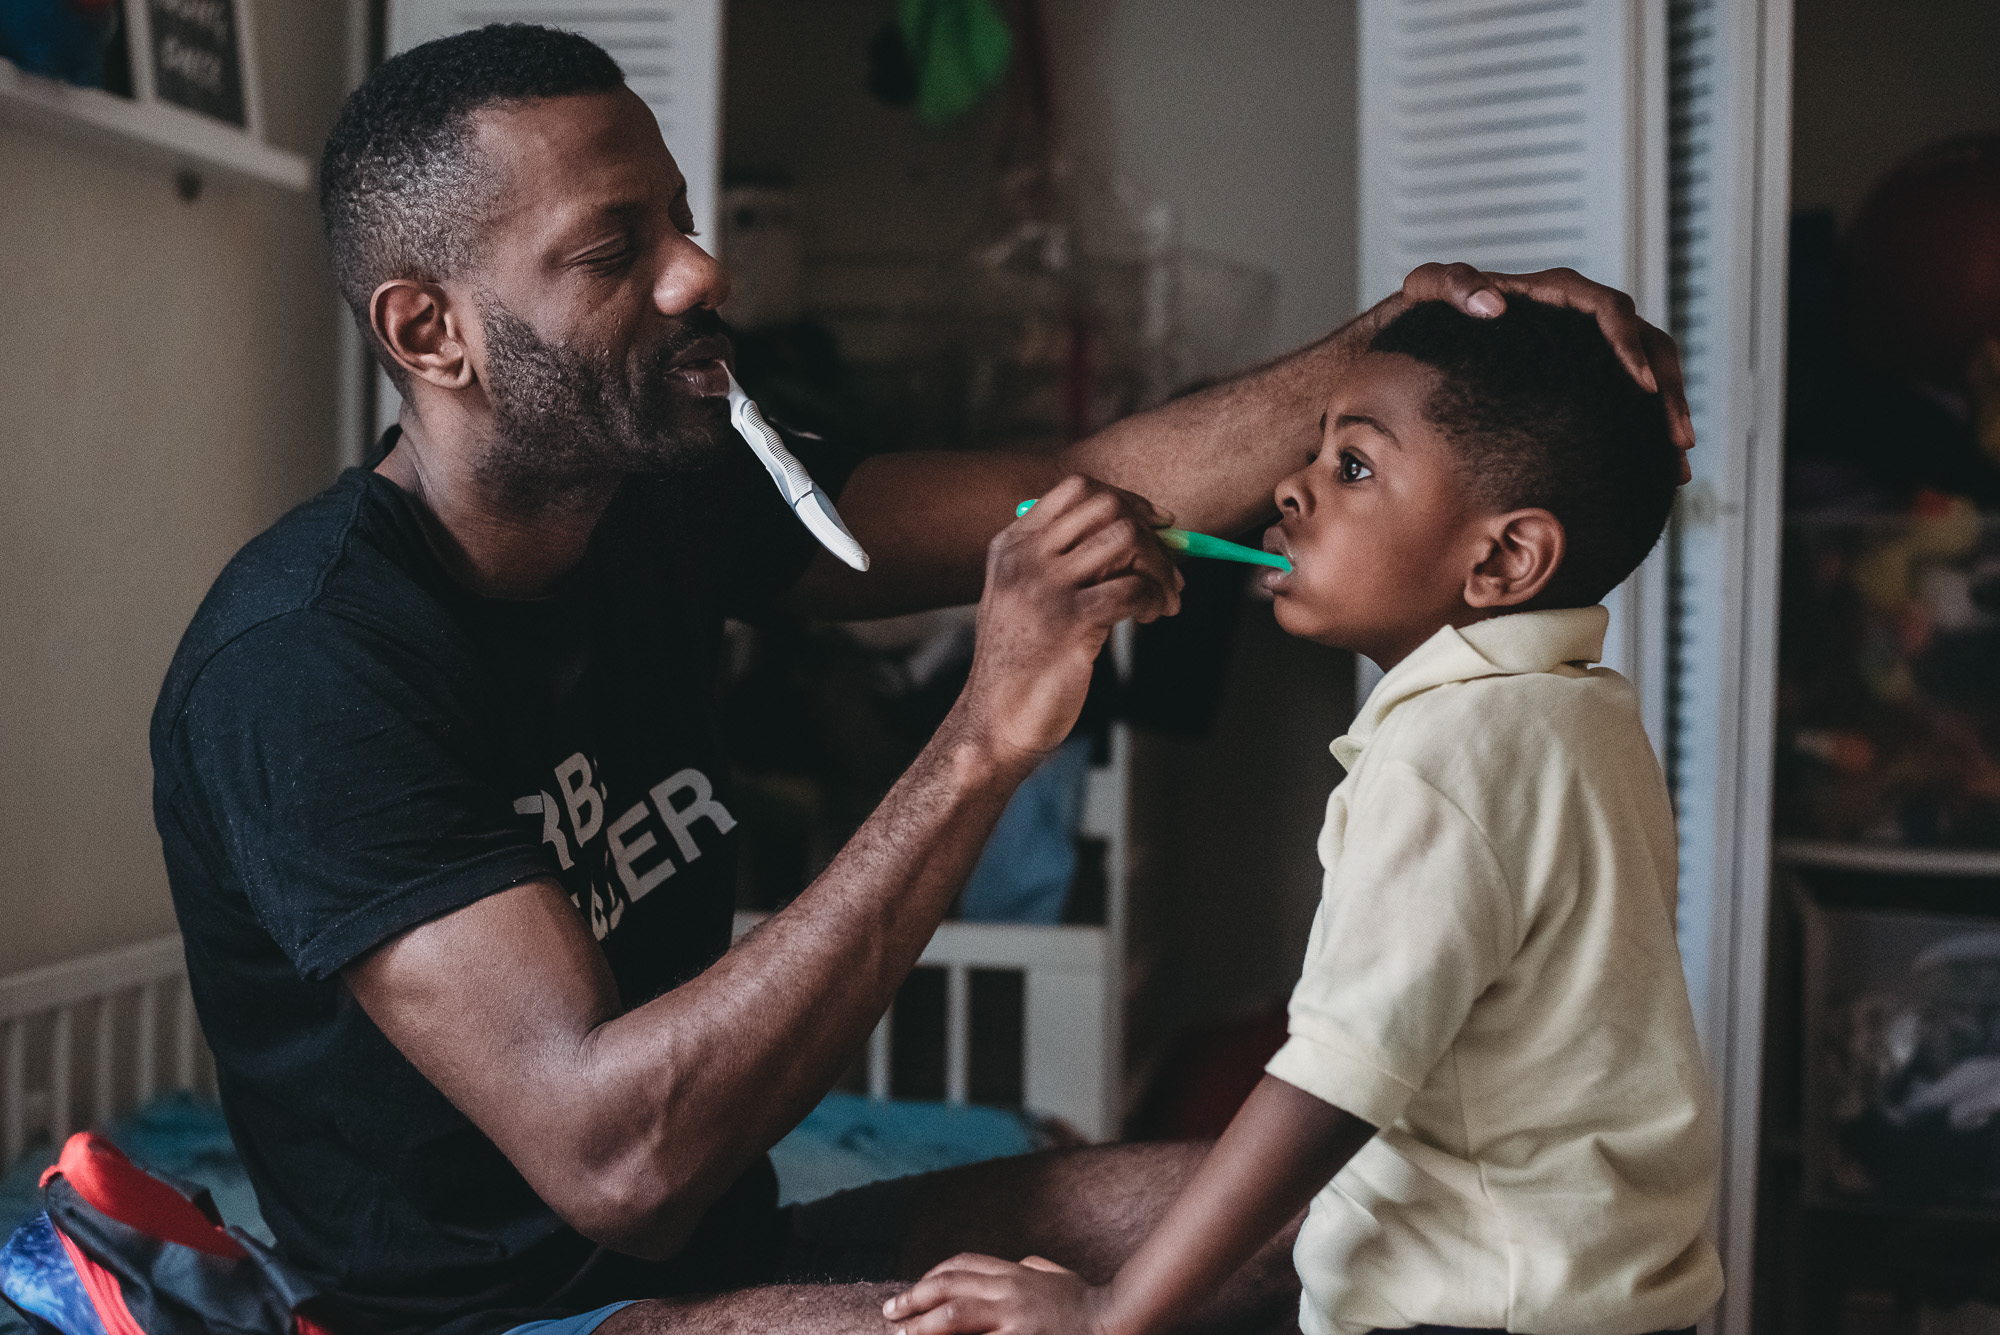
 Here are a few tactics I have used to practice mindful photography and improve my work:
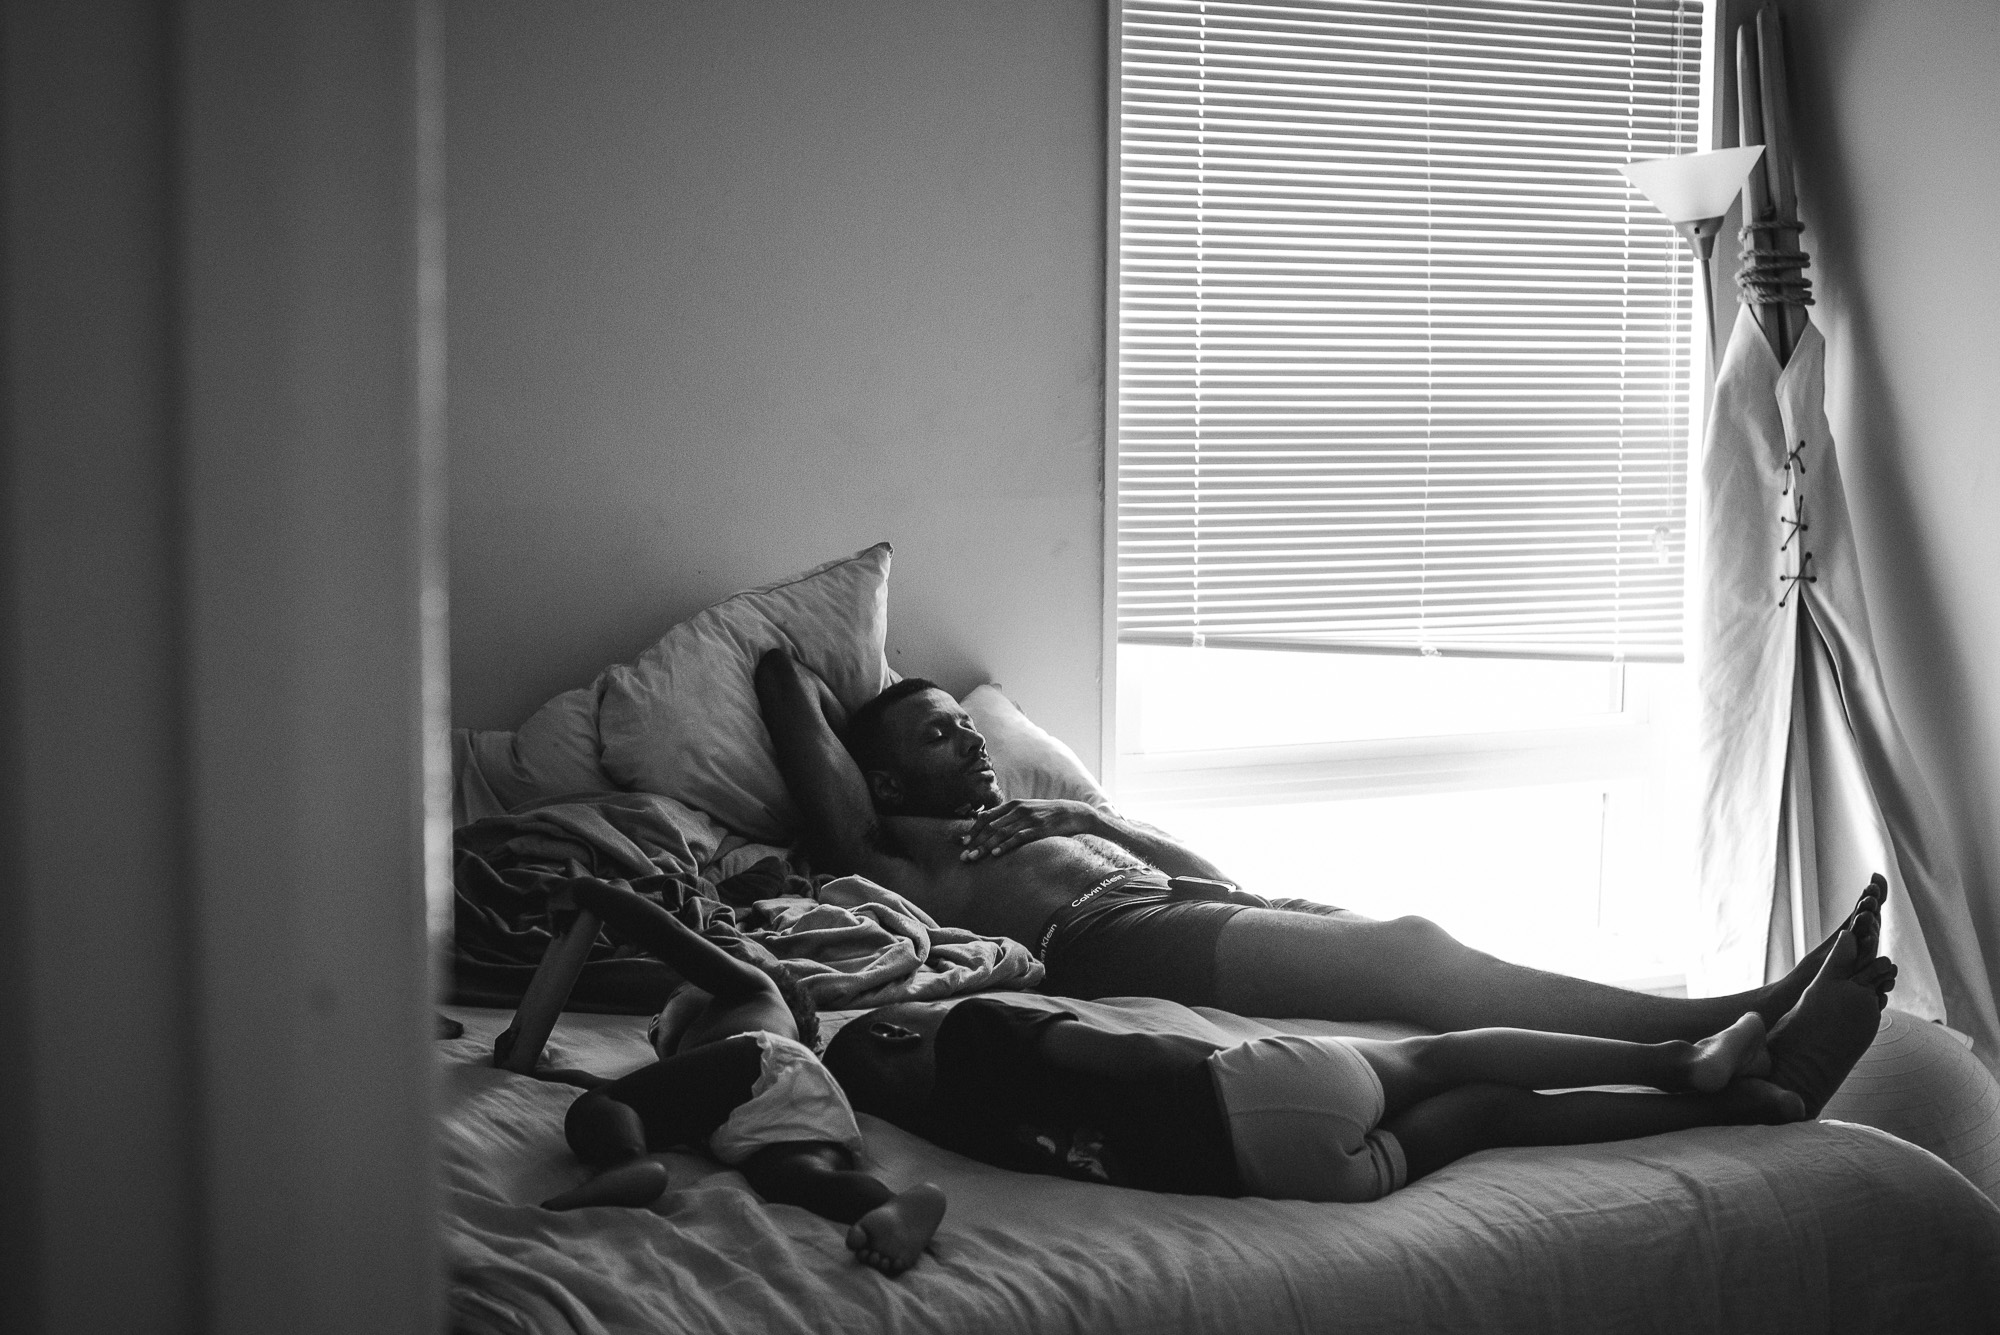 Mediate early and often: Beginning my day with mediation has done wonders for my creative process. It has taught me how to focus my mind and helps me eliminates distractions and reminds me that it’s OK if I get off task as long as I return to my breath. It has become second nature for me to take a couple of deep breaths to center my thoughts and set my intention before I begin to shoot. It’s important not to overthink our work b/c overthinking kills creativity and keeps your mind outward rather than inward.
 Keep a journal: Keeping a journal has been a wonderful addition to my mindfulness practice. Journaling is a great tool for for reflection and accountability, plus writing down my intentions and goals can helps increase motivation and allow you to gain greater self-awareness. When I head to a photo session, I write a few intentions in my journal. They might be specific to the client and what I hope to accomplish or they might be about how grateful I am to have the gift of creating meaningful images. After the session, I write things down things that stood out to while I was shooting. Was I nervous, did I feel uncomfortable with a certain setting or lighting situation. Was there a particular situation that threw me off task or balance? Then I make a list of those things and study them at home for next time.
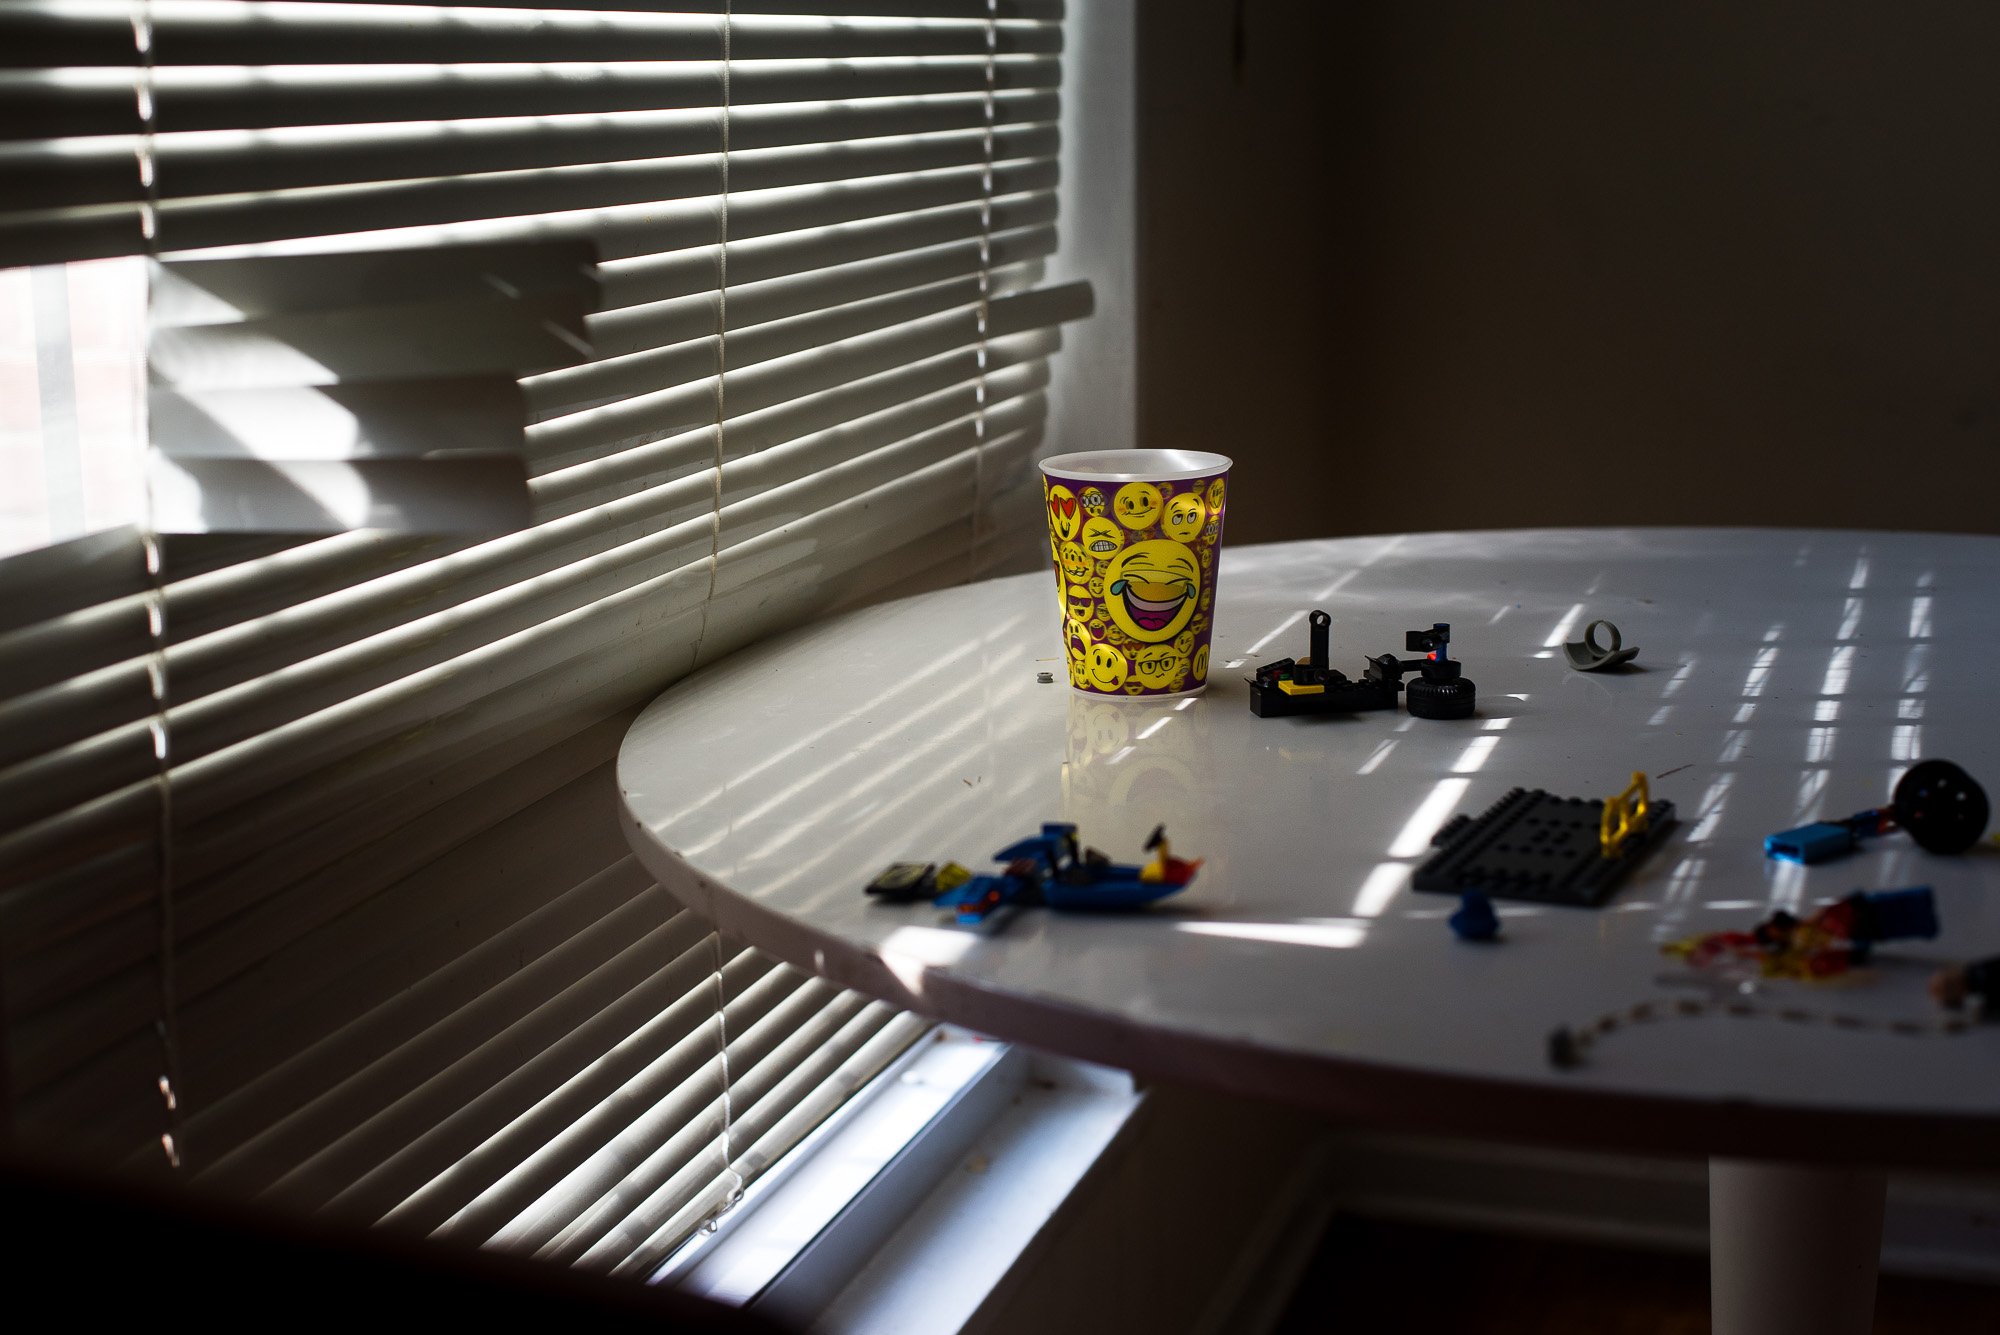 Take fewer images: This one is the hardest for me, but I think it’s an important tactic that will remind me to focus on capturing what I am moved by. To get started, you can try a challenge where you only take three photos a day for 30 days. The point is to encourage you to be more present with each shot and only take photos that peak your personal interests. If you shoot with your mobile phone often like I do, try out a program like 1 Hour Photo, an app that makes you wait an hour to see the photo after it’s taken. It’s a small thing, but since we are used to immediate gratification, this can train your mind to be more present with the images you take, so you get the shot you desire.
 Remember, mindfulness is a natural quality that we all possess. The ability to be present and apply focus and attention to our work is completely up to us.