How To Incorporate Documentary Family Photography Into Your Traditional Family Portrait Business

Contributor Articles

Are you in love with documentary family photography and looking to take your business in that direction?  Many of us documentary family lovers fell in love with this genre because it reminds us why we got into photography in the first place. Photographing the moments! Yet somehow, market demands steered many of us into more posed work (which we can also love). But now what? How can we make the change without sacrificing everything? It can be very intimidating to make a shift in your business, but these 5 tips should help you make changes gently and effortlessly.

1. Remember: Your existing client base is your target market.

Never forget this. Your clients have great taste and a passion for photography. And people who value photography and art will be the first to understand and agree with your passion for documenting the everyday. It is a common misperception your clients will only value one type. The real problem is just that many don’t even know about it or they do but feel they only have a budget for one type of session. If you can solve these problems for them, you don’t need to go in search of an entirely new client base. They are already right in front of you!

2. Share what you love about it and they will love it too.

There are so many things to love about documentary family photography; it will be easier than you think to get your clients on board. All you have to do is start talking about how it is important, and it will naturally create the need. Use your newsletter, your social media accounts, and your website. To portfolio build you can reach out to a few of your clients who you think would be great for your portfolio. You can also take some self-portraits of you in the frame and let them know why you are passionate about being in your documentary images. It won’t take long for many of your clients to fall in love with this genre of family documentary just like you did.

3. Meet Both Needs.

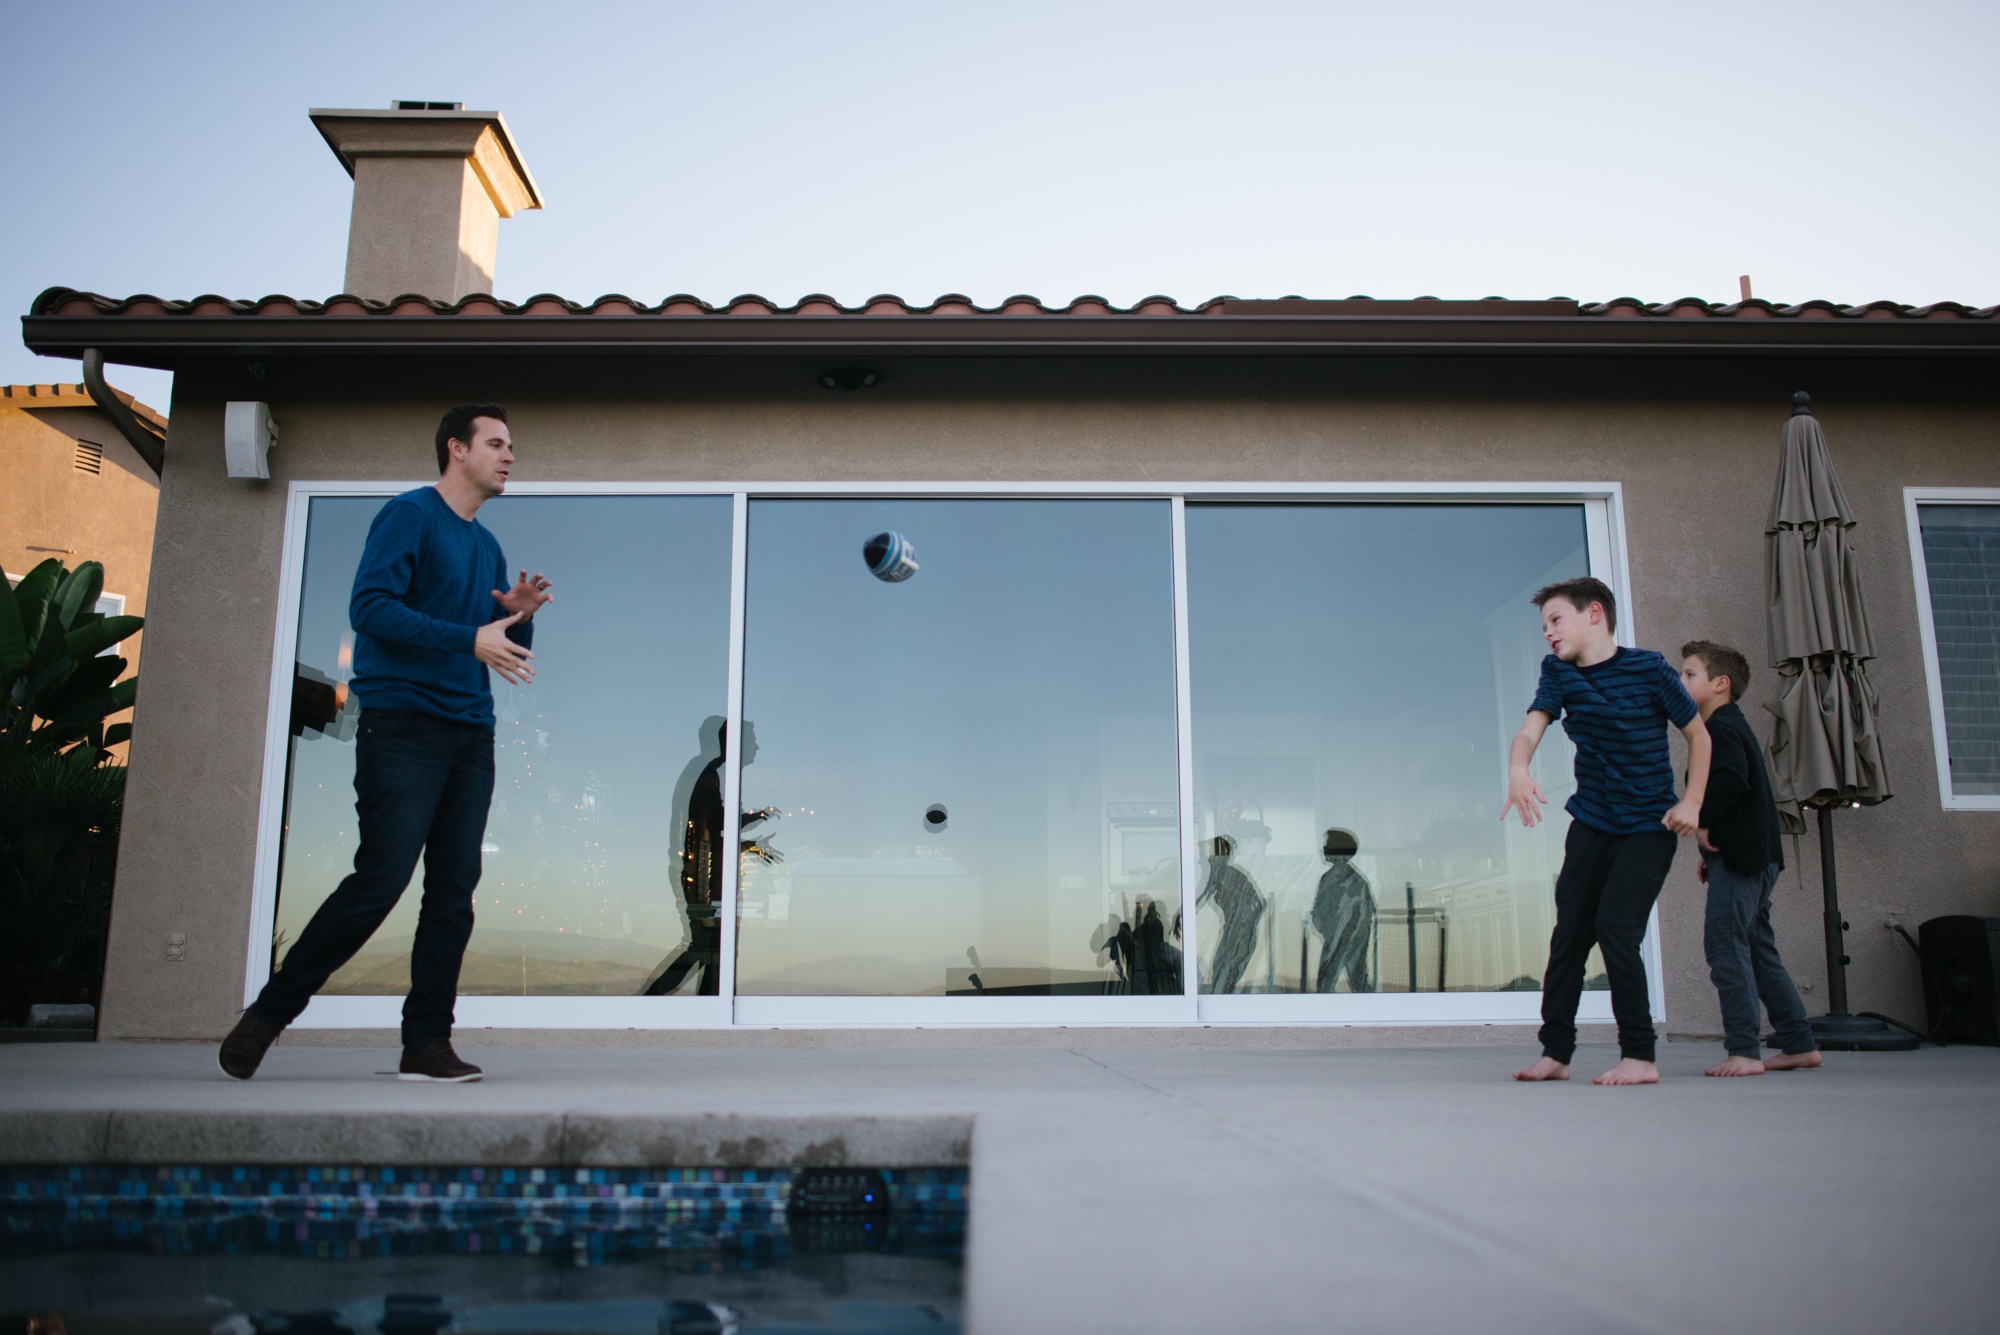
One way to encourage your clients to get their feet wet with documentary sessions is to include regular portraits with the purchase. You can offer a discounted mini session of traditional portraits with any docu session or even incorporate traditional portraits into your docu session. One of my first portfolio building DITL sessions started with a few hours of home life and ended with a quick portrait session. It was perfect and is still one of my favorites. Get there while everyone is waking up, document the morning, and the getting ready for the day and shoot the portraits then! It’s a great compromise.

4. Position yourself as a leader in documentary photography.

If you love documentary family photography, chances are you love other types of documentary photography. Another way to increase bookings is to show your mastery of the style. Doing some births, baptisms, events, and even personal photojournalistic projects will increase consumer confidence and position you as a leader in this style. Your photographer friends in the community will think of you for these type of referrals and projects.

5. Forget the labels.

It’s a very true statement that “the riches are in the niches” and specializing helps narrow your target market. However, it’s also important to not get overly caught up in this. You don’t only have to offer DITL or births or lifestyle portraits. You can specialize in “family” and still be niched enough. Some of us need and thrive off variety and you will find there are clients who will love purchasing many different types of “family photography” from you. Best of luck to you!

children mourn dead pet - documentary family photography

Facebook Community Post – April

Facebook Community Posts

Thank you so much for all your April submissions!  We loved seeing all your documentary family favorites. This month’s top honor goes to Rose-Life Photography by Lauren Kerwin. Make sure to stop by her page, and the pages of all our Top 5 artists to check out more of their lovely work.

children mourn dead pet - documentary family photographyRose:Life Photography by Lauren Kerwin

*****

angry ballerina - documentary family photographyAshley Marston Photography

mother and child asleep - documentary family photographyStephanie Michaelis Photography

kids in sprinkler -documentary family photographyStacey Ilyse Photo and Films

kids on bed - documentary family photographySherida Rae Photography

*****

To see your photo here next month post your favorite documentary family images directly to our Facebook timeline. You can also share your photos on Instagram using the hashtag #shamoftheperfect for a chance to be featured on our Instagram feed and our monthly IG Top 5.


Incorporating Video into your Documentary Shooting

Contributor Articles

If you’re anything like me, you’ve been using your camera almost daily, taking pictures for years and just ignoring that little video camera icon switch staring at you everyday. I finally decided it was time to make the switch over and learn video. I’m kicking myself for not doing it sooner. Incorprating video into your documentary shooting is such an easy transition. You’re already capturing your everyday life with stills and telling your story. By adding video to your stills you’ll be adding the voices, the giggles, the wobbly baby steps, and the kisses…you’ll be adding the motion that helps bring your stories and memories to life. You’ll use all the same techniques you already know for composition, capturing the moment, and using light

There are numerous online workshops and tutorials that all cover different aspects of shooting video from storytelling to business and brand films, and YouTube will definitely be your friend when you’re just getting started. But the best way to learn is to just practice and play around. Dig out your camera manual, have a little read, make the switch and start shooting!

A few tips below that I’ve learned along the way:

1. Getting Started

You’ll be shooting video in live view in manual mode. If you don’t normally shoot in manual, I’d recommend closing down a few stops than you normally shoot in to make it a bit easier, at least to start with. If you’re photographing clients, start shooting a few clips of video as well and if you have enough to work with surprise them with a fusion film. The more you practice swapping between stills and video, the easier it becomes.

2. Move your body! A lot!

Just like when you’re shooting stills, you’ll want to completely shoot the scene and will need to capture it from all different angles. Think about your compositions and then shoot wide, tight, from above, from below, straight on, pan up, pan down, pan sideways…just keep moving! When you put your clips together you don’t want the viewer to be watching your film from the same point of view the entire time, and to avoid the clips looking ‘jumpy’ vary the angles. Start with a clip shot straight on followed by one shot from above, then from below, then panning above, then back to straight on.

You don’t always need to follow the action. Let the action come in and out of your frame. Capture the little details to help set the scene and tell the story. A wide shot of the outside of the family house, the sun rays on the leaves, the rain falling, the bubble bath and kids towels, the pictures on the wall, the toys on the floor, the baby clothes hanging in the closet, the muddy knees, the baby toes, etc.

3. Music and Colour Grading

Finding the right music for your film is SO important. It sets the mood for your film and helps bring out the emotion in the viewer. I can literally spend hours listening to music to find the right one, and have gone as far as re-editing a film because I wasn’t convinced the music was right. A tip to make it less time consuming is to mark your favourites. This will give you a short list of songs that may not be right for one project but could be right for the next one. There are a number of music licensing sites, some with subscription based fees which are great if you’re making a lot of films and some that offer music for as little as a few dollars for personal films, so there is no reason to not find great music for your project.

There are also different options for editing from Premier Pro, to Final Cut Pro to iMovie, each with their own pros and cons and lots of tutorials online, so you’ll need to find what works best for you. I was already an Adobe Cloud user and could bundle my applications together, so I edit in Premier Pro. I do find the editing options a bit limited, so I colour grade and edit my clips in Lightroom first. It’s an extra step and can be time consuming depending on how much work you do to the clips, but it helps keep my clips looking consistent and I can match them to my style of photography as well.

4. Think about the story you want to tell

You’ll want your film to flow so you need to think about the story you want to tell. Have you shot an opening scene, and the middle or body of the story. How will it end? Sometimes I shoot my ending clips at the very beginning of the shoot and sometimes I’ll shoot a whole scene that doesn’t make into the final film. You’re the artist and the visual storyteller, so you need to decide on how to best tell the story.

5. Get Creative!

Try making a film in slow motion, or using a lensbaby or a macro lens for an entire film. Start a film project – one second a day for a year, a day in the life, daily breakfasts for a month. The options are endless, just get creative, start shooting and have fun!